


Moving your website to a new hosting provider might sound scary, but it doesn’t have to be.
Even if your current host is too slow, too expensive, or just not meeting your needs anymore, transferring to a better option is totally doable, even if you’re not a tech expert.
This guide will walk you through the entire process of transferring web hosting, from backing up your files to switching your DNS and making sure nothing breaks along the way.
You’ll learn what to prepare before you start, how to move your files and database safely, and how to avoid common mistakes like losing emails or experiencing downtime.
By the end, you’ll know exactly how to migrate your site smoothly and confidently.
Before You Start: Pick the Right New Host
Choosing the right hosting provider before you move can save major headaches later. Here are the key factors to consider when shopping around.
- Hosting Type Match: Match your site’s needs to the right plan. Small blogs work fine on shared hosting; busy sites need more power.
- Uptime and Reliability Expectations: Look for hosts that promise 99.9% uptime or better. Frequent downtime means lost visitors and potential revenue; nobody wants that kind of stress.
- Speed/performance Features (Server Location, Caching, Cdn Options): Faster sites rank better and keep visitors happy. Check if the host offers built-in caching, CDN integration, and servers near your audience.
- Security Basics (malware Scanning, Firewalls, Backups): Good hosts include free SSL certificates, automatic backups, malware scanning, and firewalls. These features protect your site from hackers and data loss disasters.
- Support Quality (24/7 Chat/phone Can Matter During Migration): Transfers can go wrong. Having real humans available 24/7 via chat or phone can be a total lifesaver when problems pop up.
- Pricing Reality: That $2.99/month intro price often jumps to $12.99 after year one. Check renewal rates upfront and make sure you can upgrade without migrating again.
- Migration Help: Many hosts offer free migrations for new customers. Some provide premium hands-off service. This assistance can make transfers way less stressful for beginners.
Take time comparing a few options, switching hosts twice because you picked wrong the first time defeats the whole purpose of this guide.
What You Need for Hosting Migration
Before starting the migration, gather everything you’ll need. Having these items ready will make the process smoother and prevent frustrating interruptions halfway through.
| Item | What It Is | Why You Need It |
|---|---|---|
| Old host control panel login | Your username and password for your current hosting account (cPanel, Plesk, etc.) | To access and download your website files and database from the old server |
| New host control panel login | Login credentials for your new hosting provider’s dashboard | To upload files, create databases, and configure your site on the new server |
| FTP/SFTP credentials | File transfer protocol login details (username, password, host, port) for both old and new hosts | To download files from the old host and upload them to the new one |
| Database access | phpMyAdmin, Adminer, or command line access on both servers | To export your database from the old host and import it to the new one |
| Domain registrar login | Access to wherever you bought your domain name (GoDaddy, Namecheap, Google Domains, etc.) | To update DNS settings and point your domain to the new hosting server |
| Backup storage location | External hard drive, USB drive, or cloud storage (Google Drive, Dropbox) | To safely store complete backups of your site before making any changes |
Optional but Helpful Tools:
- Ftp Client (FileZilla): Software that makes uploading and downloading files easier with a visual interface. Best for anyone who finds control panel file managers clunky or slow.
- WordPress Migration Plugin: Tools like All-in-One WP Migration or Duplicator that automate the entire process. Best for WordPress users who want a simpler, one-click migration option.
- Staging Site or Temporary Url: A preview version of your site on the new host before DNS changes. Best for testing everything works perfectly before going live to avoid downtime.
Having these items organized and accessible will turn what could be a chaotic process into a manageable, step-by-step project.
Step-by-Step Guide to Transfer Web Hosting
Here are the steps you need to follow to transfer web host:
Step 1: Sign Up for the New Host
Start by creating your new hosting account and choosing a plan that fits your needs. Once the account is set up, the new host will send you important information; don’t let this sit in your inbox unread.
This might seem obvious, but it’s worth saying: keep your old hosting account active during the entire migration process.
Canceling too early is one of the biggest mistakes people make, and it can lead to serious downtime or even data loss.
Write Down or Save These Details Somewhere Safe:
- Server IP Address: The numeric address of your new server
- Nameservers: Usually two addresses like ns1.newhost.com and ns2.newhost.com
- SFTP/FTP Credentials: Username, password, host, and port number for file uploads
- Control Panel URL: Where you’ll manage your hosting (cPanel, Plesk, custom dashboard, etc.)
If both your old and new hosts use cPanel, you’re in luck. cPanel-to-cPanel migrations are often smoother because the interface and file structures are identical.
Some hosts even offer automated cPanel migration tools that can do most of the heavy lifting for you.
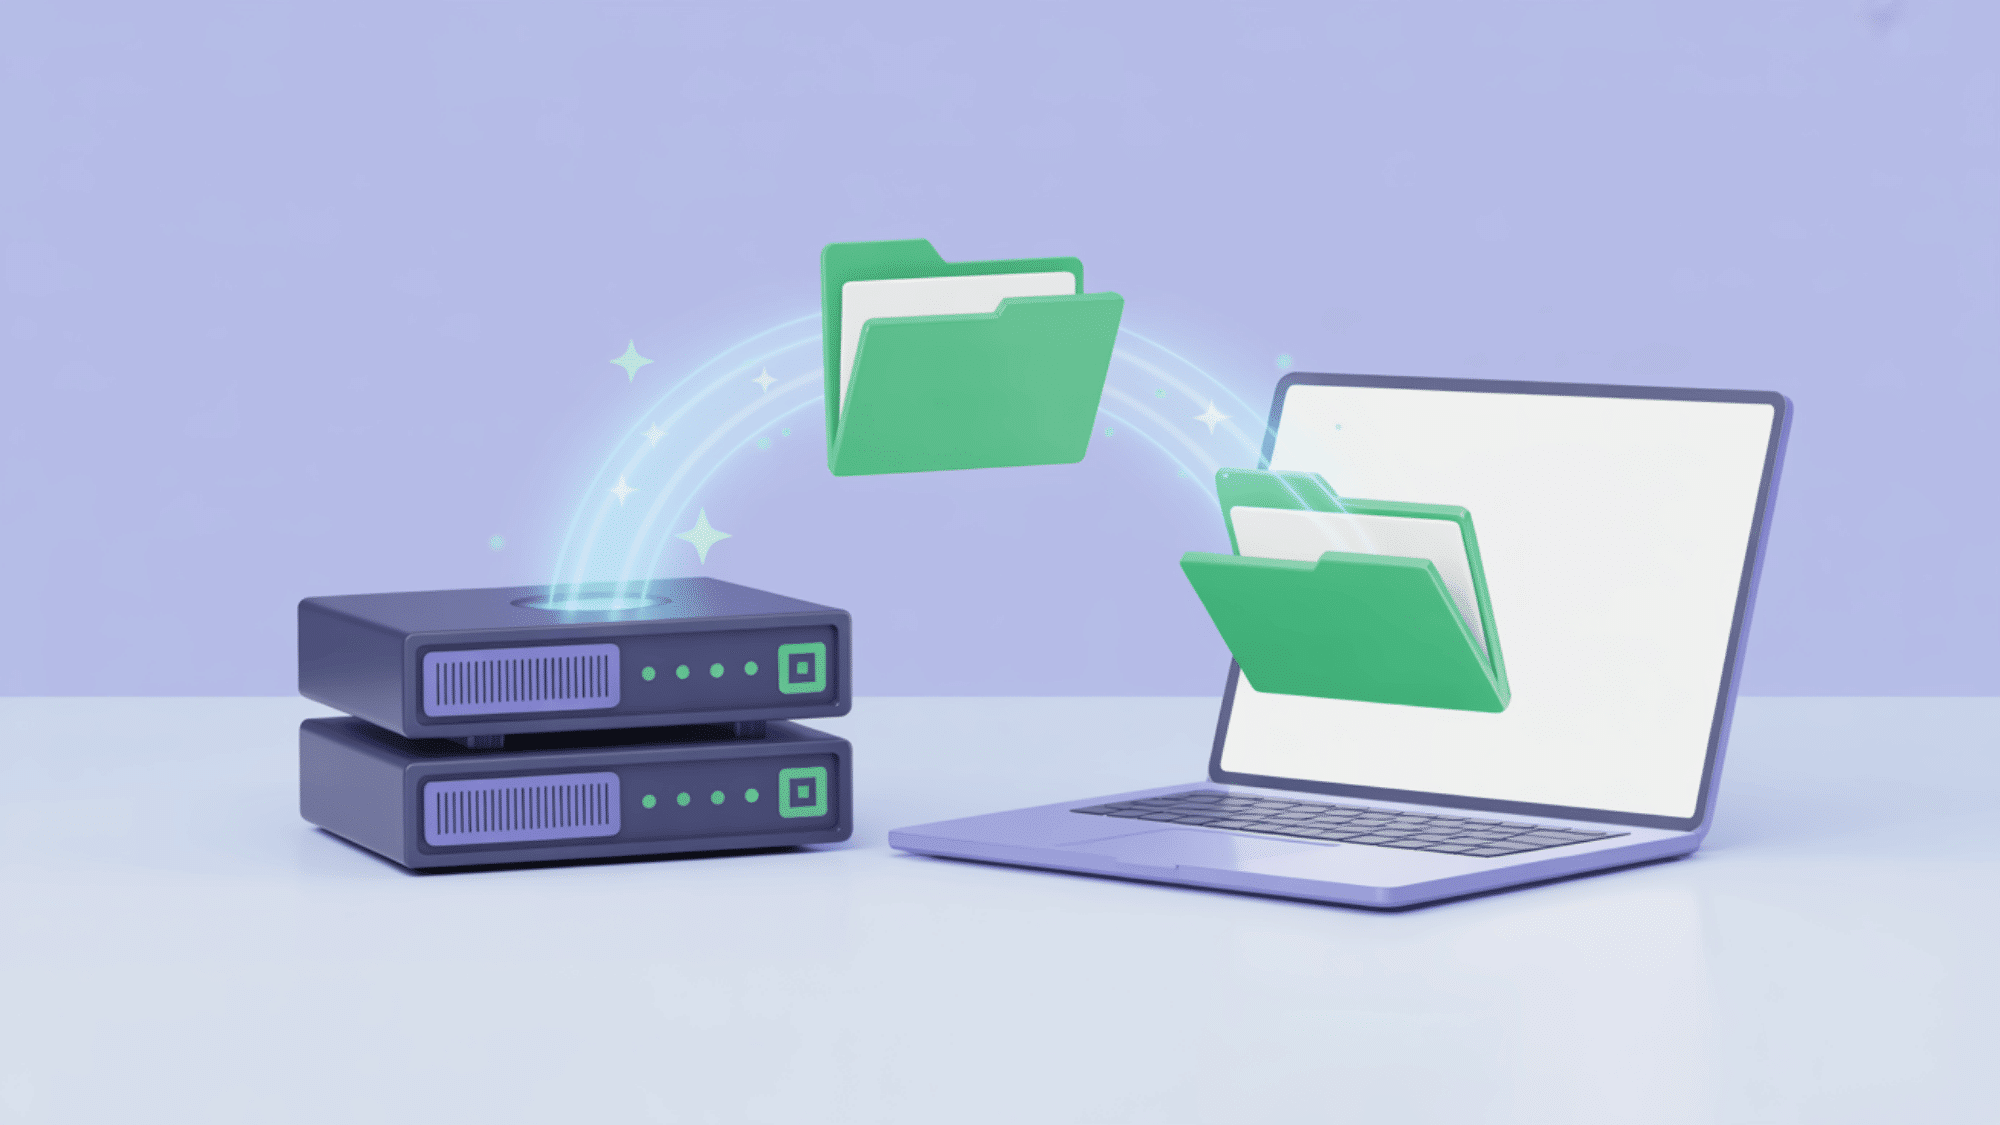
Step 2: Backup Everything From the Old Host
Before touching anything on the new server, create complete backups of your current site. Think of this as your safety net; if something goes wrong during the transfer, you can always restore from these backups.
Backup your website files
Your website files include everything visible on your site: HTML pages, images, CSS stylesheets, JavaScript files, themes, plugins, and more. You need all of it.
Method 1: Using cPanel File Manager
- Log in to your old host’s cPanel
- Open “File Manager” and navigate to your website’s root folder (usually
public_html) - Select all files and folders inside
- Click “Compress” to create a ZIP file
- Download the ZIP file to your computer
Method 2: Using FTP/SFTP
This method gives you more control and works even if your host doesn’t use cPanel.
- Download and install an FTP client like FileZilla (it’s free)
- Connect to your old host using the FTP credentials from your hosting panel
- Navigate to your site’s root folder (often
public_htmlorwww) - Drag the entire folder to your local computer—this downloads everything while keeping the folder structure intact
Pro tip: The FTP method can be slower, but it’s more reliable for large sites with thousands of files.
Backup Your Database
If your website is built with WordPress, Joomla, Drupal, or any content management system, it uses a database to store all your content, settings, and user information. You need to export this separately from your files.
Export via phpMyAdmin:
- Log in to your old host’s cPanel and open phpMyAdmin
- Click on your website’s database name in the left sidebar
- Click the “Export” tab at the top
- Choose the “Quick” export method and the “SQL” format
- Click “Go” to download the
.sqlfile to your computer
Important note: If you have a simple static HTML site (just basic web pages with no login, no blog, no dynamic content), you probably don’t have a database. In that case, skip all the database steps; you only need the files.
Step 3: Create a Database on the New Host
Now that you have backups safely stored, it’s time to set up the foundation on your new server. If your site uses a database, you’ll need to create a new empty one on the new host before you can import your data.
Here’s the process:
- Log in to your new host’s control panel (cPanel or equivalent)
- Find the “MySQL Databases” or “Database” section
- Create a new database, give it a simple, memorable name
- Create a new database user with a strong password
- Assign the user to the database with “All Privileges” selected
Critical! Save These Details Immediately:
| Detail | Example |
|---|---|
| Database name | mysite_db |
| Database username | mysite_user |
| Database password | [secure password] |
| Database host | localhost |
The database host is almost always localhost, but some hosts use a specific server address; check your new host’s documentation if you’re unsure.
Keep this information handy in a text file or password manager. You’ll use it when uploading your site files and configuring your website to connect to the new database.
Step 4: Import the Database to the New Host
With your new database created, it’s time to fill it with all the content and settings from your old site. This is where that .sql file you exported earlier comes into play.
Steps to Import Your Database:
- Log in to your new host’s cPanel and open phpMyAdmin
- Click on your newly created database name in the left sidebar
- Click the “Import” tab at the top of the page
- Click “Choose File” and select the
.sqlfile you downloaded from your old host - Scroll down and click “Go” to start the import
The import process might take a few seconds or a few minutes, depending on how large your database is. Don’t close the browser window while it’s working.
Verify the Import Worked:
Once it’s finished, click on your database name again in the left sidebar. You should see a list of tables, things like wp_posts, wp_users, wp_options for WordPress sites, or similar tables for other platforms.
If you see tables listed, the import was successful. If the database looks empty, something went wrong and you’ll need to try importing again.
Step 5: Upload Site Files to the New Host
Now comes the part where you actually move your website files to the new server. This is straightforward, but pay close attention to where you’re uploading things.
The Right Directory Matters:
Most hosting accounts have a specific folder where your website needs to live. This is usually called public_html, www, or httpdocs.
Uploading to the wrong location means your site won’t appear when someone visits your domain.
| Hosting Type | Common Root Directory |
|---|---|
| cPanel hosts | public_html |
| Plesk hosts | httpdocs |
| Some custom setups | www or public |
Not sure which folder? Check your new host’s documentation or ask their support team.
Upload methods:
- Using cPanel File Manager: Navigate to your root directory, click “Upload,” and upload your ZIP file. Then extract it right there in the File Manager.
- Using FTP/SFTP: Connect FileZilla (or your FTP client) to your new host, navigate to the root directory, and drag your entire site folder from your computer to the server.
Critical reminder: Keep the folder structure exactly the same as it was on your old host. If your images were in /images/products/ before, they need to be in /images/products/ now.
Changing folder structures will break image links, stylesheets, and other references across your site.
If you uploaded a ZIP file via cPanel, make sure to extract it and then delete the ZIP file afterward to save space.
Step 6: Update Your Site Configuration (Critical)
Your site files are now on the new server, but they’re still trying to connect to the old database. This step tells your website where to find its new database home.
WordPress example: wp-config.php
For WordPress sites, all the database connection information lives in a file called wp-config.php located in your site’s root directory.
What to Update:
| Setting | What to Change | Example |
|---|---|---|
DB_NAME | Replace with your new database name | mysite_db |
DB_USER | Replace with your new database username | mysite_user |
DB_PASSWORD | Replace with your new database password | Your secure password |
DB_HOST | Usually stays as localhost | localhost |
How to Edit It:
- Navigate to your site’s root folder in cPanel File Manager or FTP
- Find
wp-config.phpand right-click to “Edit” (in cPanel) or download, edit, and re-upload (via FTP) - Look for lines that start with
define('DB_NAME'and similar - Replace the old values with your new database details
- Save the file
Other CMS examples
If you’re not using WordPress, the process is similar, but the file names are different:
- Drupal: Edit the
settings.phpfile (usually in/sites/default/) - Joomla: Edit the
configuration.phpfile in your root directory
The database connection details work the same way, just update the database name, username, password, and host to match your new server.
Search/Replace if Needed
Most migrations don’t require this step, but there’s one situation where you’ll need to do a search-and-replace across your entire database: if your domain name is changing.
For example, if you’re moving from oldsite.com to newsite.com, your database still has thousands of references to the old domain in URLs, image paths, and internal links.
You’ll need to replace all instances of the old domain with the new one.
For WordPress sites, plugins like “Better Search Replace” or “WP Migrate DB” can handle this safely. Just install the plugin, enter your old URL and new URL, and let it scan and replace.
CAUTION BOX:
Be extremely careful with search-and-replace in WordPress databases. WordPress stores some data in a “serialized” format (encoded strings with character counts).
If you do a simple find-and-replace that changes the length of these strings without updating the character count, you’ll break your site.
For static HTML sites or if you’re keeping the same domain, you can skip this step entirely. The search-and-replace is only necessary when URLs are actually changing.
Step 7: Test on the New Host Before DNS Change
Here’s the golden rule of hosting migration: never point your domain to the new server until you’ve tested that everything works. Skipping this step is how sites end up broken and offline for hours or even days.
The good news? Most hosting providers give you ways to preview your site on the new server before making the DNS switch.
Testing methods:
- Temporary URL or Preview Link: Many hosts provide a temporary URL like
temp123.yourhost.comoryourdomain.com.preview.hostingcompany.com. Check your new host’s welcome email or control panel for this link. - Local Hosts File Method: This is more advanced but very effective. It tricks your computer into thinking your domain already points to the new server, letting you test while everyone else still sees the old site.
Once you can access your site on the new server, go through this checklist carefully:
| What to Test | Why It Matters |
|---|---|
| Homepage + key pages | Make sure pages load completely without errors |
| Forms | Contact forms, signup forms, comment forms, test submissions actually work |
| Login/admin area | Verify you can log into your dashboard with your usual credentials |
| Images/CSS/JS loading | Check that images appear, styling looks right, and interactive features work |
| Permalinks (WordPress) | Click around to ensure pretty URLs work, not just the homepage |
| Database-driven features | Test search functions, shopping carts, user accounts, anything that pulls from the database |
If something doesn’t work during testing, don’t panic. You can fix it now without affecting your live site since your domain still points to the old server.
Common issues include wrong file permissions, missing configuration updates, or files uploaded to the wrong directory.
Only move to the next step when everything checks out perfectly.
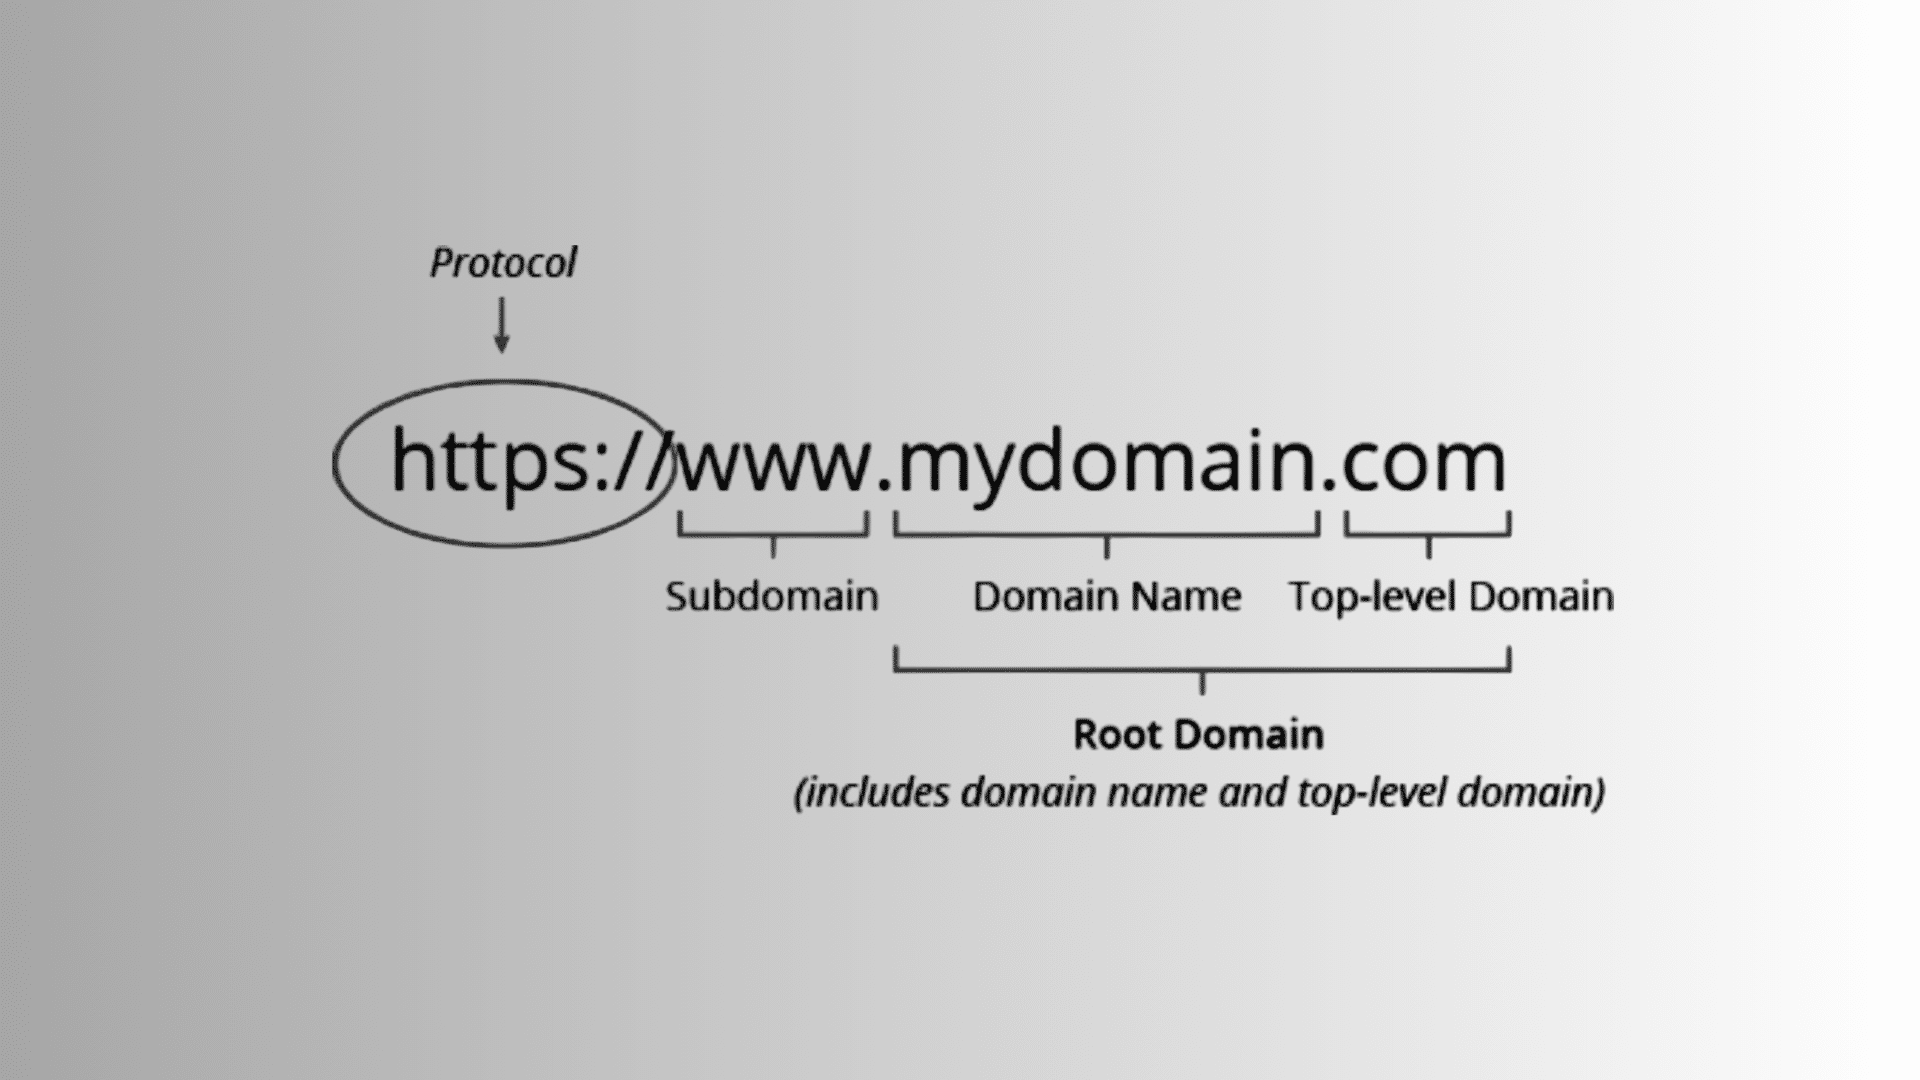
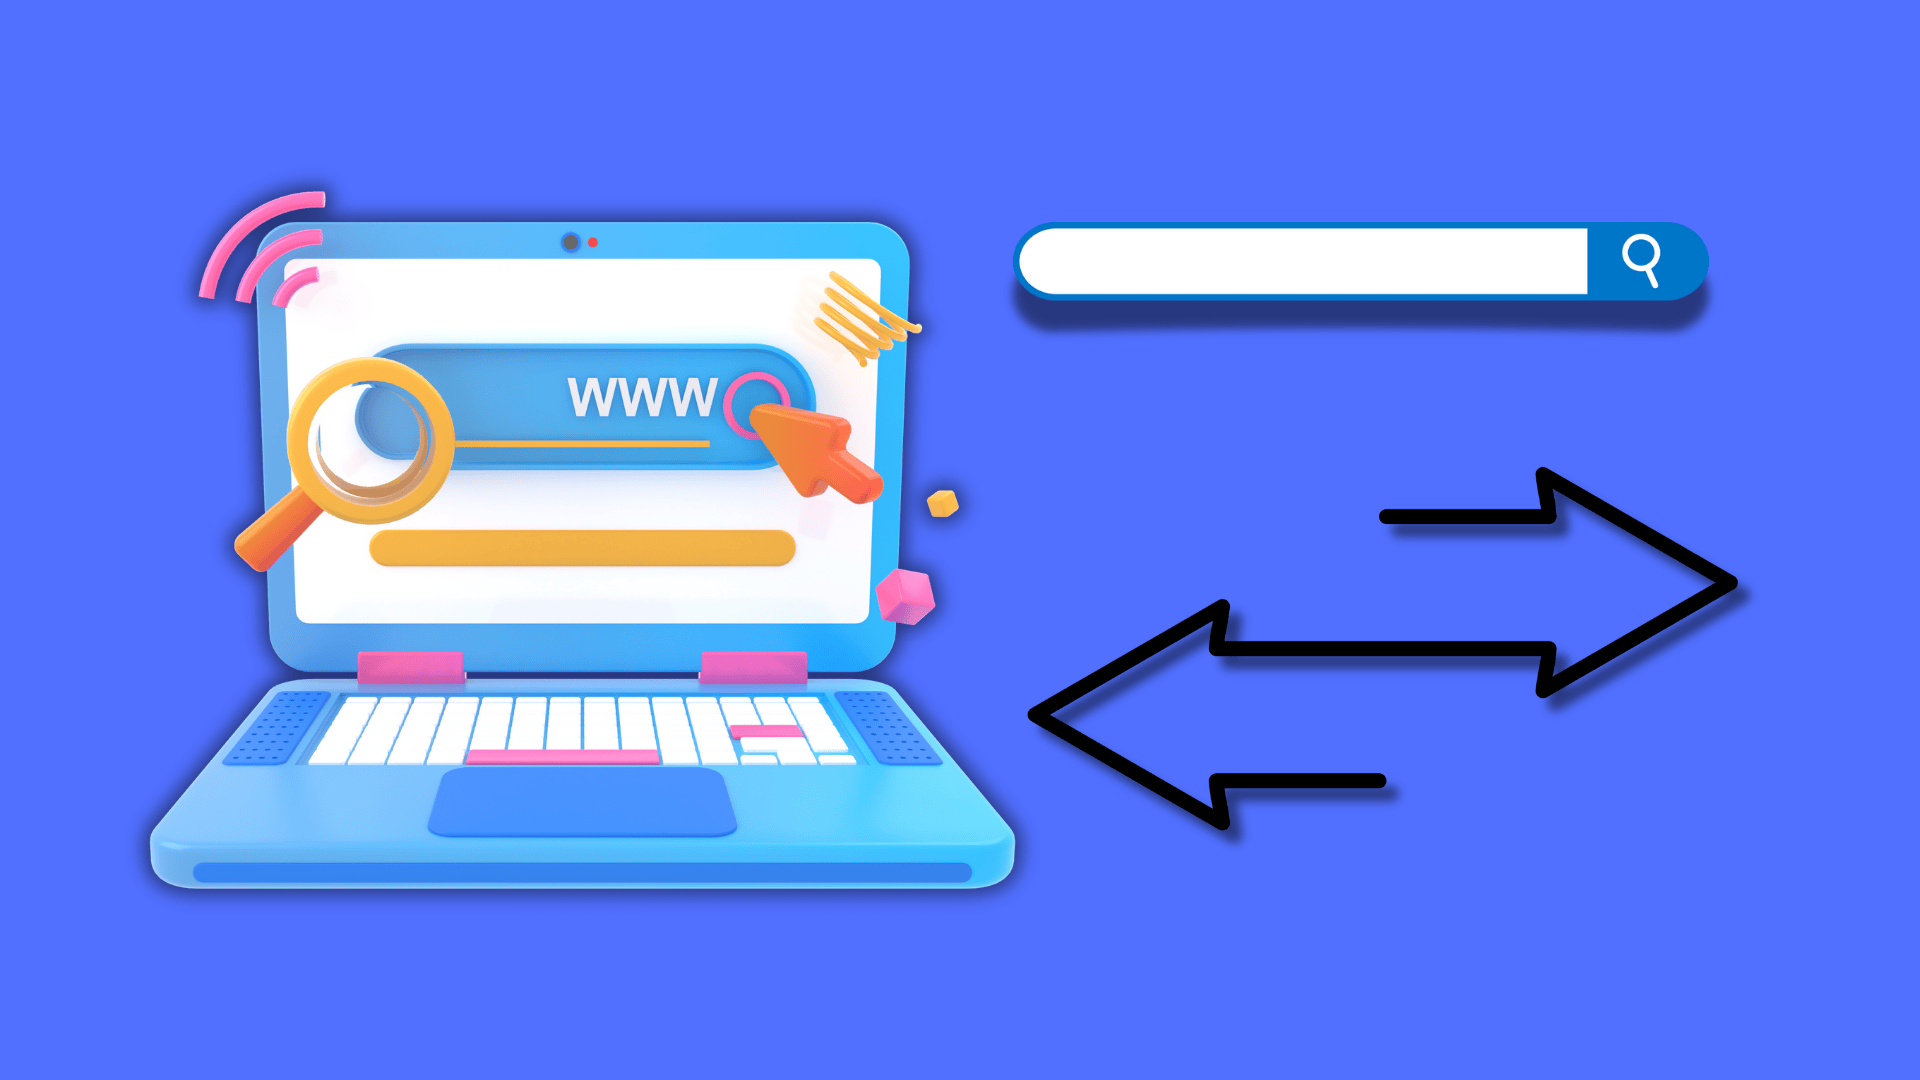
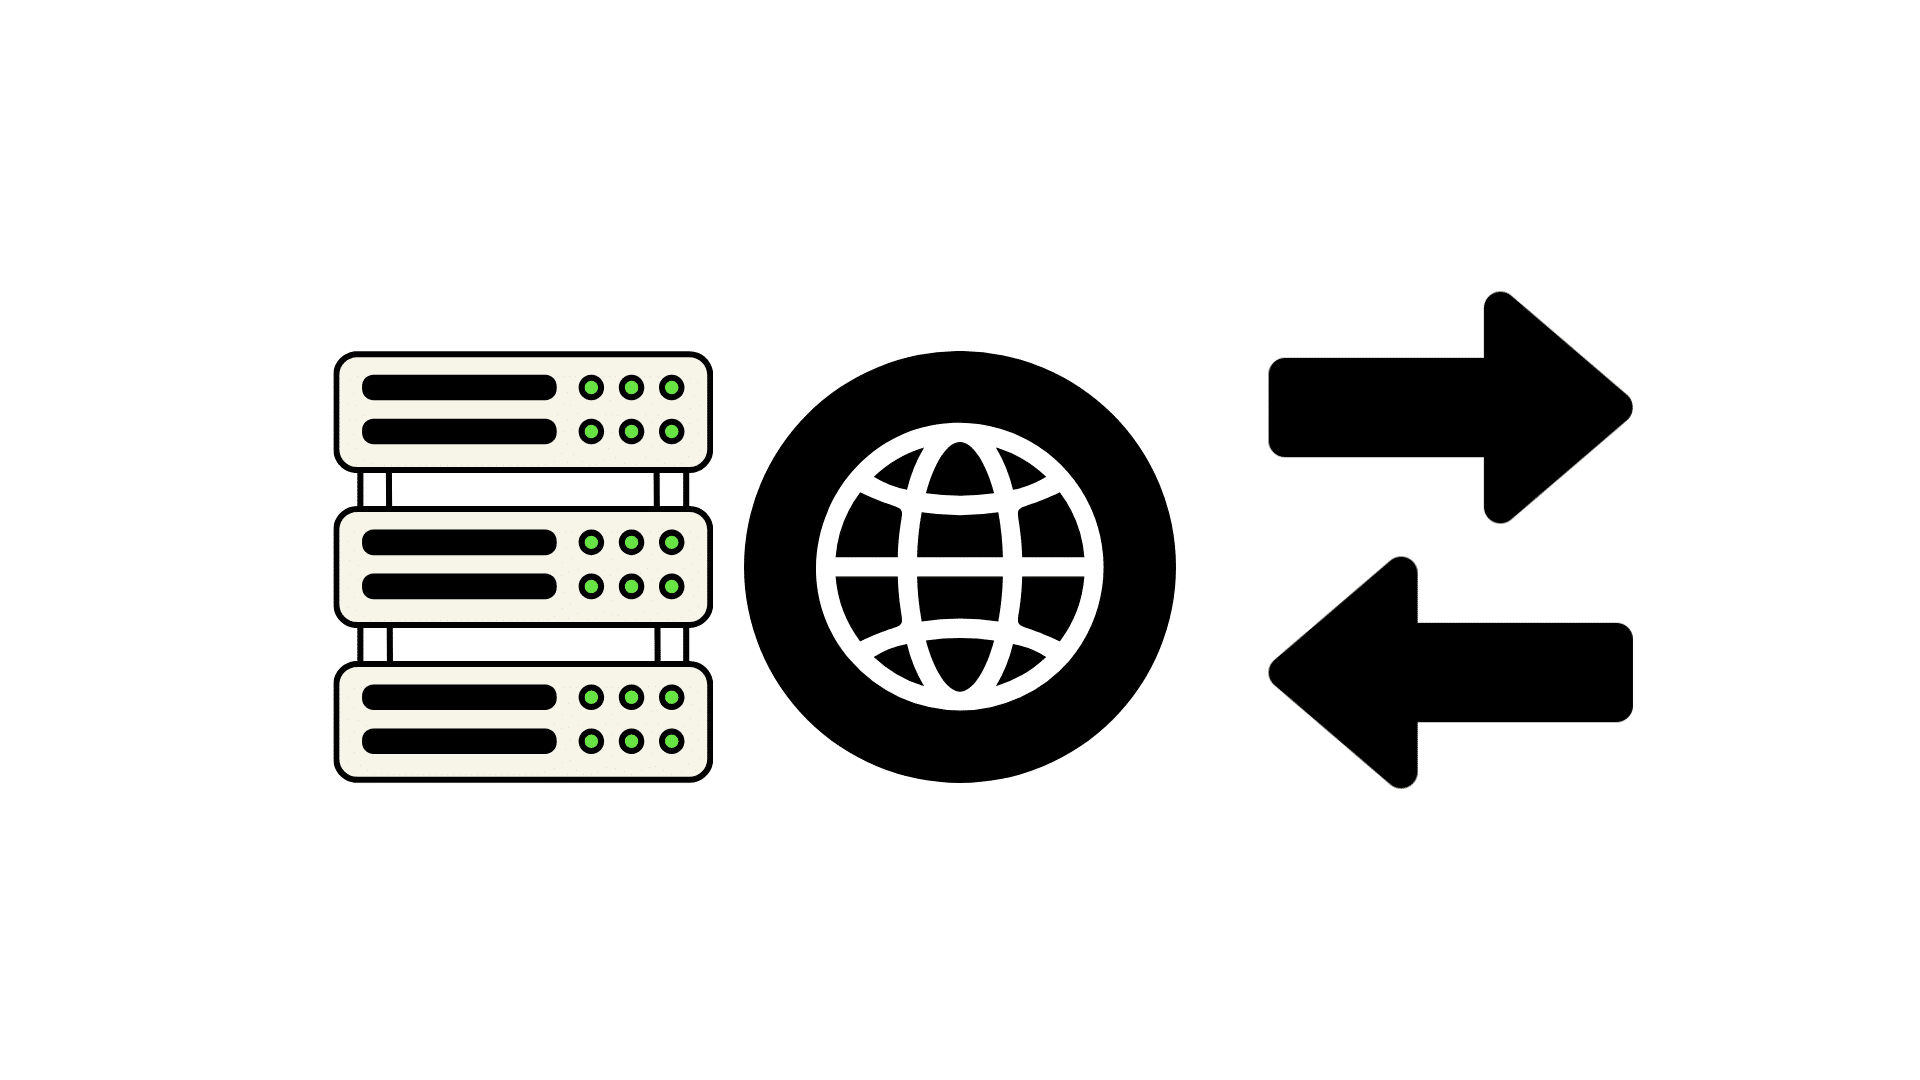
Step 8: Switch DNS to Point to the New Host
Once testing confirms your site works flawlessly on the new server, it’s time to update your DNS settings so the world can see it. This is the moment your domain name starts pointing to the new hosting location instead of the old one.
There are two main ways to do this, and which one you choose depends on your setup.
Option A: Change Nameservers
This is the most common approach when switching hosting providers completely. Nameservers control all DNS records for your domain, website, email, subdomains, everything.
Steps:
- Log into your domain registrar account (where you bought your domain—GoDaddy, Namecheap, Google Domains, etc.)
- Find the DNS settings or nameserver management section
- Replace the old nameservers with the new ones provided by your new host
- Save the changes
Example of what this looks like:
| Old Nameservers | New Nameservers |
|---|---|
| ns1.oldhost.com | ns1.newhost.com |
| ns2.oldhost.com | ns2.newhost.com |
Most registrars require two nameservers at minimum. Your new host should have provided these in your welcome email.
Option B: Change A record
Some people prefer to keep their DNS managed separately (maybe through Cloudflare, or they just like their current DNS setup). In this case, you only update the A record, which tells browsers where to find your website’s server.
Steps:
- Log into wherever you manage DNS (could be your domain registrar or a separate DNS provider)
- Find your DNS records or DNS zone editor
- Look for the A record that points to your website (usually
@or your domain name) - Update the IP address to your new server’s IP address
- Save the changes
What It Looks Like:
| Record Type | Name | Old Value | New Value |
|---|---|---|---|
| A | @ | 123.45.67.89 | 234.56.78.90 |
Make sure not to accidentally change MX records (those control email) or other important records you’re not migrating.
DNS propagation expectations
After updating DNS settings, the changes don’t happen instantly across the entire internet. This delay is called DNS propagation.
What to Expect:
- Typical Timeframe: Most DNS changes propagate within a few hours, but the official window is up to 24–48 hours
- Random Visibility: During propagation, some visitors might see your old site while others see the new one—it depends on their internet provider’s DNS cache
- Nothing You Can Do to Speed It Up: Propagation happens on DNS servers worldwide updating their records. There’s no “refresh” button to make it faster.
During this period:
- Keep both the old and new hosting accounts active and running
- Don’t make content changes on either version of the site
- Don’t panic if you still see the old site, clear your browser cache and try again in an hour
You can check propagation status using free tools like whatsmydns.net to see which DNS servers worldwide are pointing to your new server versus your old one.
Step 9: Post-Move Verification + Cancel Old Hosting Safely
The DNS has propagated and your site appears to be running on the new host. You’re almost done, but don’t cancel anything just yet.
Final Verification Checklist:
- Confirm Traffic Is Flowing: Check your analytics to make sure visitors are reaching your site normally
- Test Admin Actions: Log in, publish a test post, upload an image, make a small change, verify everything works
- Check SSL/HTTPS: Make sure your site loads with the padlock icon and
https://in the URL. If not, install or activate an SSL certificate through your new host’s control panel - Test Contact Emails: Send a test email through your contact form and verify it arrives
- Check Transactional Emails: For WordPress sites, test password reset emails or order confirmation emails if you run a shop
Email verification is critical because email settings don’t always transfer automatically. If emails aren’t working, you may need to update MX records or recreate email accounts on the new host.
Once everything checks out and you’ve monitored the site for at least 24–48 hours without issues, it’s safe to cancel your old hosting account.
IMPORTANT WARNING
If your domain is registered with your old hosting company, DO NOT cancel your domain registration. Only cancel the hosting plan itself. Canceling your domain registration means you could lose ownership of your domain name entirely.
When canceling, most hosts will ask why you’re leaving and may offer discounts to stay. Politely decline if you’ve already committed to the new host; going back and forth just creates more work.
Post-Cancellation:
- Download any final backups from the old host before the account closes
- Save any email archives if you used email hosting there
- Keep records of the cancellation confirmation for your files
Congratulations, your hosting migration is complete! Keep an eye on your site for the next week or two, and make sure to maintain regular backups on your new host going forward.
At the End
Transferring web hosting doesn’t have to be stressful when you break it down into manageable steps.
Keeping your old hosting active during the move, backing up before you start, testing thoroughly before switching DNS, and verifying everything works afterward protect you from common migration mistakes.
Remember, there’s no rush. Take your time with each step, double-check your work, and don’t hesitate to reach out to your new host’s support team if you get stuck.
Most hosting companies are happy to help new customers get settled in successfully.
Now that your site is running smoothly on its new home, keep up with regular backups and monitor performance over the next few weeks. A successful migration is just the beginning of a better hosting experience.
Found this guide helpful? Bookmark it for future reference and share it with anyone planning their own hosting move.