


Modern apps are built from many connected parts, including APIs, databases, microservices, and third-party tools. Often, each part works perfectly on its own, but the software breaks the moment they are combined.
It can be incredibly frustrating to watch your application fail just because two components cannot communicate properly.
That is exactly why I want to explain how system integration testing helps you solve this problem.
In this article, I will cover what this testing is, why it matters for your team, the different types available, and the exact steps to run it. Let us look at how you can apply these steps to create functional and reliable software today.
What is System Integration Testing?
Let me explain how this testing works in simple terms. System integration testing verifies that individually built software modules work correctly when combined into a unified system.
I use this process to check the data flow and interfaces between different parts. It is also highly effective for reviewing error handling and verifying end-to-end workflows.
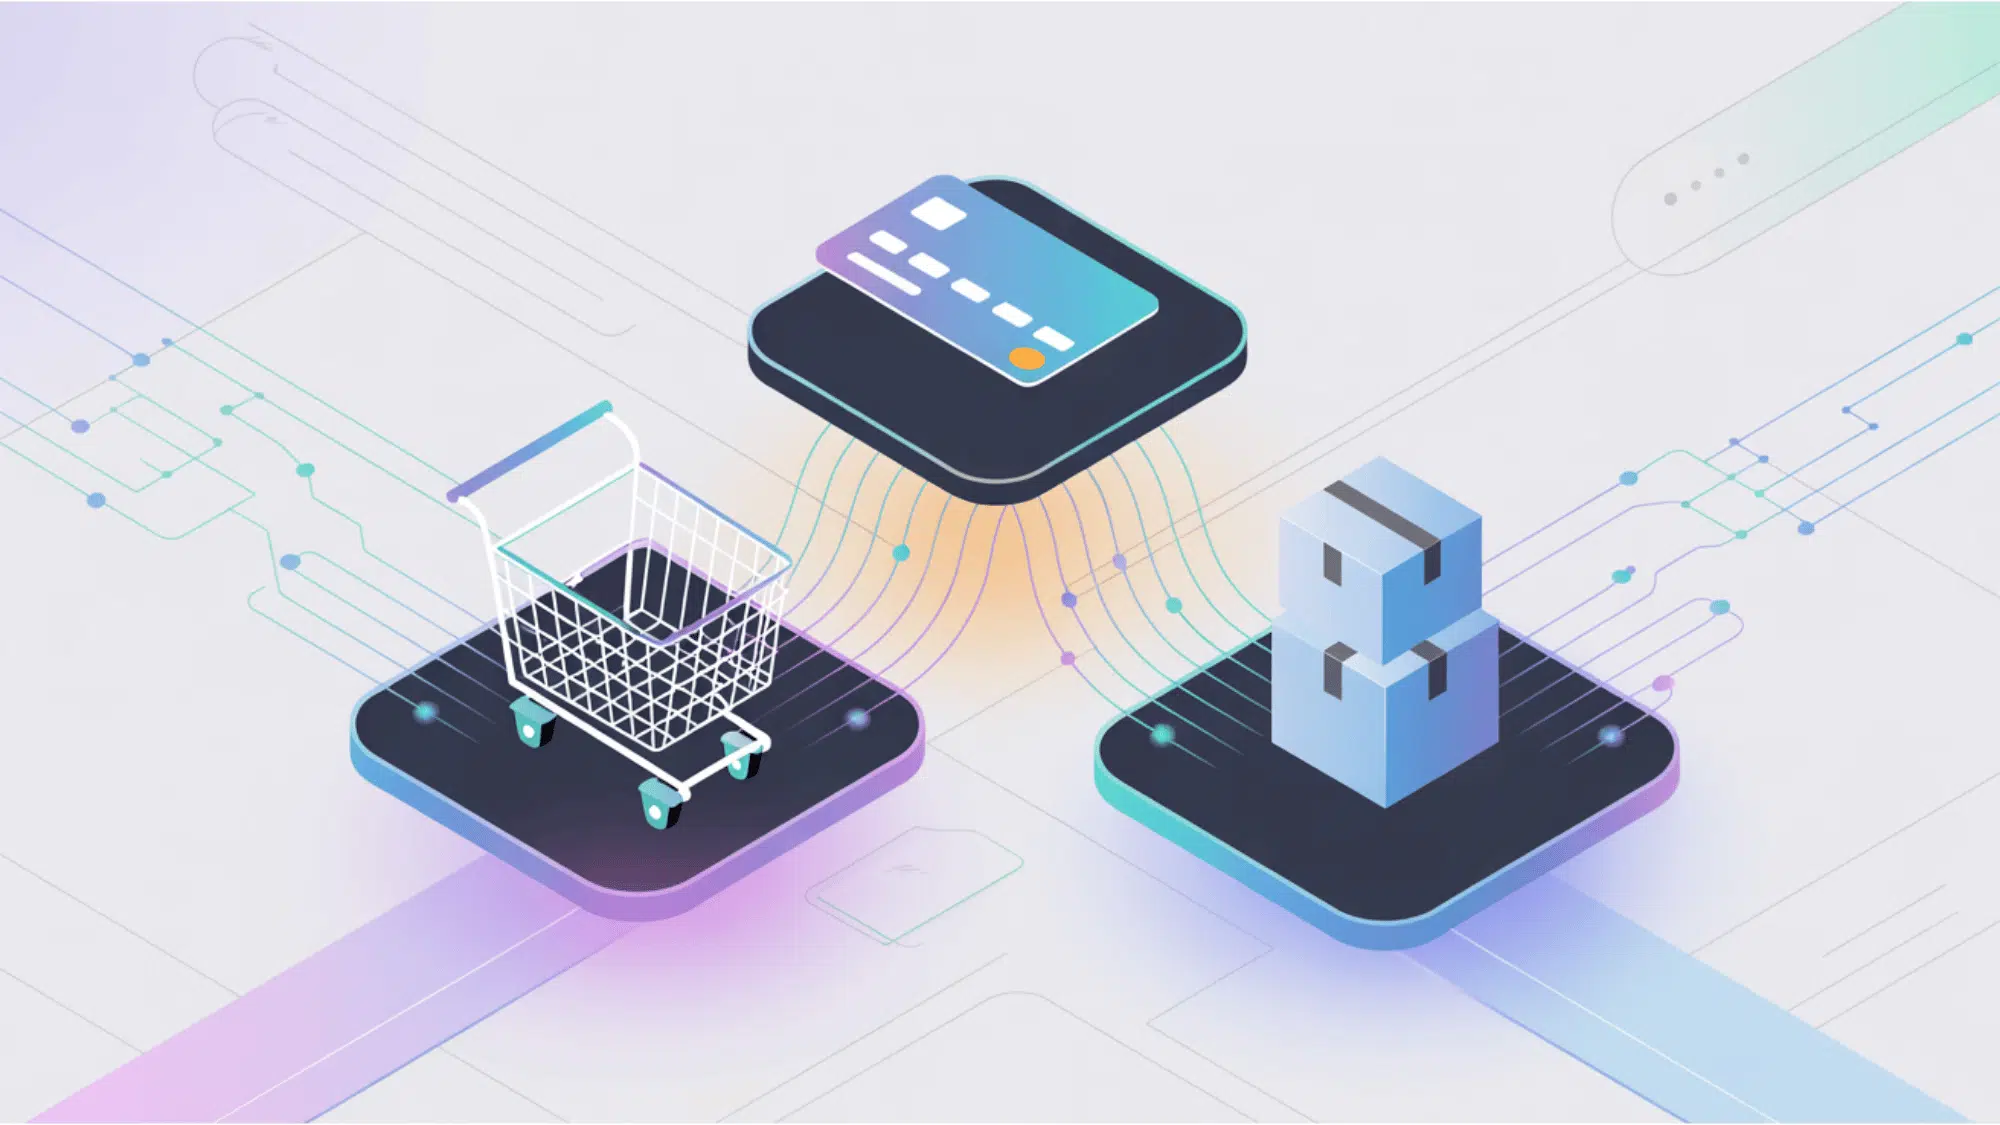
For example, think about an online store checkout. When you buy an item, this testing ensures the shopping cart, payment system, and inventory exchange data without issues.
By catching communication errors early, you stop major problems from reaching your actual users.
Why is System Integration Testing Important?
Combining software parts requires system integration testing to ensure data flows correctly.
Developers who catch these hidden communication bugs early prevent sudden crashes, save money, and help you build a much stronger final product. Here are some perks of this system:
- Catches Defects Early: Testing early catches connection bugs quickly before they spread. This approach saves you significant money, time, and unwanted stress during the final development stages.
- Validates Data Exchange: Close review of communication points prevents minor data errors from causing major failures. Testing ensures that your modules exchange user information securely and accurately, without omitting critical details.
- Prevents Production Failures: Verifying the connected system beforehand stops crashes after going live. This protects your user experience and guarantees the final product works perfectly without random errors.
- Supports Complex Architectures: Modern applications use many separate services. This testing method ensures that your third-party tools and internal APIs communicate seamlessly, keeping complex software running smoothly.
Types Of System Integration Testing

There is no single way to test software. Depending on project size, teams combine modules instantly or build them piece by piece.
Choosing the correct method catches bugs faster and keeps development organized. Here are the most common approaches:
1. Big Bang Integration Testing
In this method, you combine all your software modules and test them together at the exact same time.
I find this approach works best for very small systems where the parts are tightly coupled. It requires less planning since you do not need to test individual connections separately.
However, it can make finding the exact cause of a bug very difficult. If an error happens, you must check the entire system to find the broken link.
2. Top-Down Integration Testing
This strategy starts at the highest level of your application and works its way down. If lower-level modules are not ready yet, testers use temporary programs called stubs to act as stand-ins.
I recommend this method because it lets you verify major design flaws early in the process. It gives you a working prototype much faster.
The main downside is that you spend extra time creating the temporary stubs.
3. Bottom-Up Integration Testing
With this technique, you begin testing at the lowest modules and slowly move upward.
Because the top-level parts are missing at first, you use temporary programs called drivers to send test data. I like this approach for finding basic logical faults at the very beginning.
It is highly useful when your base components are critical to the software. You will not see a working version of the application until the very end.
4. Sandwich Integration Testing
Many testers also call this the hybrid approach. It successfully combines the top-down and bottom-up methods into one highly effective strategy.
You test the top levels and the bottom levels at the same time, eventually meeting in the middle layer. I frequently use this for large projects that have many different sub-projects running at once.
It saves a lot of testing time but requires a highly skilled and organized team to manage.
5. Incremental Integration Testing
This method involves testing two or more logically related modules together.
Then, you gradually add more modules to the system and test them again. I prefer this method because it allows for early defect detection at every single step.
By adding pieces one by one, you always know exactly which new module caused an error. It provides excellent test coverage and keeps the software highly stable.
Below, I have provided a quick table comparing all these different approaches for you:
| Approach | Best Use Case | Pros | Cons |
| Big Bang | Small software projects | Very simple to set up | Hard to find exact bug locations |
| Top-Down | Top-heavy system designs | Checks major design flaws early | Needs many temporary testing stubs |
| Bottom-Up | Bottom-heavy system designs | Finds basic logical faults fast | Working app delayed until the end |
| Sandwich | Large, complex projects | Saves overall testing time | Needs highly organized testing teams |
| Incremental | Step-by-step software builds | Fast early defect detection | Takes longer to finish completely |
How To Perform System Integration Testing (Step-by-Step)
I always use a step-by-step system integration testing plan to catch hidden bugs early. Let me show you exactly how to ensure all your software modules communicate perfectly:
1. Create The SIT Test Plan
The very first step is creating a highly detailed test plan. I always start by defining the overall scope and specific objectives of the project.
You must decide exactly which modules need testing and what the expected outcomes are. It is also important to list all the required resources, including your testing team and schedule.
A clear plan gives everyone a specific target to hit.
2. Set Up The Test Environment
Once your plan is ready, you must set up the proper test environment. This involves configuring all the necessary hardware, software, and network settings.
I always make sure the testing setup perfectly matches the real production environment. You also need to install any external dependencies or databases that the software requires to function.
A matching environment ensures your test results are highly accurate.
3. Identify Integration Points And Interfaces
After setting up the environment, you need to identify all integration points. These are the specific places where different software modules connect and share information.
I heavily focus on these interfaces because they are where most data transfer errors happen. You must clearly define how each component interacts with the others.
Understanding these specific links helps you write much better test scenarios.
4. Design Test Cases, Scenarios, And Scripts
Now you can begin designing your test cases and scenarios. I recommend mapping your scripts directly to the specific testing approach you chose earlier.
You should write clear steps that check both normal and unexpected software behaviors. Proper test scripts tell your team exactly what buttons to click and what data to enter.
This preparation prevents confusion when the real testing starts.
5. Execute The Tests
With everything prepared, you can finally execute the tests. In this phase, you integrate the modules and run your designated test cases.
You can use either manual clicking or automated software tools to complete this step. I highly advise paying close attention to how the data moves between the modules during this phase.
Watch closely for any unexpected errors or missing information.
6. Log And Document Defects
![]()
Whenever you find a bug, you must log and document the defect immediately. I always record the exact error type, when it happened, and its overall impact on the system.
You should include clear steps so the developers can easily reproduce the issue on their own computers. Good documentation speeds up the entire fixing process and significantly reduces miscommunication.
7. Retest And Validate Against Acceptance Criteria
After the developers fix the recorded bugs, you must retest the software.
This final step validates the system against your original acceptance criteria. I double-check the previous errors to confirm that all critical defects are completely resolved.
You also need to ensure that the new fixes did not accidentally break a different module. Once the software passes this validation, the integration phase is officially successful.
Challenges and Best Practices for System Integration Testing
When executing system integration testing, your team will often face specific obstacles. It is normal to experience minor setbacks when connecting different software modules.
However, applying the right solutions ensures your project stays on track. I always review these factors before starting.
| Common Challenges | Best Practices |
Dependencies: Managing complex connections between software modules | Approach: Choose the right testing method for your project size |
Environments: Dealing with highly unstable test environments | Automation: Automate your scripts wherever possible to save time |
Documentation: Struggling with limited project documentation | Records: Maintain clear documentation for every single step |
Data: Handling constantly changing test data | Criteria: Define your exact acceptance criteria upfront before starting |
Final Thoughts
The main takeaway is that system integration testing ensures your separate software modules function perfectly as one reliable system.
We reviewed the different testing types, from big bang to incremental methods, to fit your specific project needs.
I also shared the exact step-by-step process, covering everything from the initial planning to the final validation phase.
When you follow this structured method, you catch communication errors early and prevent highly expensive bugs in your final product.
The next step is to start mapping your integration points before your next software release.
Use these practical tips to build better applications today, and please share your thoughts in the comments below!
Frequently Asked Questions
What is the Main Goal of System Integration Testing?
The main goal of system integration testing is to verify that your different software modules communicate correctly and transfer data without errors when combined into one unified system.
Who Performs System Integration Testing?
Usually, dedicated testing teams or quality assurance engineers perform this testing to ensure the integrated system meets all technical requirements.
Is System Integration Testing Automated?
Yes, you can automate this testing using specialized software tools to save time. However, many teams still prefer manual testing for highly complex scenarios where human observation is needed to spot subtle data flow issues.
How Often Should You Perform System Integration Testing?
You should perform this testing whenever significant code changes occur within your modules. Regular testing cycles prevent small errors from accumulating and becoming much larger problems later in your development process.