


I know that installing access control sounds intimidating, but the process breaks into clear, manageable steps.
You do not need to be a technology expert to secure your building safely. Replacing lost keys and changing physical locks all the time can cost a lot of money and cause unnecessary stress for your team.
A proper access control installation is a much smarter choice for your daily peace of mind. In this post, I will walk you through exactly how to get it done right.
I will go over the simple steps to follow, the exact tools you need, what to consider before you start, and some common FAQs to clear up any confusion.
What is Access Control Installation?
Access control installation is simply setting up the hardware and software that controls who enters a door. Instead of handing out physical keys, you are building a secure digital system.
This setup gives you complete authority over your building security without the stress of tracking down metal keys.
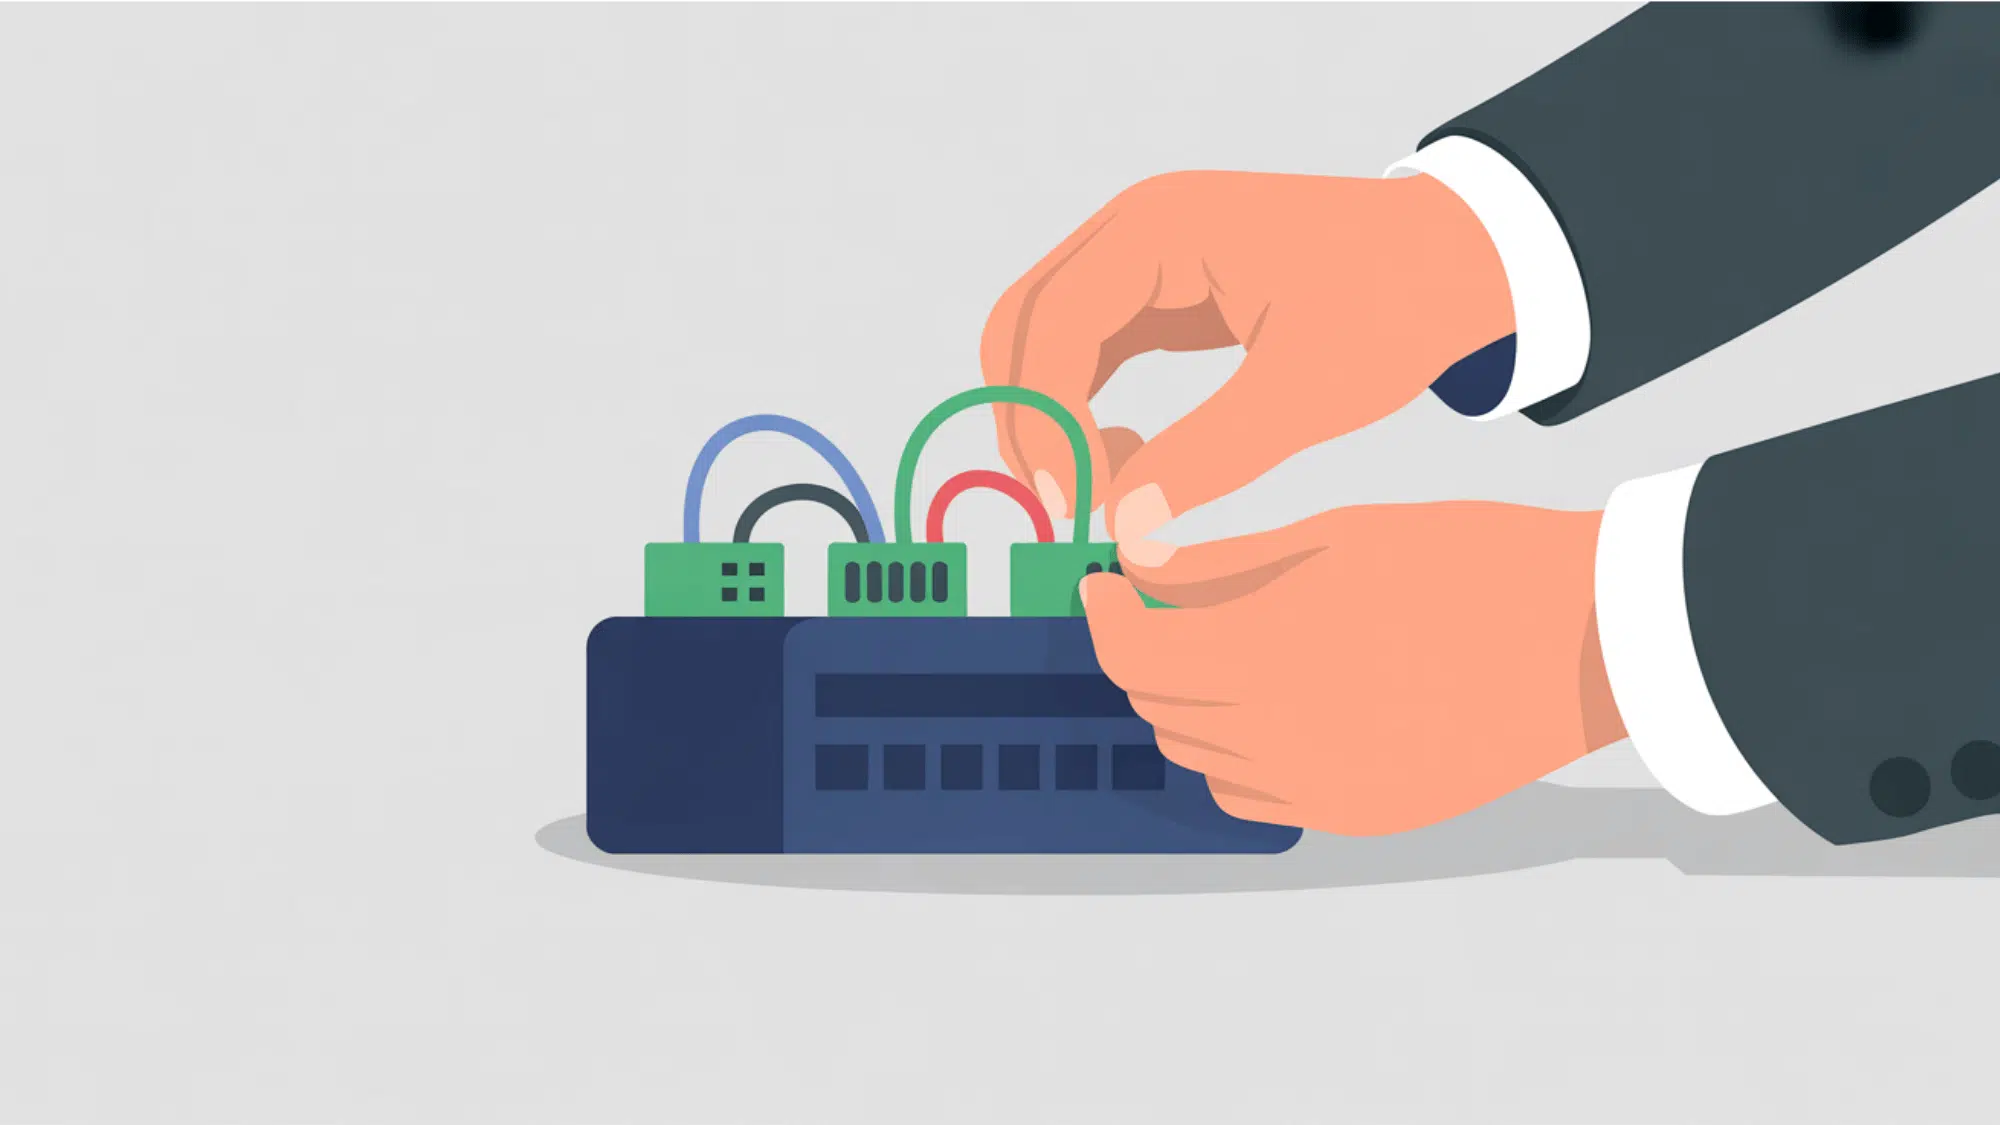
The Three Core Components
Before you start wiring anything, I want you to know exactly what hardware you are dealing with. Every reliable security setup relies on a few essential pieces to function properly. You will need to buy and install three main parts:
- The Control Panel: This acts as the main brain of your system to store all the user access rules.
- The Reader: This device sits outside the door and takes input from a PIN pad or a proximity card.
- The Electric Lock: This is usually an electric strike or a maglock that physically keeps the door shut until it gets the signal to open.
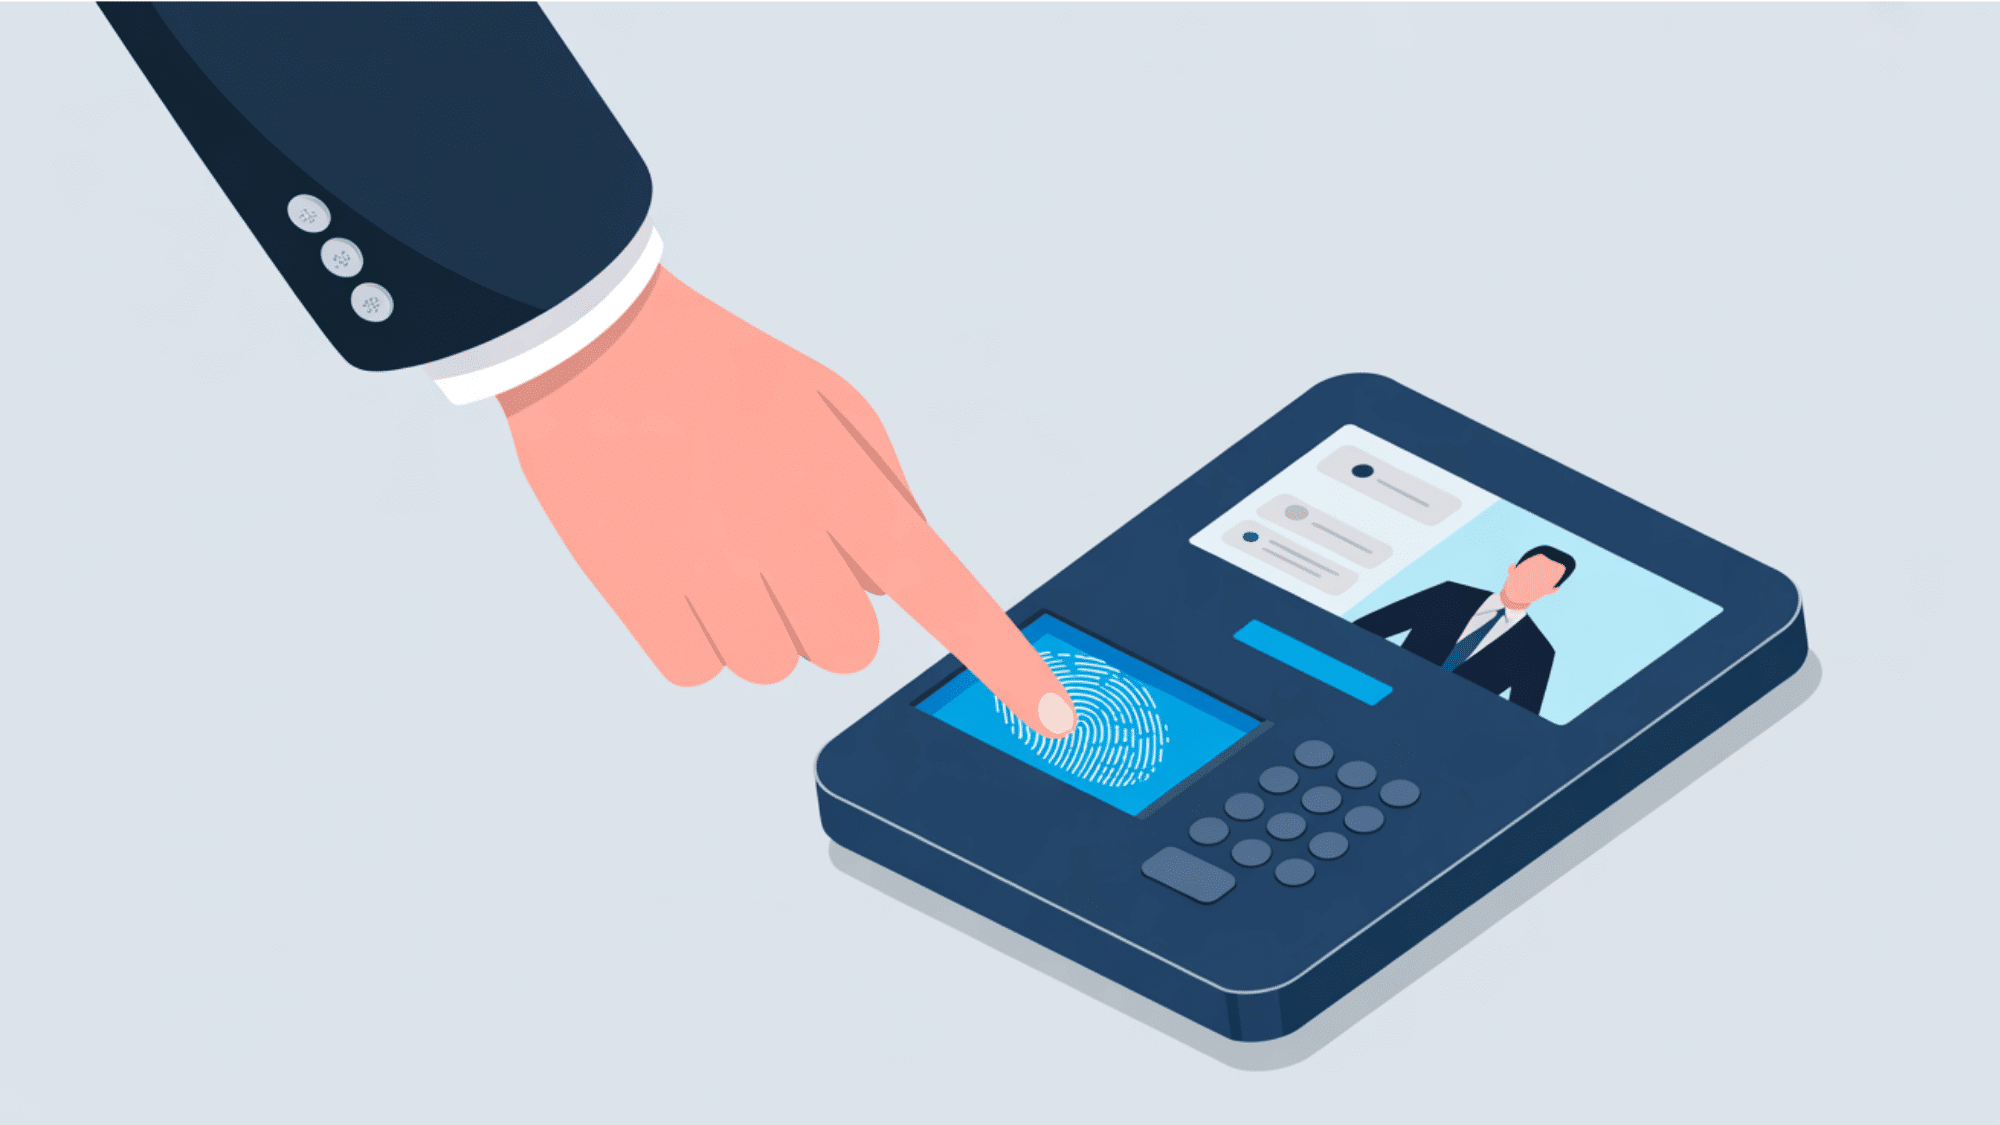
How the System Works Together
Now that you have the parts, you might wonder how they communicate to let someone inside. It is actually a very fast and simple chain of events.
When a person walks up to the door, they present their credential to the reader. This might be a plastic badge or a typed PIN code. The reader immediately sends that data down the wire to the control panel.
The panel acts as the judge to verify the user. It checks if that person has permission to enter at that exact time.
If the rules match, the panel sends a quick electrical signal to the door lock. The lock releases instantly, and the user can walk right in.
Tools and Materials You Need
Before you drill a single hole or run any wire, you must gather the right equipment. Having everything on hand ensures a smooth installation without unnecessary, frustrating trips to the hardware store in the middle of your project.
Basic Tools
You do not need a highly specialized, expensive toolkit to handle this job, but you do need reliable basics.
A good wire stripper is essential for prepping your connections cleanly.
You will need a set of standard screwdrivers for mounting hardware and securing tiny wires to terminal blocks.
A reliable power drill and bit set (appropriate for wood, drywall, or masonry depending on your building) is required for mounting your panels and readers.
Finally, keep plenty of zip ties and reliable wire connectors nearby to keep your wiring neat and properly spliced.
Cable Types
Running the correct wire is the most critical part of your setup. Using the wrong cable can cause power drops or data failures down the road.
Generally, you will use CAT6 Ethernet for connecting your IP-based control panels to your local network.
For power connections, especially delivering voltage to your electronic locks, an 18-gauge/2-conductor wire handles the electrical load perfectly.
For the card readers themselves, which transmit sensitive data back to the panel, you should always use 22-gauge/6-conductor shielded cable to prevent any signal interference from fluorescent lights or other electrical equipment.
Here is a quick reference table to help you remember what each item does during your installation:
| Tool / Cable Type | Primary Use During Installation |
| Wire Stripper | Safely removing the outer jacket and insulation from cables without cutting the inner copper. |
| Screwdrivers | Securing wires into the control panel terminal blocks and mounting hardware to the walls. |
| Drill and Bits | Creating holes for wall anchors, mounting plates, and routing wires through door frames. |
| Zip Ties & Connectors | Securely splicing wires and organizing cables inside the control panel box for a clean look. |
| CAT6 Ethernet | Providing a secure network connection from the building router to the main control panel. |
| 18/2 Conductor Wire | Supplying electrical power from the power supply board directly to your electric door locks. |
| 22/6 Shielded Wire | Connecting the reader to the control panel to transmit data (like card swipes) without interference. |
Access Control Installation Step-by-Step
Installing a security system requires careful planning to avoid expensive mistakes. Let’s see how to easily set up your access-control layout, cabling, and software.
1. Design and Plan the Installation
A good installation starts long before you pick up a drill.
The first step is to survey your site carefully. You need to walk through the building and identify exactly which doors require security. During this step, you must also check local building regulations and fire safety codes.
Your access points must not conflict with fire escape rules or block emergency exits. Planning this out early prevents major headaches and keeps your building fully compliant.
2. Mount the Control Panel
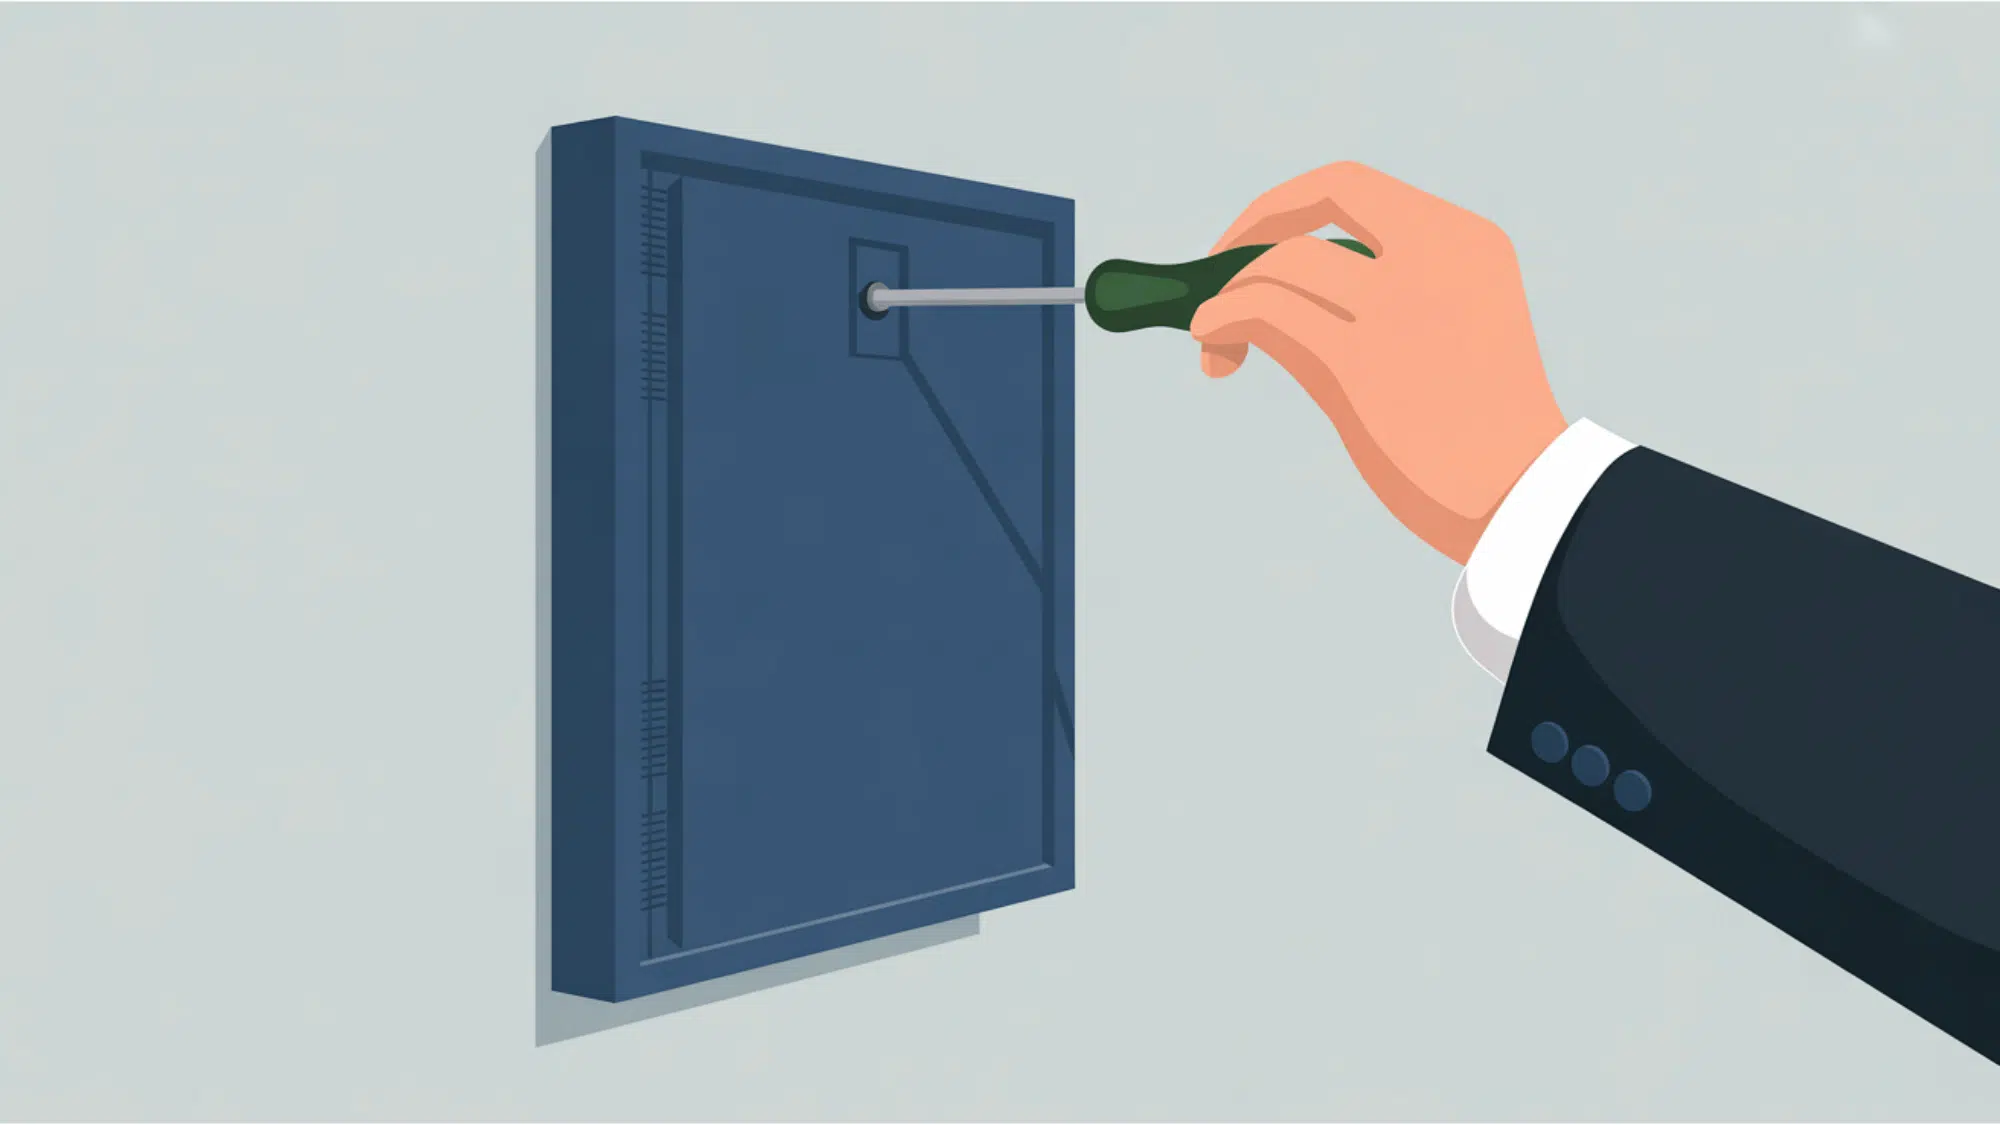
The panel is the brain of your new security setup.
You should mount the main control panel in a secure, dry, and temperature-regulated spot. For indoor equipment, the temperature should stay between 0 degrees and 40 degrees Celsius.
Make sure to place the panel near a reliable 110 VAC power outlet so you do not have to stretch power cords too far. Keeping the panel in a safe room also prevents people from tampering with the main wiring.
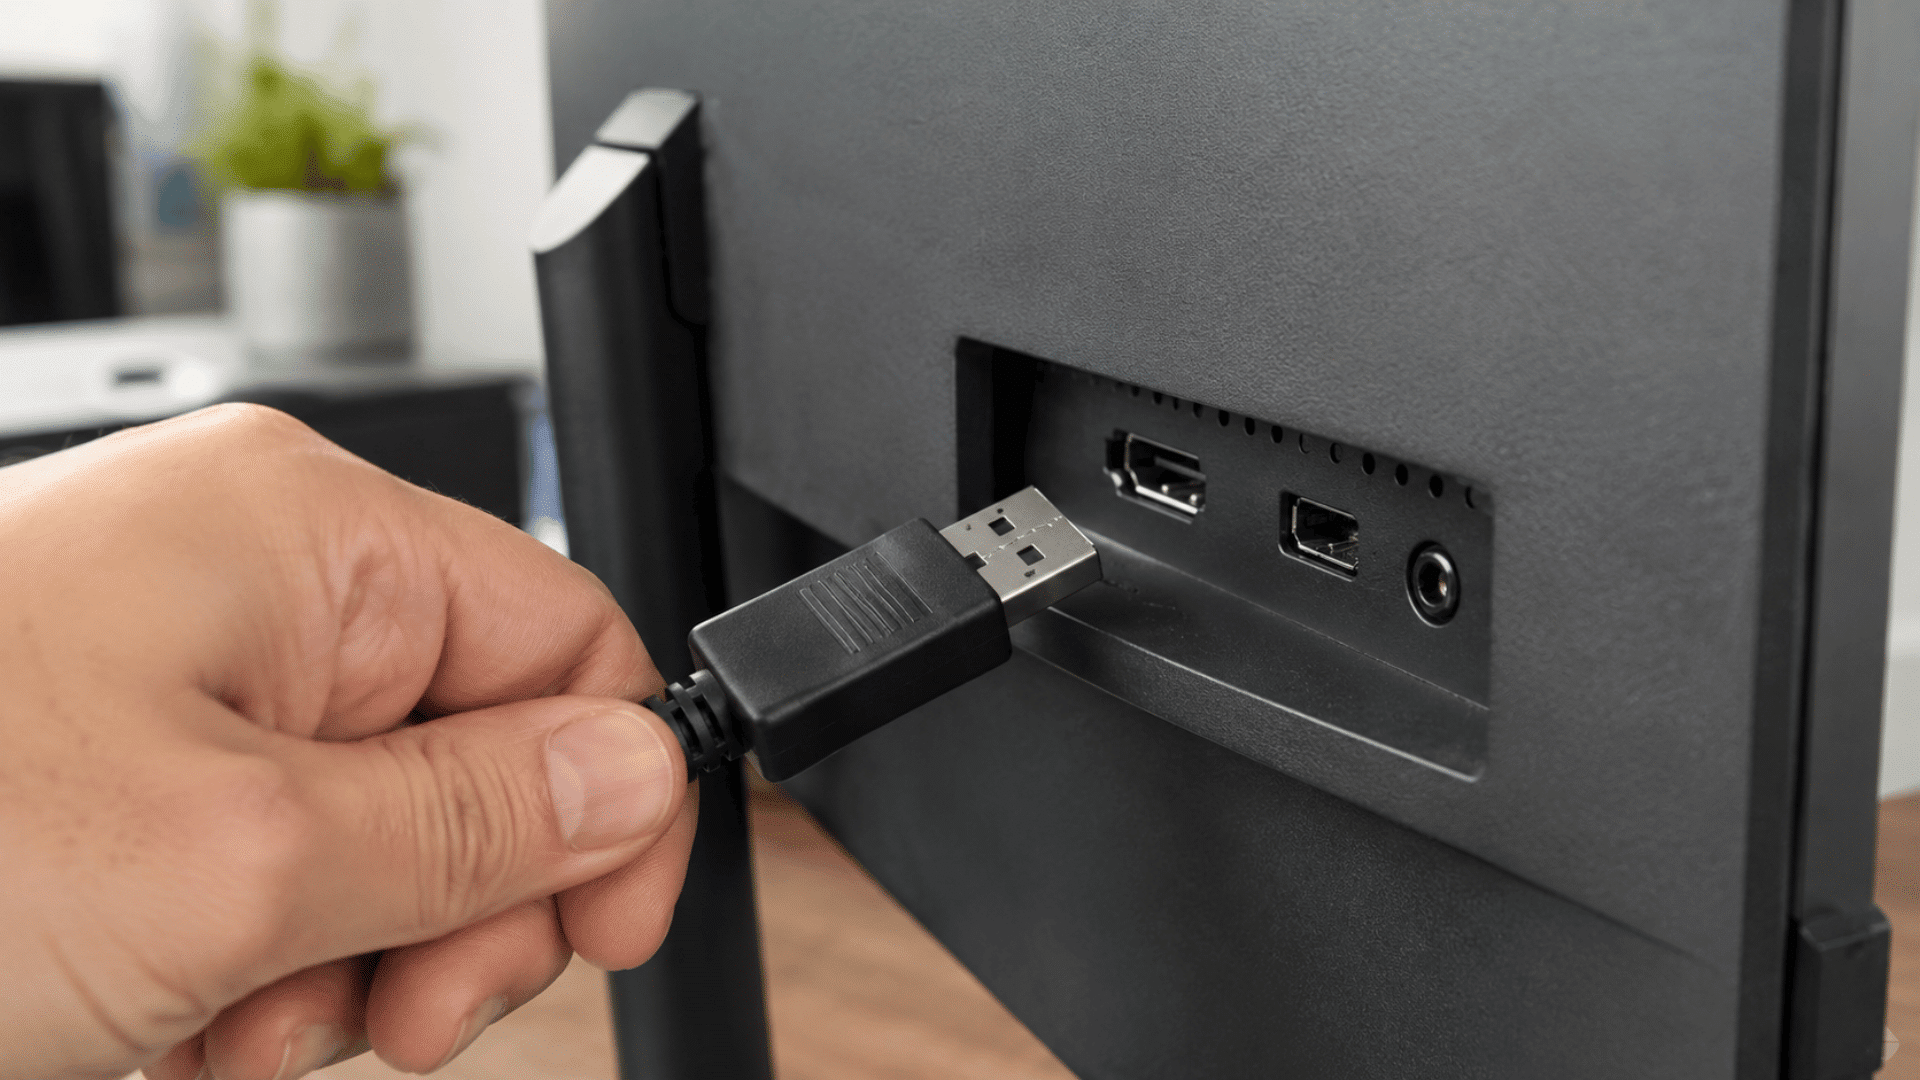
3. Run the Cabling

Proper wiring keeps your data flowing without any interruptions.
Once your panel is up, it is time to pull the wires to each door. You must run dedicated cables for your card readers and separate cables for the electric locks.
Keeping these wires separate helps you avoid any electrical interference that could scramble the data signals. Always leave a little extra wire at both ends so you have enough room to strip and splice the connections easily.
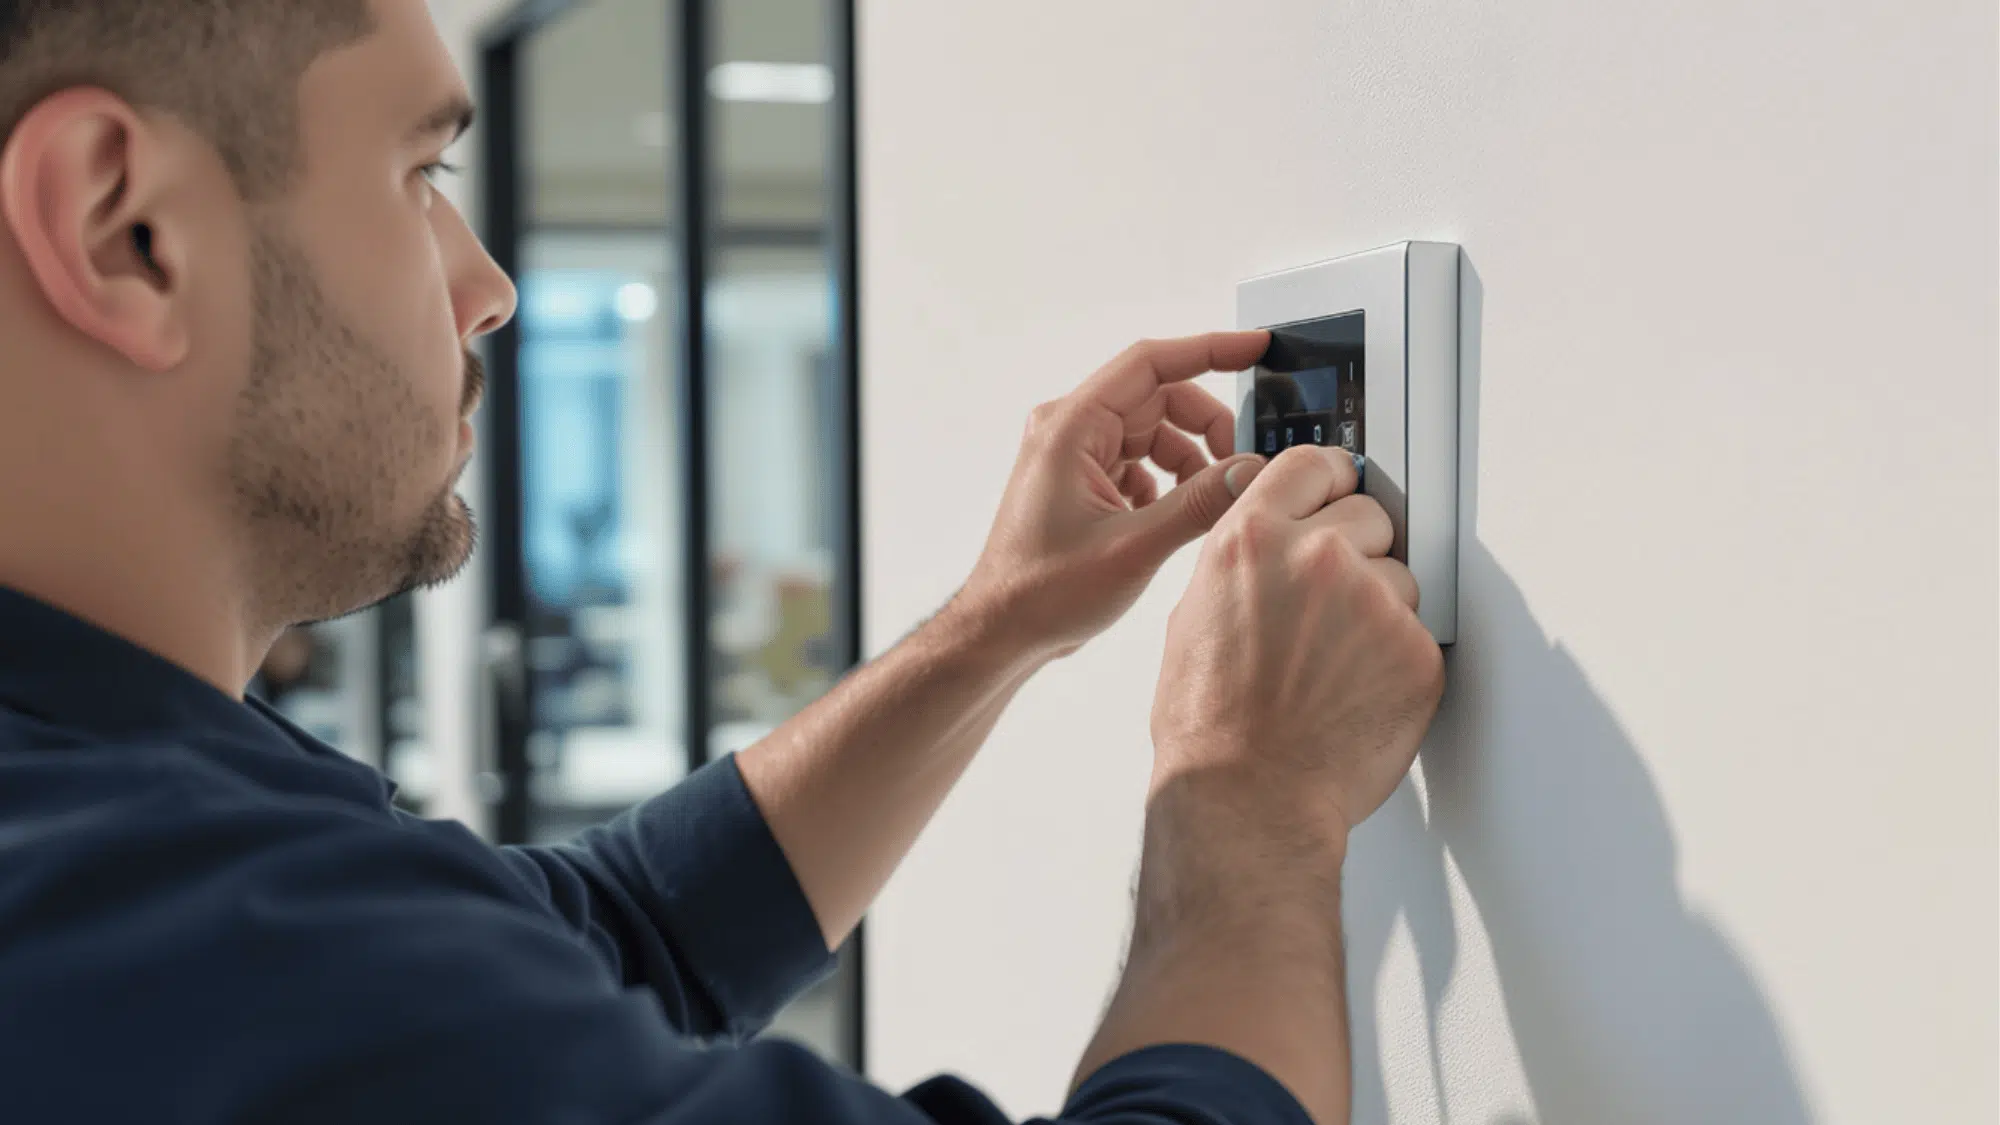
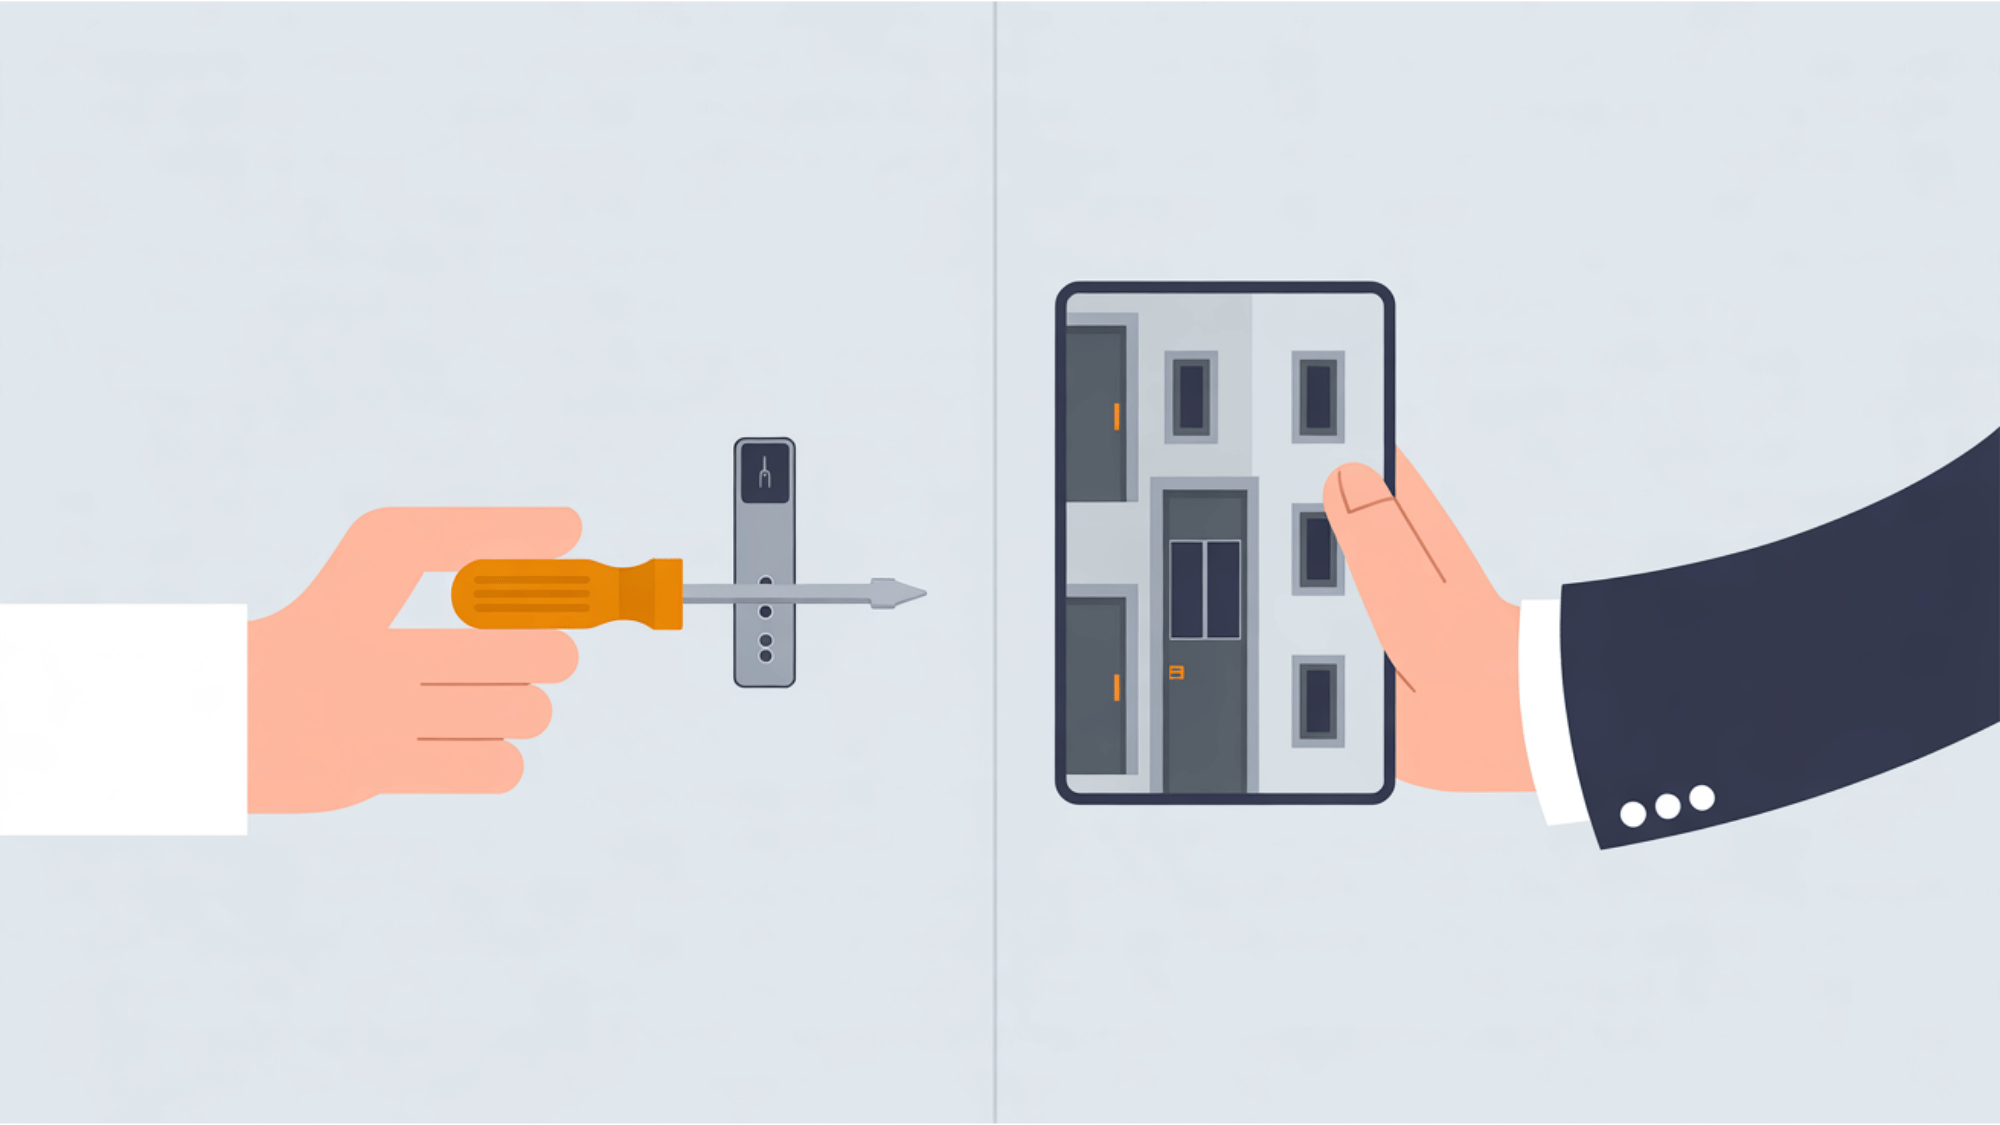
4. Mount Readers and Locks
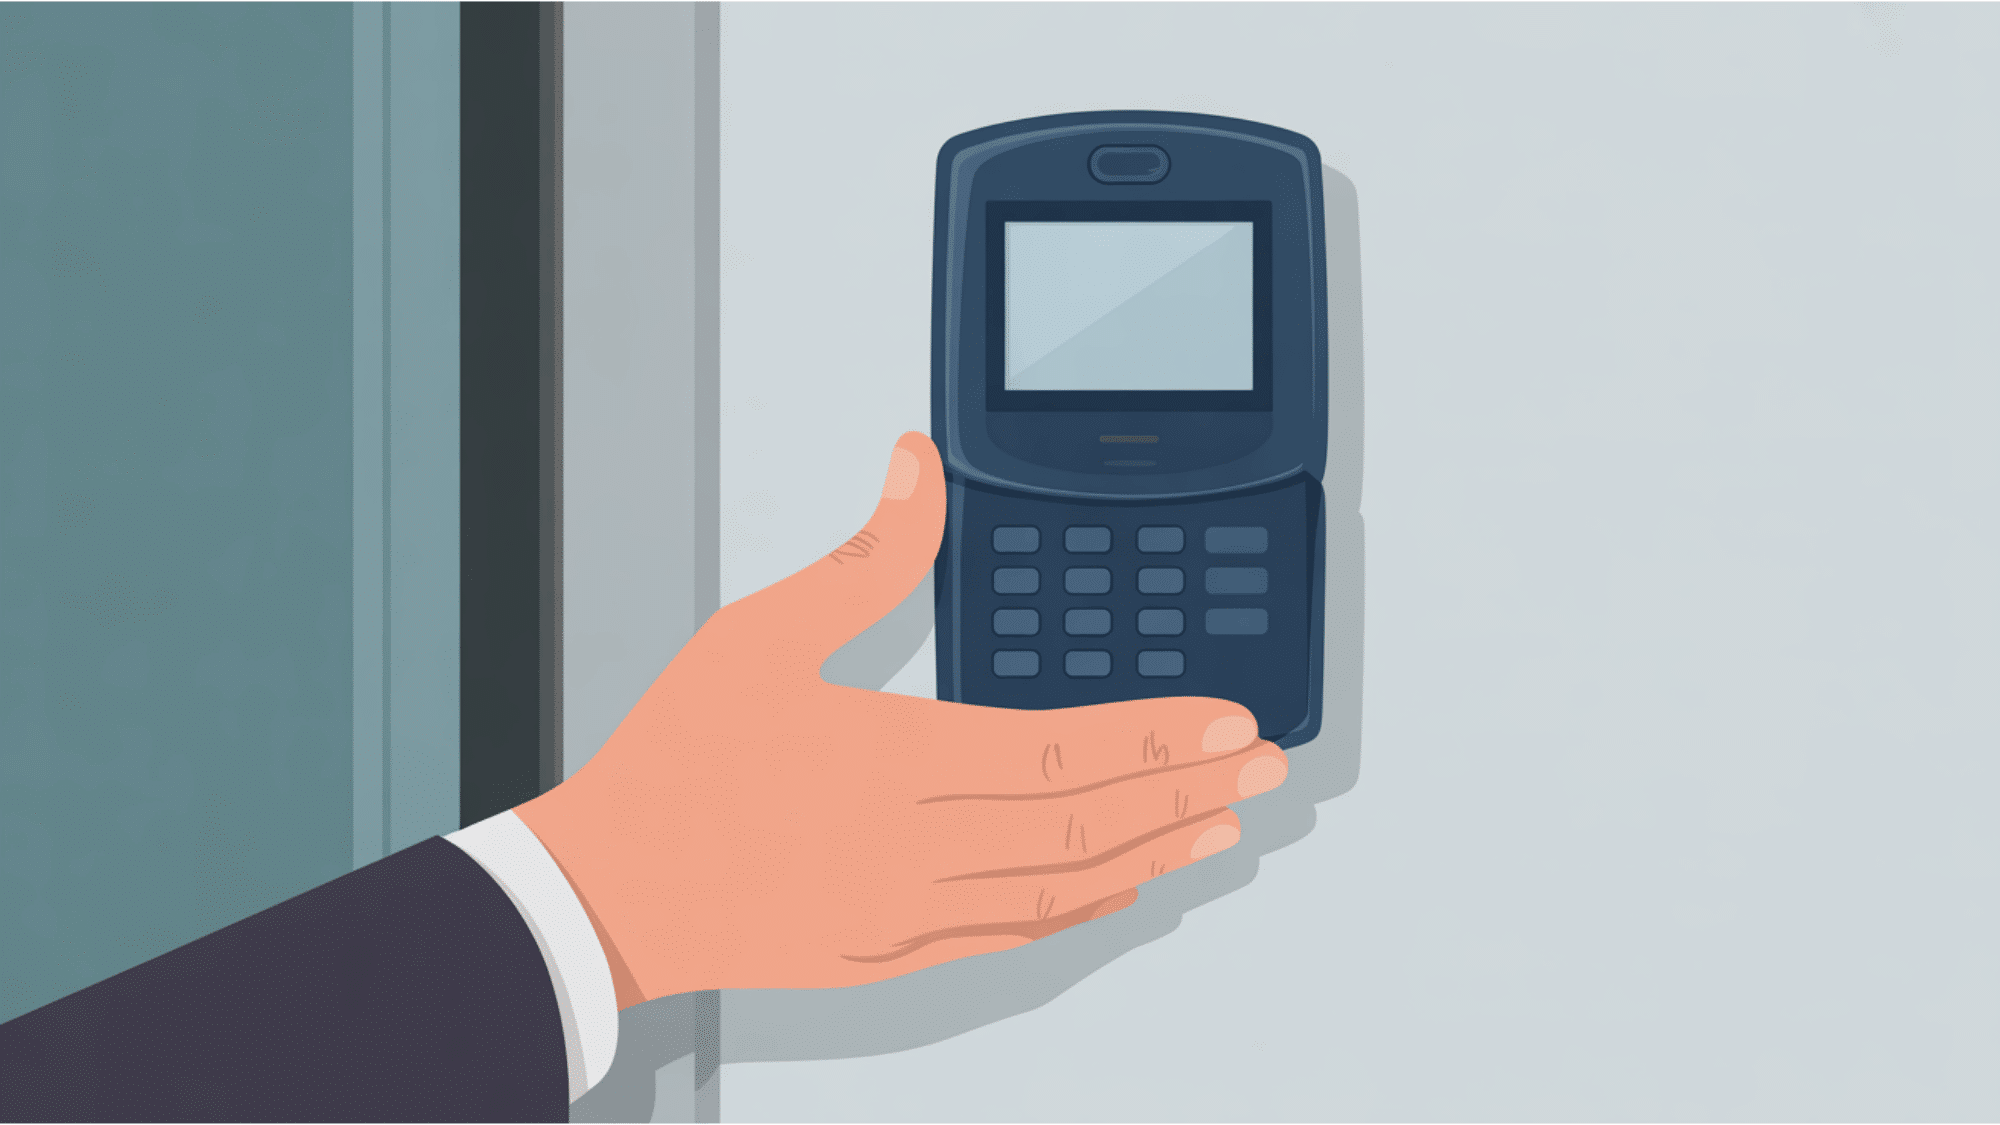
This is the hardware your users will interact with daily.
Now, securely mount your access readers adjacent to their specific entry points. I usually place the reader at a comfortable chest height, roughly 34 to 48 inches from the floor, so it is easy for everyone to reach, including people with disabilities.
Next, attach the magnetic lock or electric strike to the door frame. Make sure the lock aligns perfectly with the door to prevent jamming.
5. Wire Everything to the Controller
It is time to link all your components back to the main brain.
With your hardware mounted, connect the cables to the terminal blocks inside your control panel. You will need to wire the readers, the door locks, and the exit buttons into their specific labeled ports.
Connect your main power supply and the backup battery so the system stays online during power outages. Finally, plug in the Ethernet cable to link the panel to your building network.
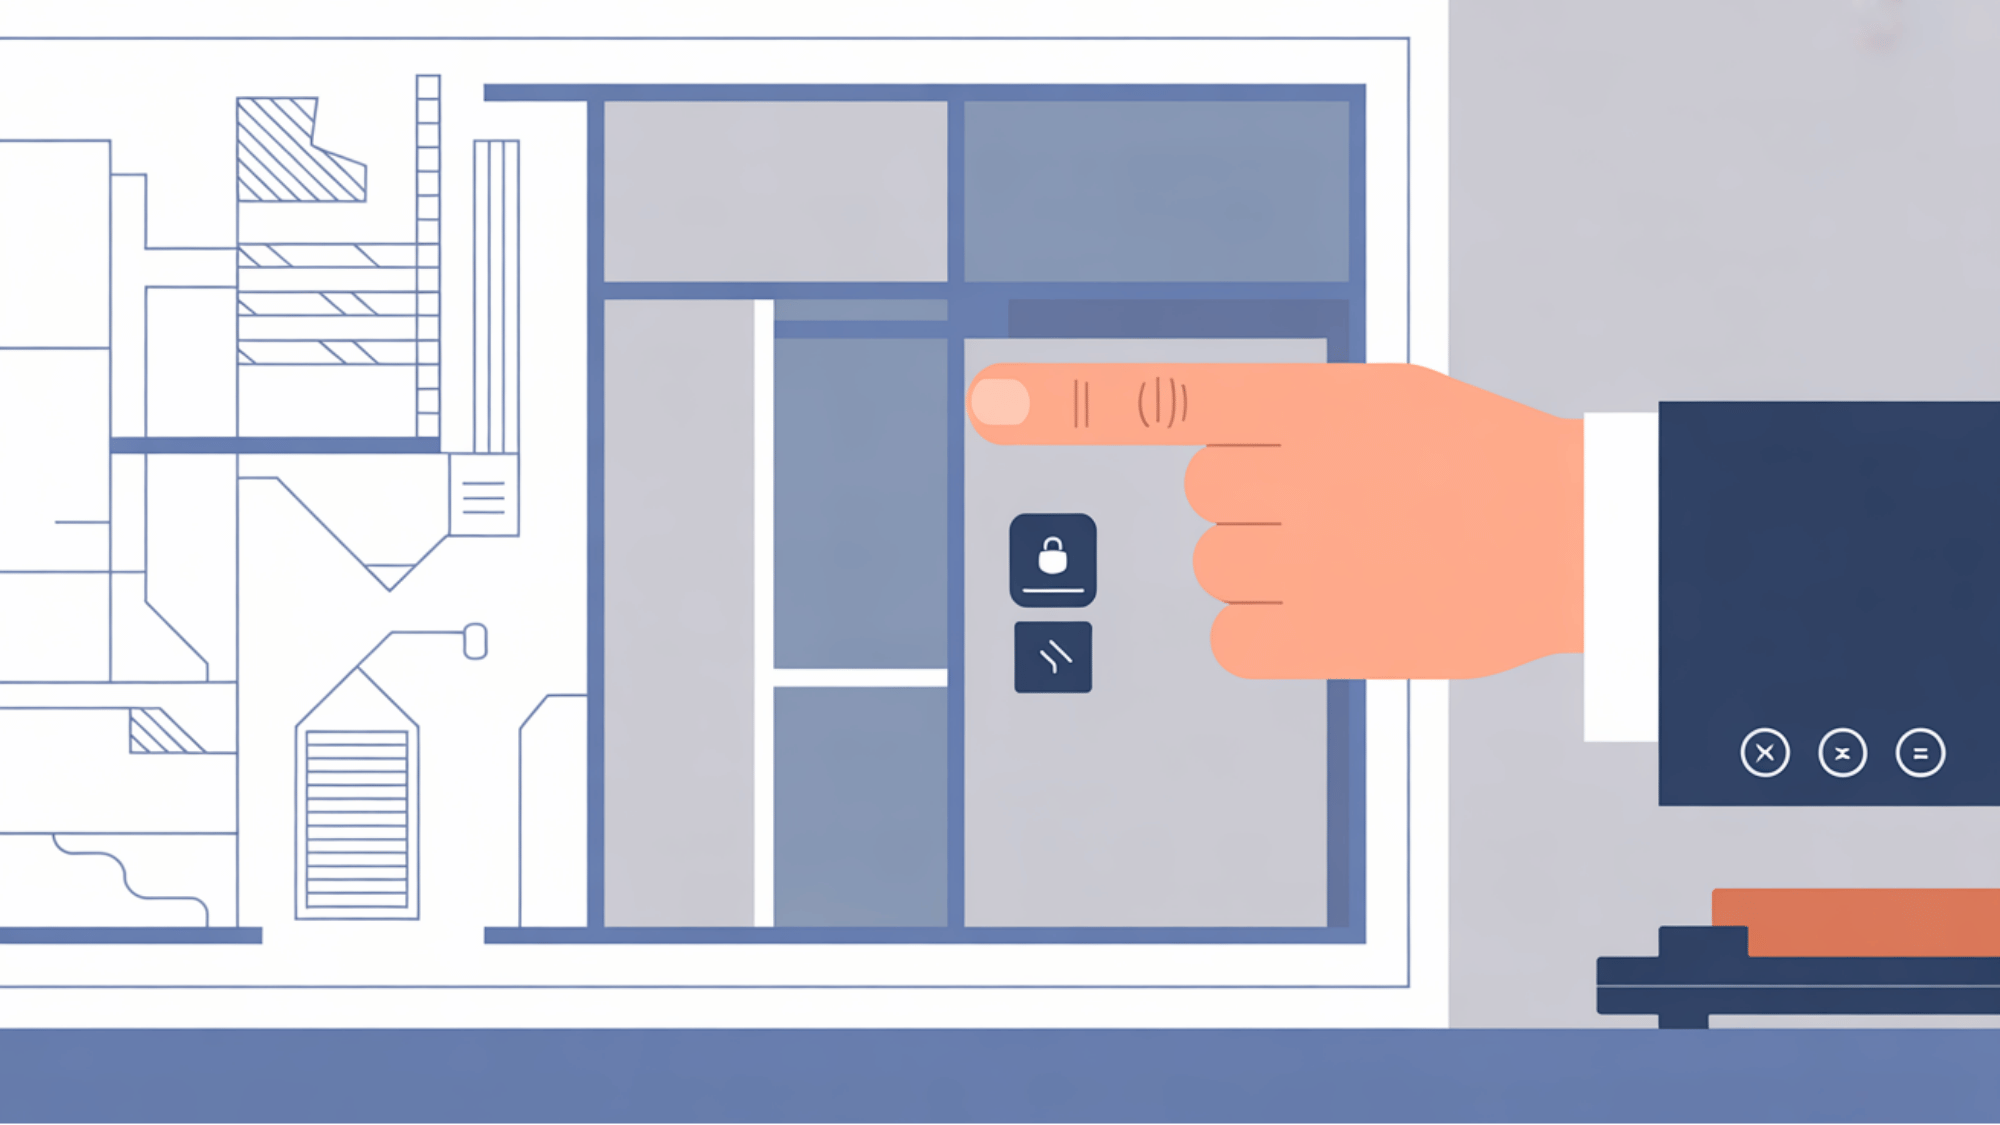
6. Configure the System
The hardware is ready, so let us set up the software side.
After wiring, power on the system and log into the management software using a connected computer. Here, you will create administrator accounts and define your user access rules.
You can set up specific schedules, deciding who gets to enter the building and at what times. Taking the time to configure these settings properly is what gives you total control over your facility and keeps unwanted guests out.
7. Inspect, Test, and Onboard Users
You must test everything before officially opening the doors.
The final stage is verifying that the system actually works in real life. I always follow a simple numbered process:
- Test a valid credential to confirm the door opens within two seconds.
- Test an invalid credential to make sure access is denied immediately.
- Train your administrators on how to add or remove users from the software.
- Perform a final retest of the fire alarm integration and emergency break glass switches to confirm doors fail open safely.
What to Consider Before Installing
I always evaluate a building’s layout and structural needs before buying security hardware. Here is exactly what you should check to prevent expensive mistakes and keep your property safe.
| Security Consideration | How It Works | My Advice For You |
| Wired vs. Wireless Systems | Wired systems use physical cables to link locks to the main panel. Wireless locks use batteries and network signals. | Highly recommend wired setups for busy main doors. They are stable and never drop the connection. Use wireless locks on interior doors, but monitor their battery life. |
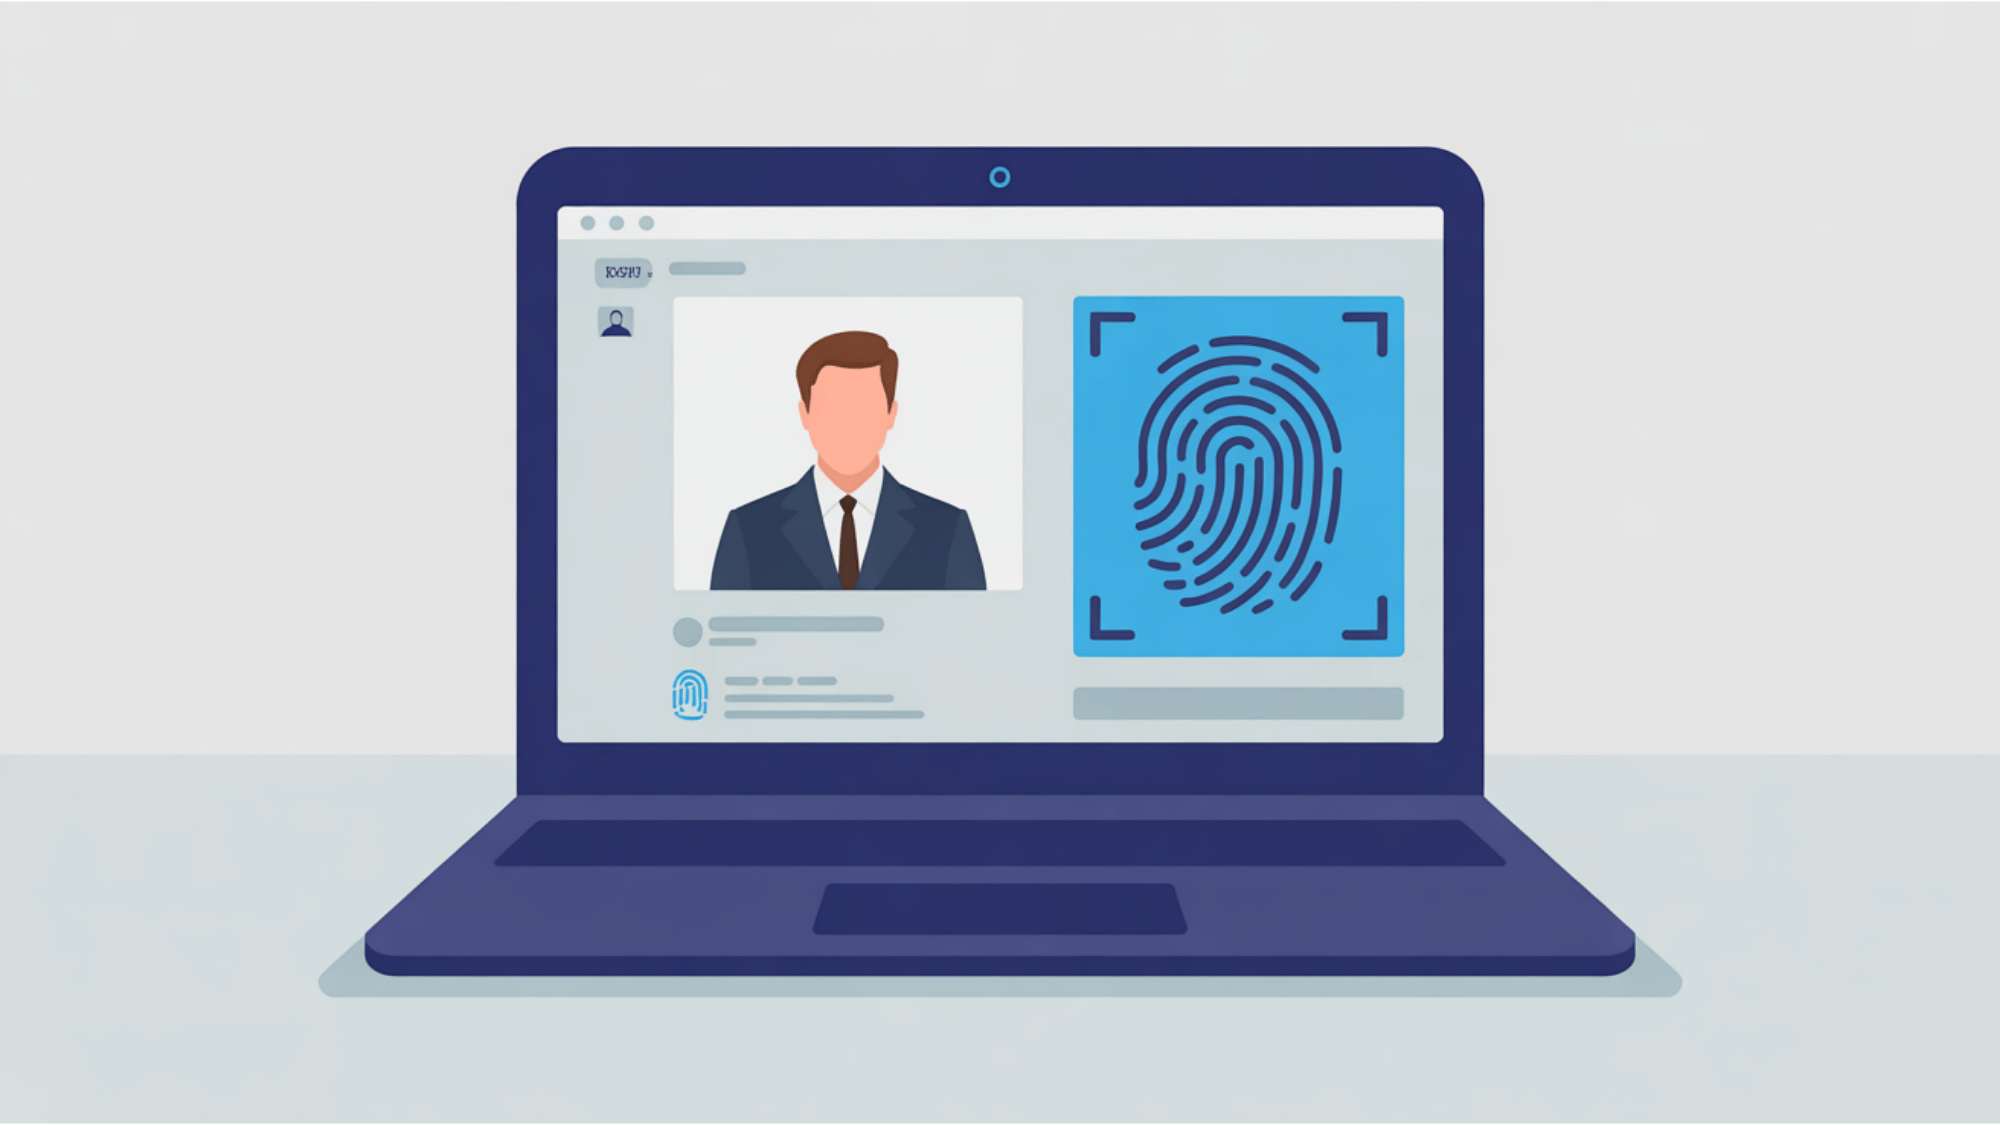
| Credential Types | This decides how your team opens doors. Options include plastic fobs, PIN codes, smartphone apps, and biometric scanners such as fingerprint readers. | Mobile apps and fobs are great for daily use. Suggest biometric scanners for highly secure rooms. Be careful with PIN codes, as people share them easily. |
| Costs And Ongoing Fees | You must pay upfront for control panels, card readers, tools, and cables. Cloud systems also charge a monthly or yearly software fee. | Look past the initial price tags. Budget for the mounting hardware and cable spools. The ongoing fees help you manage doors remotely and keep your system up to date. |
| Fire Safety And Emergency Exits | Your system must comply with local building codes to protect human life. Fire routes need fail-safe locks that open when power drops. | Never let hardware block an emergency exit. Always install a green break-glass switch at every door. This physical switch cuts power if the network fails. |
DIY vs. Hiring a Certified Installer
Choosing to install security systems yourself or pay an expert is tough. Doing it alone saves money, but one wiring mistake leaves your building unprotected. I always suggest weighing your technical skills against the job size.
- When You Can Do It Yourself: I suggest installing it yourself if you only need a single lock on an interior door. These simple setups skip complex cables since the memory stays inside the keypad. You save money easily.
- When To Call A Professional: I highly recommend hiring a skilled expert for big office setups with many daily users. Certified technicians meet strict fire safety rules and protect your expensive hardware warranty from costly personal wiring mistakes.
Final Thoughts
Handling an access control installation may feel like a major task at first, but breaking it down into clear steps makes the entire process manageable.
By carefully planning your layout, pulling the right cables, mounting your readers, and setting up your software, you can secure your building safely.
You do not need to feel overwhelmed when upgrading your property’s security.
Even if you choose to tackle a simple standalone door on your own or call a professional team for a large centralized network, taking these actions will give you total peace of mind.
Try these steps to upgrade your building security today.
Frequently Asked Questions
How Long does Access Control Installation Take?
Wired installations usually require four to eight hours per door to mount hardware and pull cables. Centralized software setup and network configuration add several hours to the final deployment.
Where Should Access Control Systems be Installed?
Place your readers at main entrances, restricted employee areas, and storage rooms. Keep the main control panel inside a safe utility room away from public contact.
How Much does it Cost Per Door?
A standard commercial system generally costs between $1,500 and $3,000 per door. This price includes the locking hardware, credentials, card readers, and professional labor.
Can I Install Access Control Myself?
Yes, you can easily wire standalone keypads or small electronic smart locks yourself. However, you should hire a licensed technician to build complex multi-door networks for safety code compliance.