



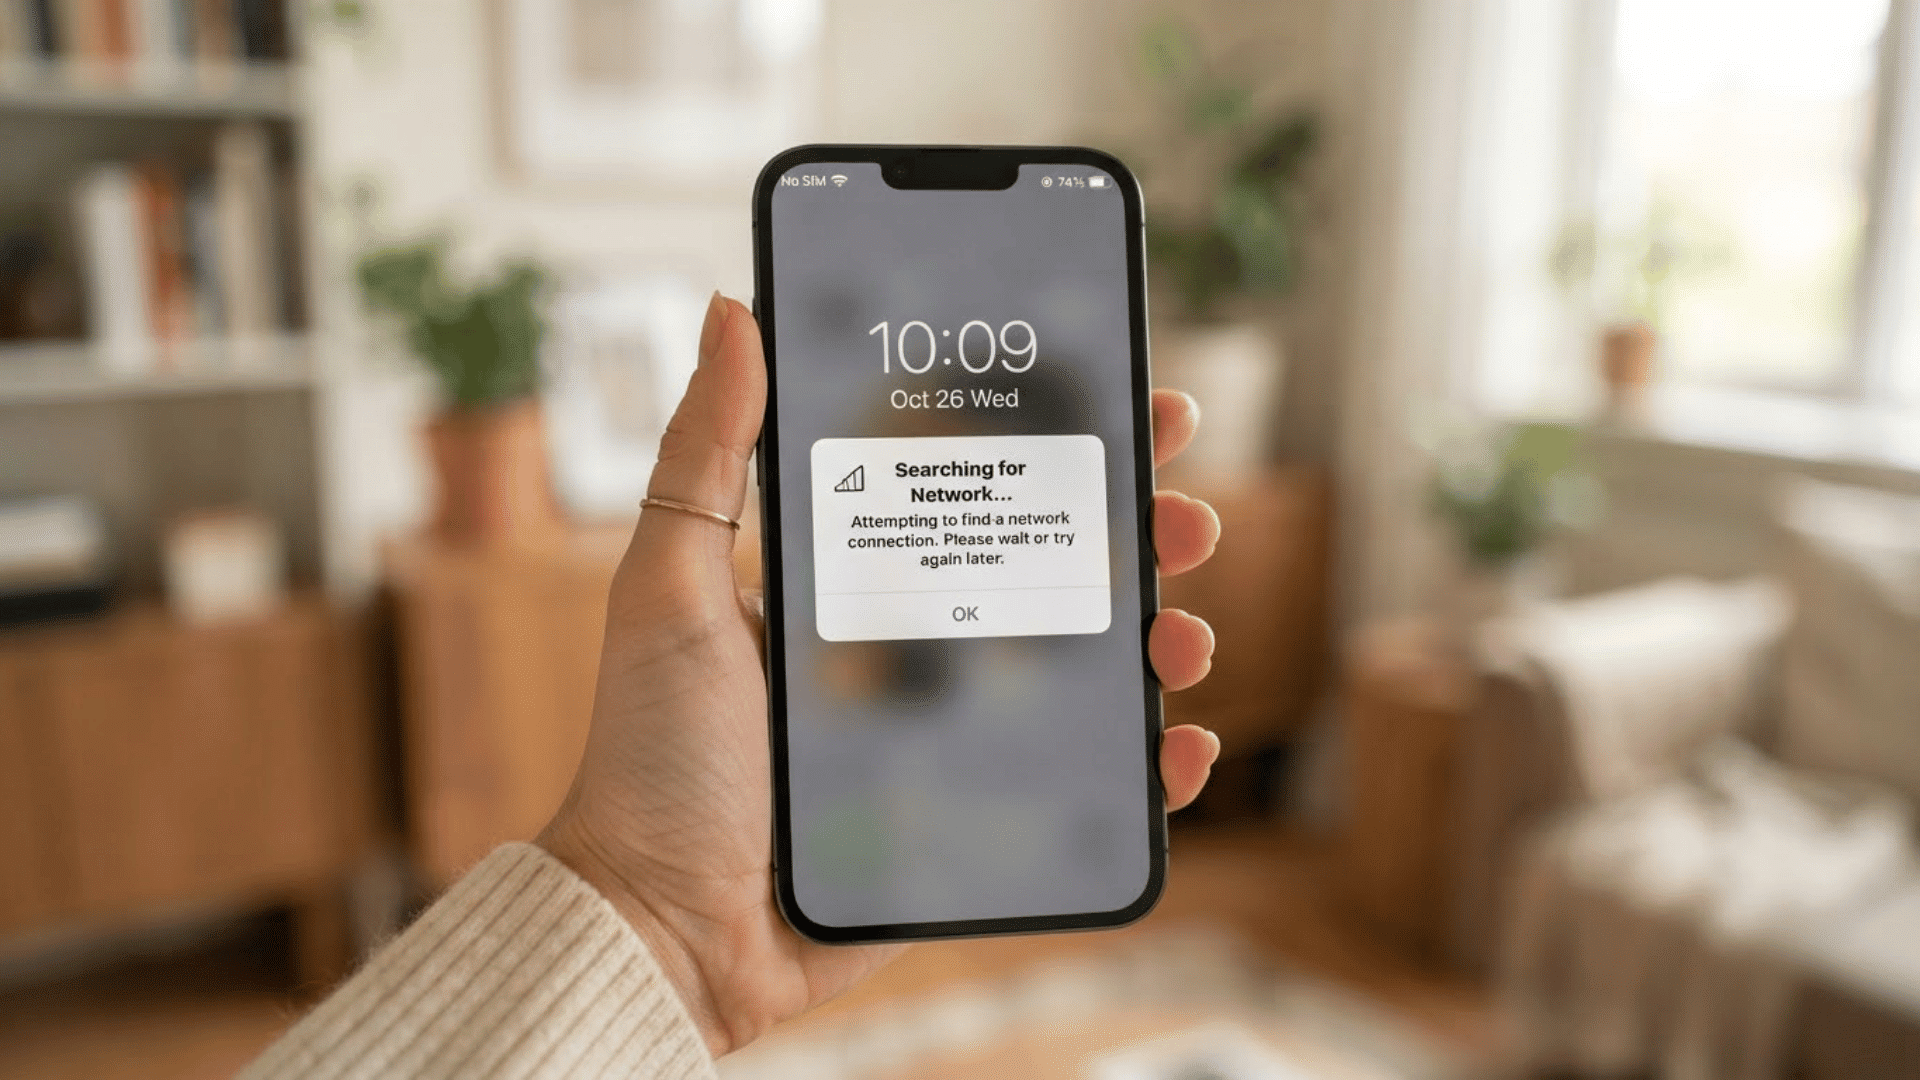
Putting an iPhone in recovery mode lets a computer repair or reinstall iOS when the phone cannot start normally.
I have used it after failed updates and on iPhones that stayed frozen on the Apple logo. In both cases, a normal restart was not enough to get the phone working again.
Recovery mode is Apple’s built-in repair screen. It gives Finder, the Apple Devices app, or iTunes access to the device when iOS cannot load correctly.
According to Apple Support, recovery mode is meant for specific software problems rather than every frozen app or slow response.
The process takes only a few minutes, but each iPhone model uses a different button sequence.
Quick Answer: To put an iPhone in recovery mode, connect it to a computer. Press Volume Up, Volume Down, and hold Side until Connect to Computer appears.
What Recovery Mode does and When I Use It
Recovery mode lets a computer communicate with an iPhone when iOS cannot load normally.
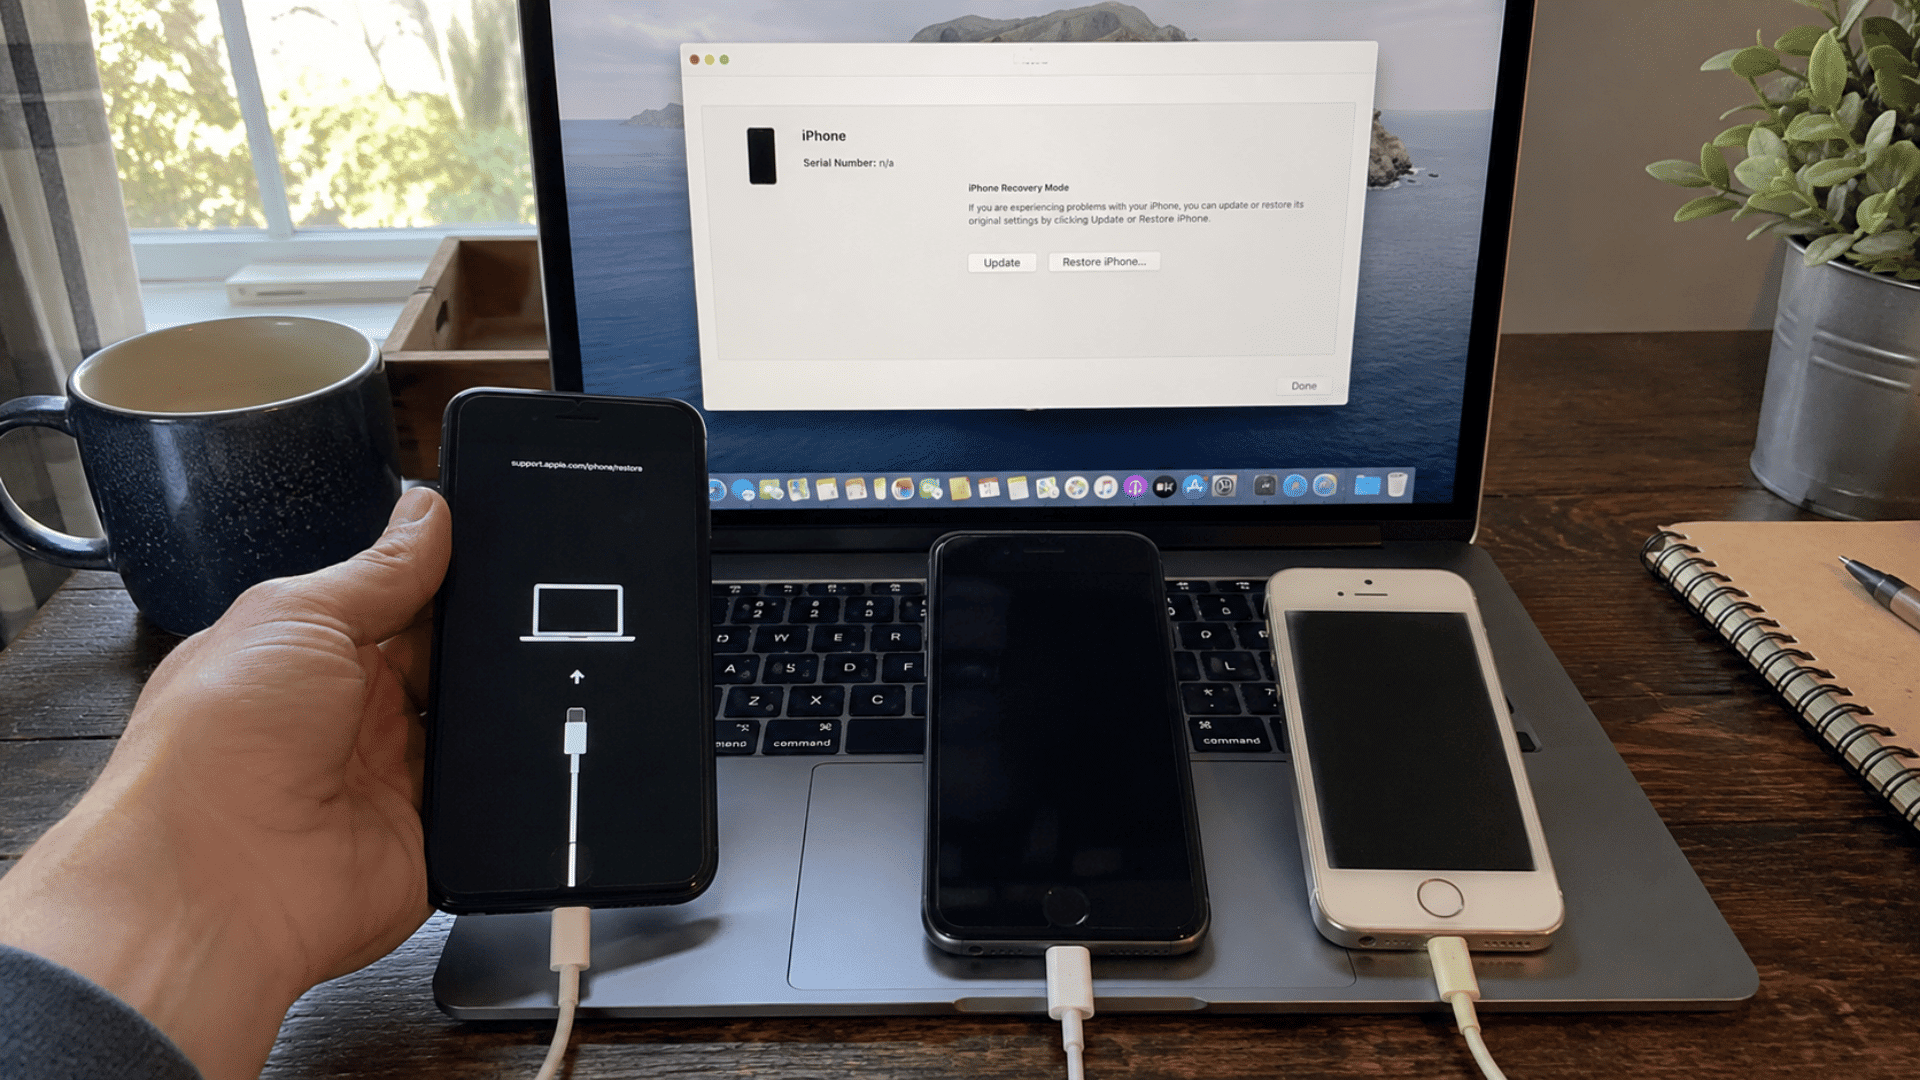
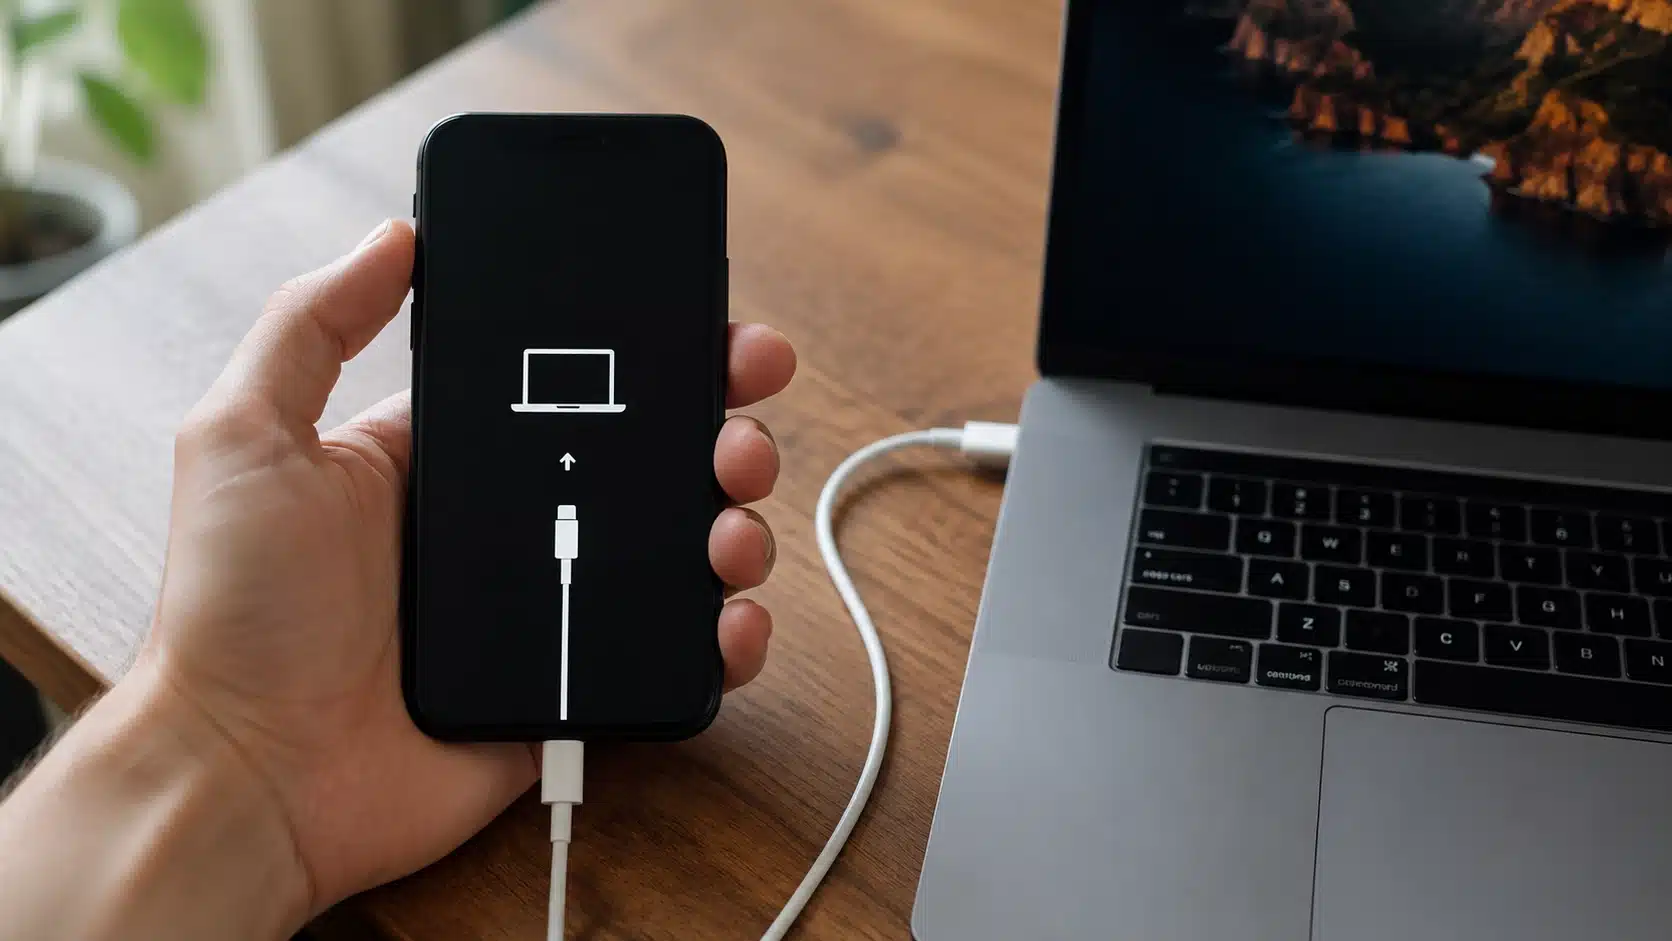
Instead of the Home Screen, it shows a cable-and-computer icon while Finder, the Apple Devices app, or iTunes handles the repair.
I use recovery mode for failed updates, a frozen Apple logo, or a phone that opens the Connect to Computer screen.
It can also help when a computer reports that the iPhone is already in recovery mode.
Recovery mode differs from DFU mode, which works at a deeper firmware level. Entering recovery mode does not erase the iPhone.
Data loss only happens if you choose Restore after connecting, according to Apple Support. For a slow app or frozen screen, I try a force restart first.
What You Gather Before You Start
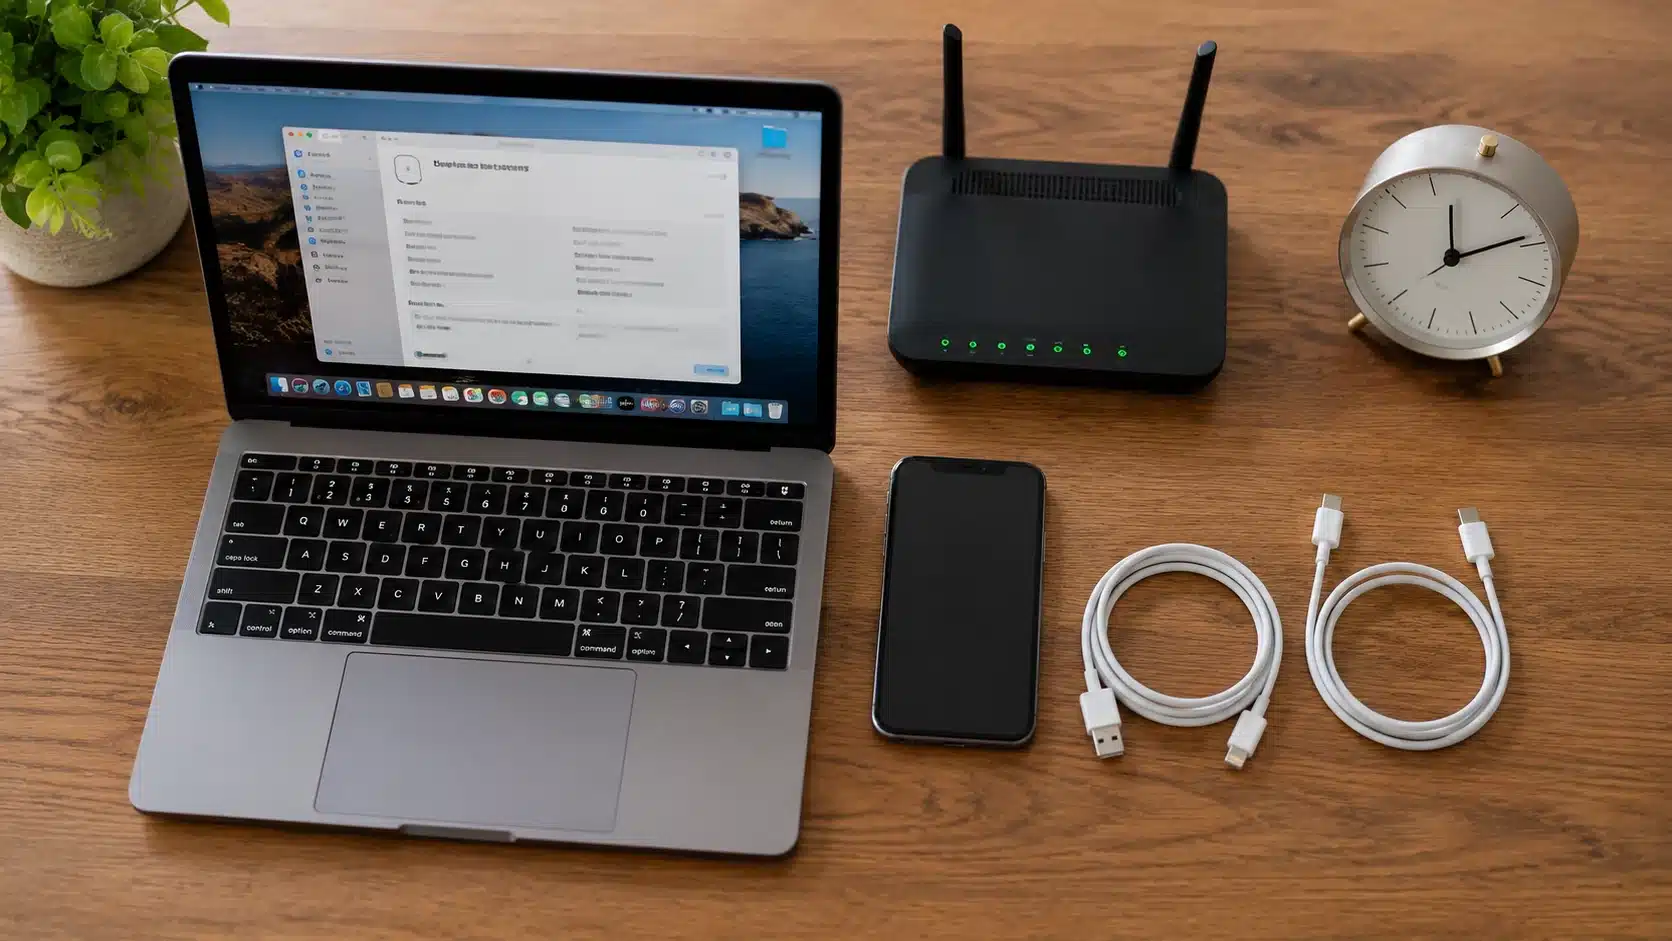
Check these basics first. A missing piece is the most common reason recovery mode “doesn’t work” for people.
| What You’ll Need | Why It Matters |
|---|---|
| A Mac or Windows PC | Recovery mode needs a computer connection; the phone can’t do this alone |
| A USB or USB-C cable | The original cable, or any charge-capable one, works fine |
| Finder, Apple Devices app, or iTunes | This is how your computer detects and communicates with the iPhone |
| An internet connection | Needed if the process ends up downloading or reinstalling iOS |
| 15 to 60 minutes | Software downloads can run long on slower connections |
Update Finder or the Apple Devices app before starting. An outdated app on the computer side causes more failed attempts than anything on the phone itself.
How You Put Your iPhone in Recovery Mode (Step by Step)
The setup for iPhone recovery mode begins the same way on every model. You need a compatible cable, a Mac or Windows PC, and the correct desktop app open before pressing any buttons.
I always check the connection first because a loose cable can interrupt detection. Once the phone is connected, the button sequence changes based on the iPhone generation.
Step 1: Connect the iPhone to a Computer
Connect the iPhone to a Mac or PC with a USB cable. Make sure the cable is firmly connected at both ends before continuing.
Step 2: Open the Right App
Open Finder on a Mac, or the Apple Devices app / iTunes on a PC. Wait a few seconds for the computer to recognize the connected iPhone.
Step 3: Wait for the Connect to Computer Screen
Keep the phone connected until the Connect to Computer screen appears. Do not disconnect the cable while pressing the required buttons.
From here, the exact button sequence depends on which iPhone model you have.
Button Sequence by iPhone Model
The correct recovery mode button sequence depends on the iPhone generation. I check the model first because using the wrong combination usually triggers a restart instead.
Keep the iPhone connected to the computer throughout the process. Do not release the final button when the Apple logo appears.
Watch this video to see how to enter recovery mode on each iPhone model. The video also covers how to exit recovery mode afterward:
1. iPhone 8 and Later, Including SE (2nd Generation and Newer)
Follow these button presses in order without pausing too long between the first two steps:
- Press and quickly release Volume Up.
- Press and quickly release Volume Down.
- Hold the Side button.
- Keep holding when the Apple logo appears.
- Release the button when the Connect to Computer screen appears.
I wait for the cable-and-computer image before letting go. Releasing the Side button at the Apple logo only restarts the iPhone.
2. iPhone 7 and iPhone 7 Plus
Use this two-button combination while the iPhone remains connected to the computer:
- Press and hold the Side or Top button.
- Press and hold Volume Down at the same time.
- Keep both buttons pressed when the Apple logo appears.
- Release them when the Connect to Computer screen appears.
The iPhone 7 series does not use separate Volume Up and Volume Down taps. Both buttons must remain pressed together throughout the sequence.
3. iPhone 6s and Earlier, Including the Original SE
For older iPhone models with a Home button, use the following sequence:
- Press and hold the Home button.
- Press and hold the Top or Side button at the same time.
- Keep holding both buttons when the Apple logo appears.
- Release them when the Connect to Computer screen appears.
I check that the Home button works before starting. A damaged or stuck Home button may prevent the recovery mode sequence from working.
Update vs. Restore: What You Choose in Recovery Mode
Once your computer detects the iPhone in recovery mode, it offers two options. They sound similar but do very different things to your data.
| Option | What It Does | Your Data |
| Update | Reinstalls iOS while trying to keep data and settings intact | Preserved |
| Restore | Reinstalls iOS and erases the entire device to factory settings | Erased |
Update is always the first choice when it’s available, since it’s the less destructive option. Choose Restore only when Update fails.
You may also need it when Apple Support points to a deeper software problem it can’t fix otherwise.
How You Exit iPhone Recovery Mode
If you land in recovery mode by mistake, a force restart gets you back to normal without touching your data.
The button combination matches the one used to get in.
- iPhone 8 and later: Volume Up, then Volume Down, then hold Side until the Apple logo appears
- iPhone 7 and 7 Plus: hold Side and Volume Down together until the Apple logo appears
- iPhone 6s and earlier: hold Home and Top (or Side) together until the Apple logo appears
Do not unplug mid-download to exit early. It can leave you with a half-installed update.
What You do When iPhone Recovery Mode doesn’t Work
Most failed attempts come down to the computer side, not the phone itself.
Before assuming the worst, check the obvious things first.
- iPhone not showing up on the computer: try a different cable and a different USB port. Confirm the Apple Devices app or iTunes is up to date.
- Stuck looping in and out of recovery mode: force restart once more. Try a second computer if one’s available.
- Error code during Update or Restore: usually a network, firewall, or antivirus issue rather than the iPhone.
- Buttons unresponsive or stuck: stop trying combinations and contact Apple directly.
If the phone still won’t update, restore, or leave recovery mode after all of that, stop troubleshooting. Book an appointment through an Apple Store or Apple Authorized Service Provider.
Final Takeaway
Putting an iPhone in recovery mode comes down to two things. You need the right computer setup and the exact button sequence for your model.
Connect the cable, open Finder or the Apple Devices app, and match the combination to your phone. You can then choose Update or Restore.
The steps rarely change, but the model-specific timing trips people up more than anything else.
If recovery mode still doesn’t respond after one or two attempts, the fix likely belongs with Apple’s own service team. Another round of button-mashing is unlikely to help.
Frequently Asked Questions
Does Putting My iPhone in Recovery Mode Erase My Data?
No. Entering recovery mode does not erase data by itself. Only choosing Restore afterward wipes the iPhone completely, according to Apple.
Why Won’t My iPhone Enter Recovery Mode?
Usually, an outdated computer app, a faulty cable, or buttons not held long enough prevent the Connect to Computer screen from appearing.
How Do I Get My iPhone Out of Recovery Mode?
Use the force-restart combination for your model and keep holding until the Apple logo appears. This does not erase your data.
Can I Put My iPhone in Recovery Mode Without a Computer?
No. Recovery mode requires a Mac or Windows PC running Finder, the Apple Devices app, or iTunes. You need the computer to update or restore the device.
What’s the Difference Between Recovery Mode and DFU Mode?
Recovery mode reinstalls software through iOS normally. DFU mode bypasses iOS entirely for a deeper, firmware-level repair when standard recovery does not work.