



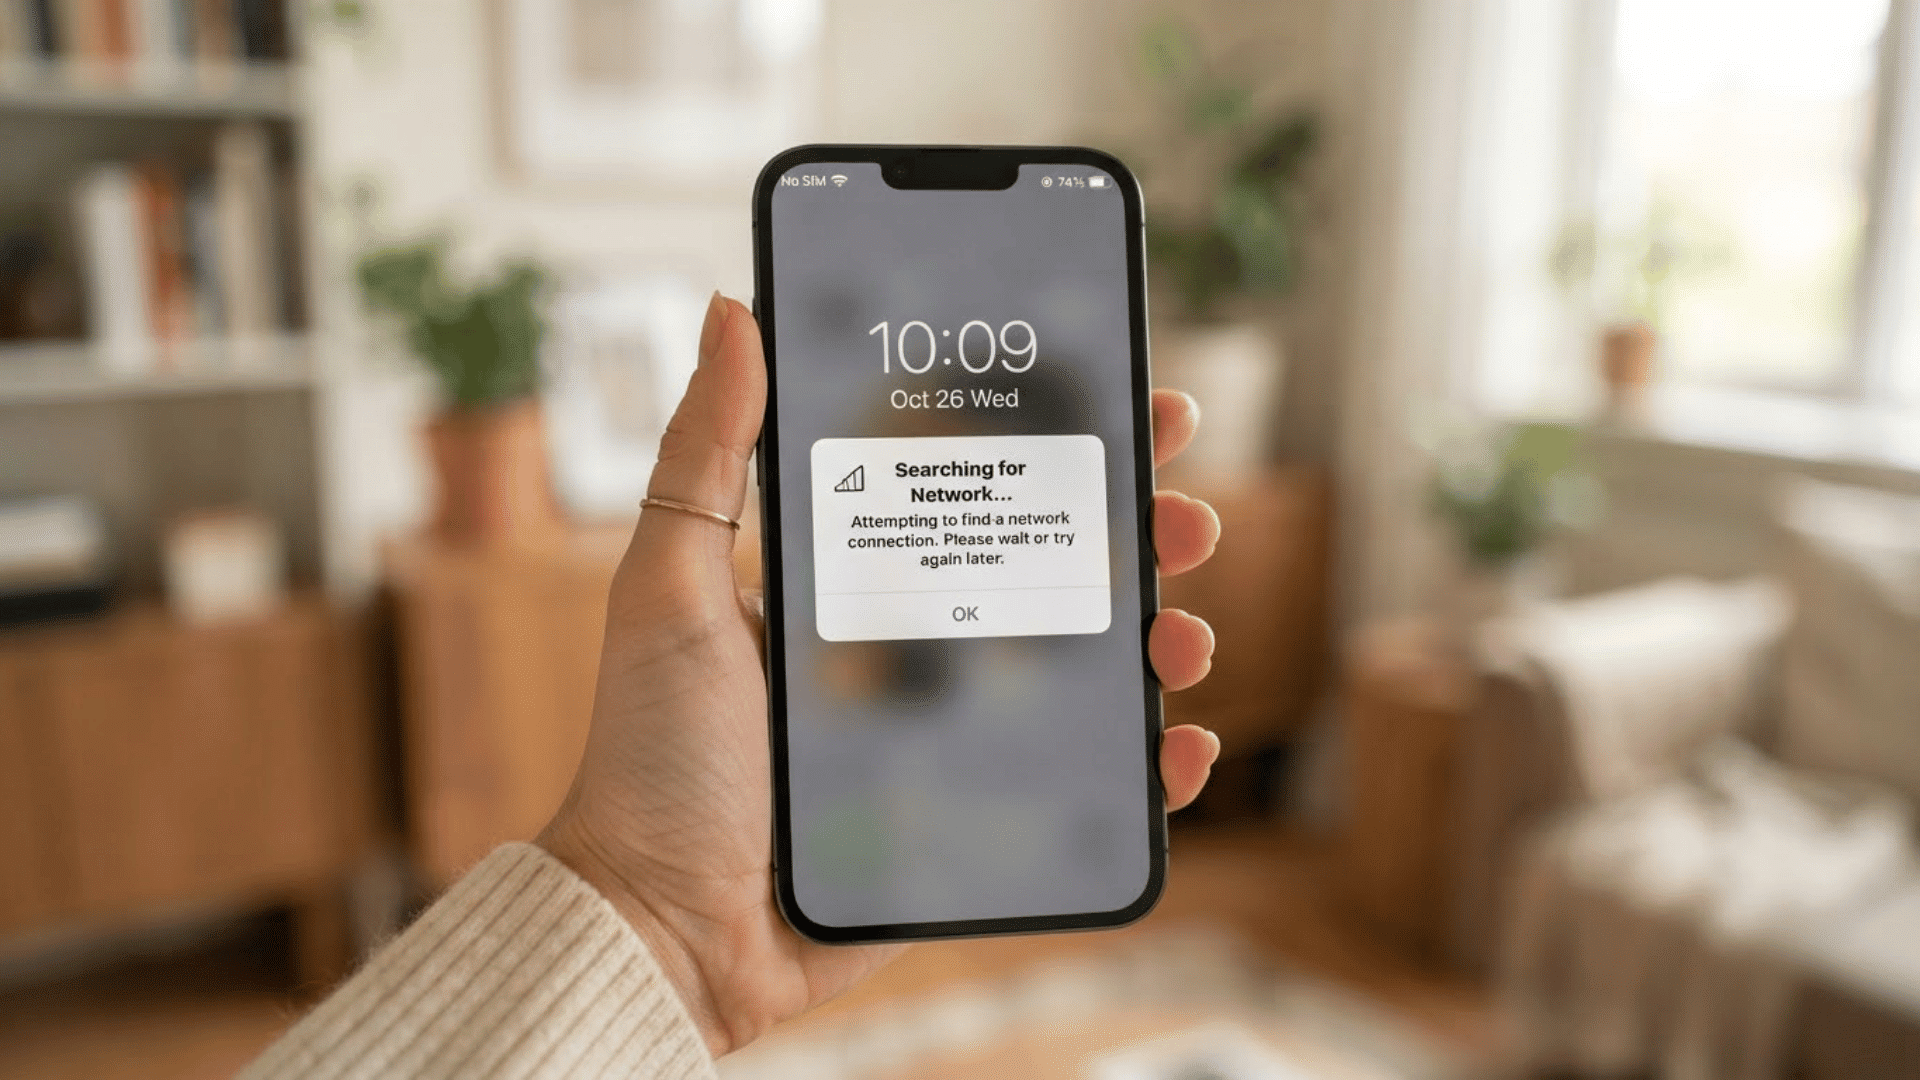
Learning how to fly a drone is much easier once you stop thinking about every control at once.
Most beginner flights come down to a few basic skills: understanding the two controller sticks, taking off, holding a steady hover, moving in simple directions, turning, returning, and landing slowly.
This article uses the common Mode 2 controller layout, where the left stick controls altitude and yaw, while the right stick controls forward, backward, left, and right movement.
Your drone may label or arrange some controls differently, so check its manual before takeoff.
I prefer small stick movements because they are easier to correct and help keep the drone stable. Start in an open area, move slowly, and build control one step at a time.
Read on to make your first drone flight safer and easier to control.
What Should You Know Before Flying a Drone?
Before taking off, check that the drone, controller, and battery are ready. Fully charge the batteries and make sure each propeller is secure and undamaged.
Remove the gimbal cover, if your drone has one, before powering it on. Choose a wide, open area away from people, trees, buildings, and power lines.
Check the weather as well, since strong wind or rain can make a first flight harder to control. Confirm the controller is connected, the GPS is stable (if required), and the Home Point is set correctly.
Set the Return-to-Home altitude above nearby obstacles, and check local airspace rules before flying. For your first flight, keep the drone low, close, and clearly visible so you can focus on learning each control safely.
One More Thing to Know Before Flying a Drone: Basic Controls
Before you start flying, it helps to know several terms used to describe drone movement: throttle, yaw, pitch,and roll.
These terms simply explain what happens to the drone when you move the controller sticks.
| Control | Drone Movement |
|---|---|
| Throttle | Moves the drone up or down |
| Yaw | Rotates the drone left or right |
| Pitch | Moves the drone forward or backward |
| Roll | Moves the drone sideways left or right |
On a common Mode 2 controller, the left stick controls throttle and yaw, while the right stick controls pitch and roll.
Knowing these terms makes the steps ahead easier to follow because you can connect each stick movement with what the drone actually does in the air.
How to Fly a Drone Step-by-Step?
For your first flight, focus only on one controlled cycle:
| Take off → Hover → Move → Turn → Return → Land. |
Avoid photography, long-distance flying, or automated flight modes until the basic controls feel comfortable. Practice in a large open area with the drone several feet in front of you and facing away.
Automatic takeoff can help on supported drones, but learning manual movement is still useful.
Step 1: Set Up the Drone App
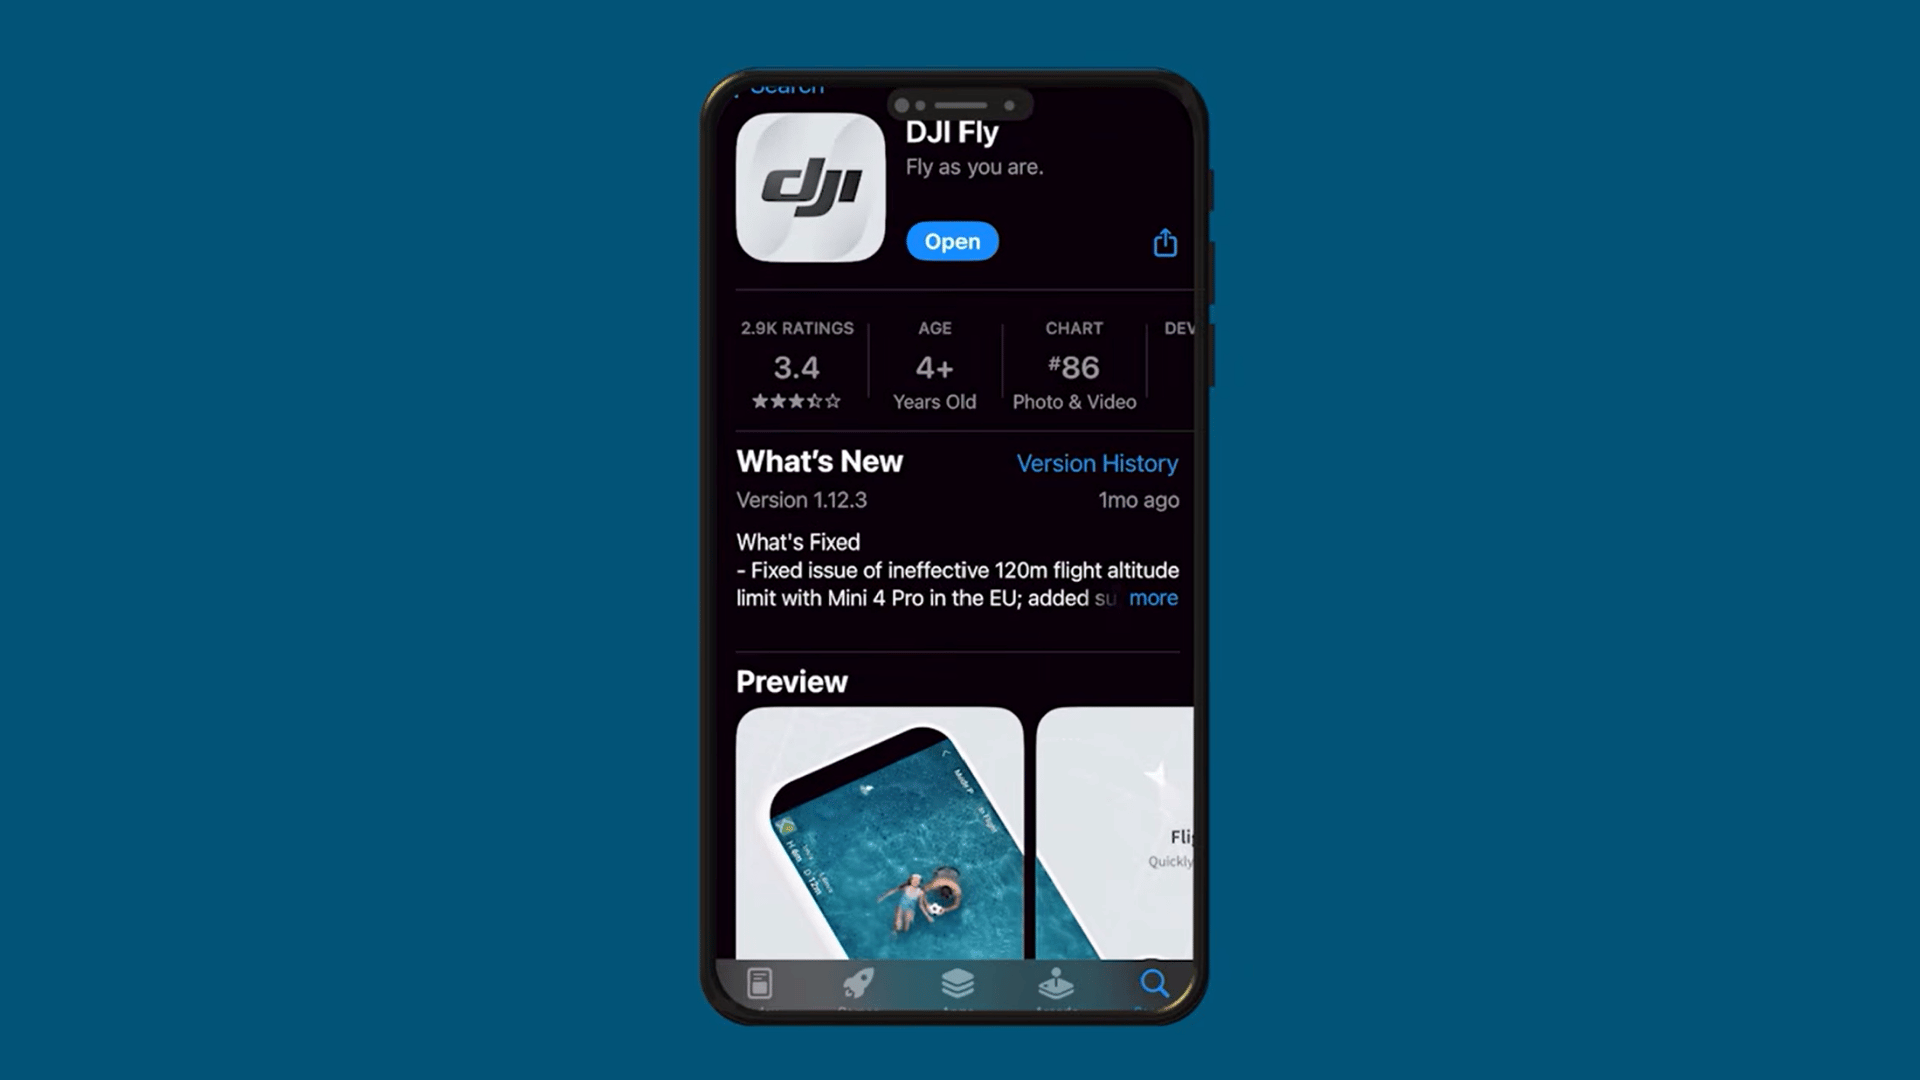
Before preparing the drone for takeoff, open the manufacturer’s flight app (DJI Fly) and connect it to the aircraft and controller.
Complete any required login, activation, or firmware prompts before flying. Check that the app recognizes the drone and displays the flight screen correctly.
Review important settings such as GPS status, Home Point, battery level, and Return-to-Home options before moving to the physical setup.
Step 2: Choose a Clear, Flat Takeoff Area
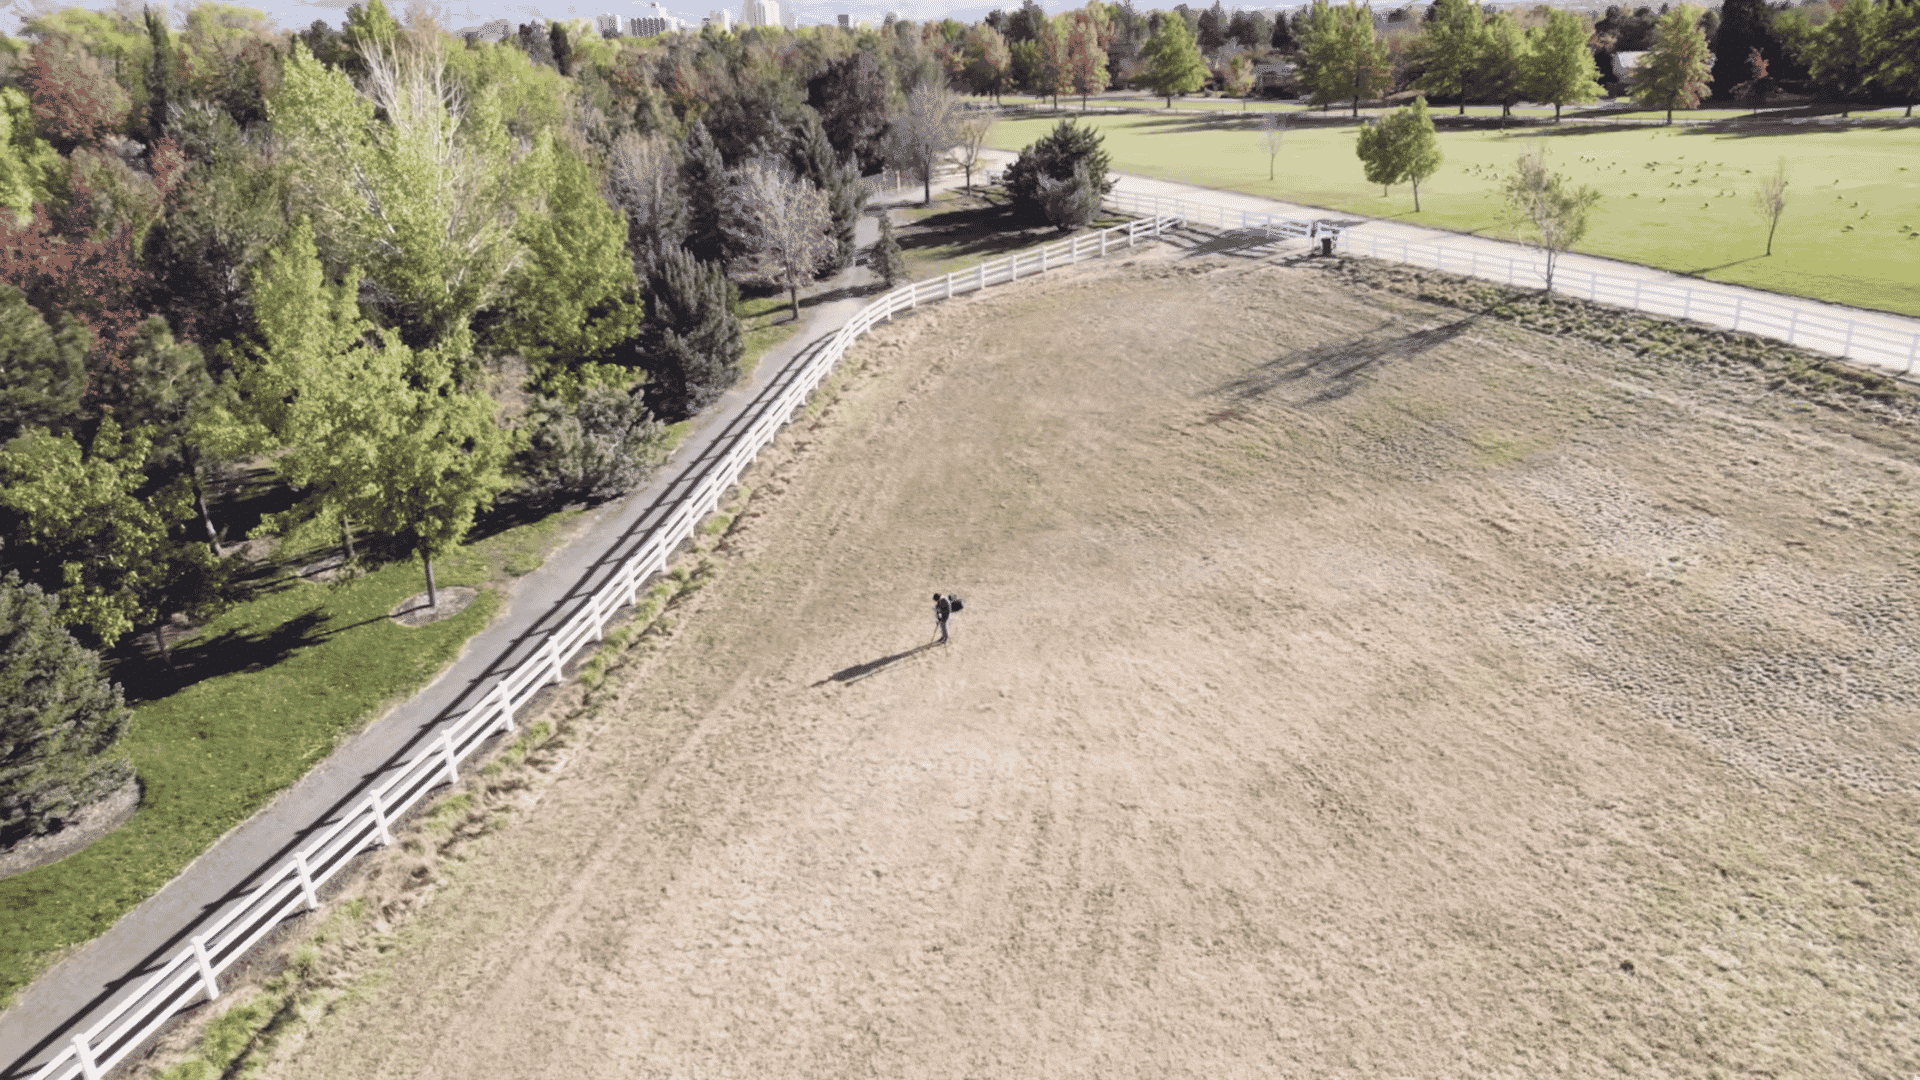
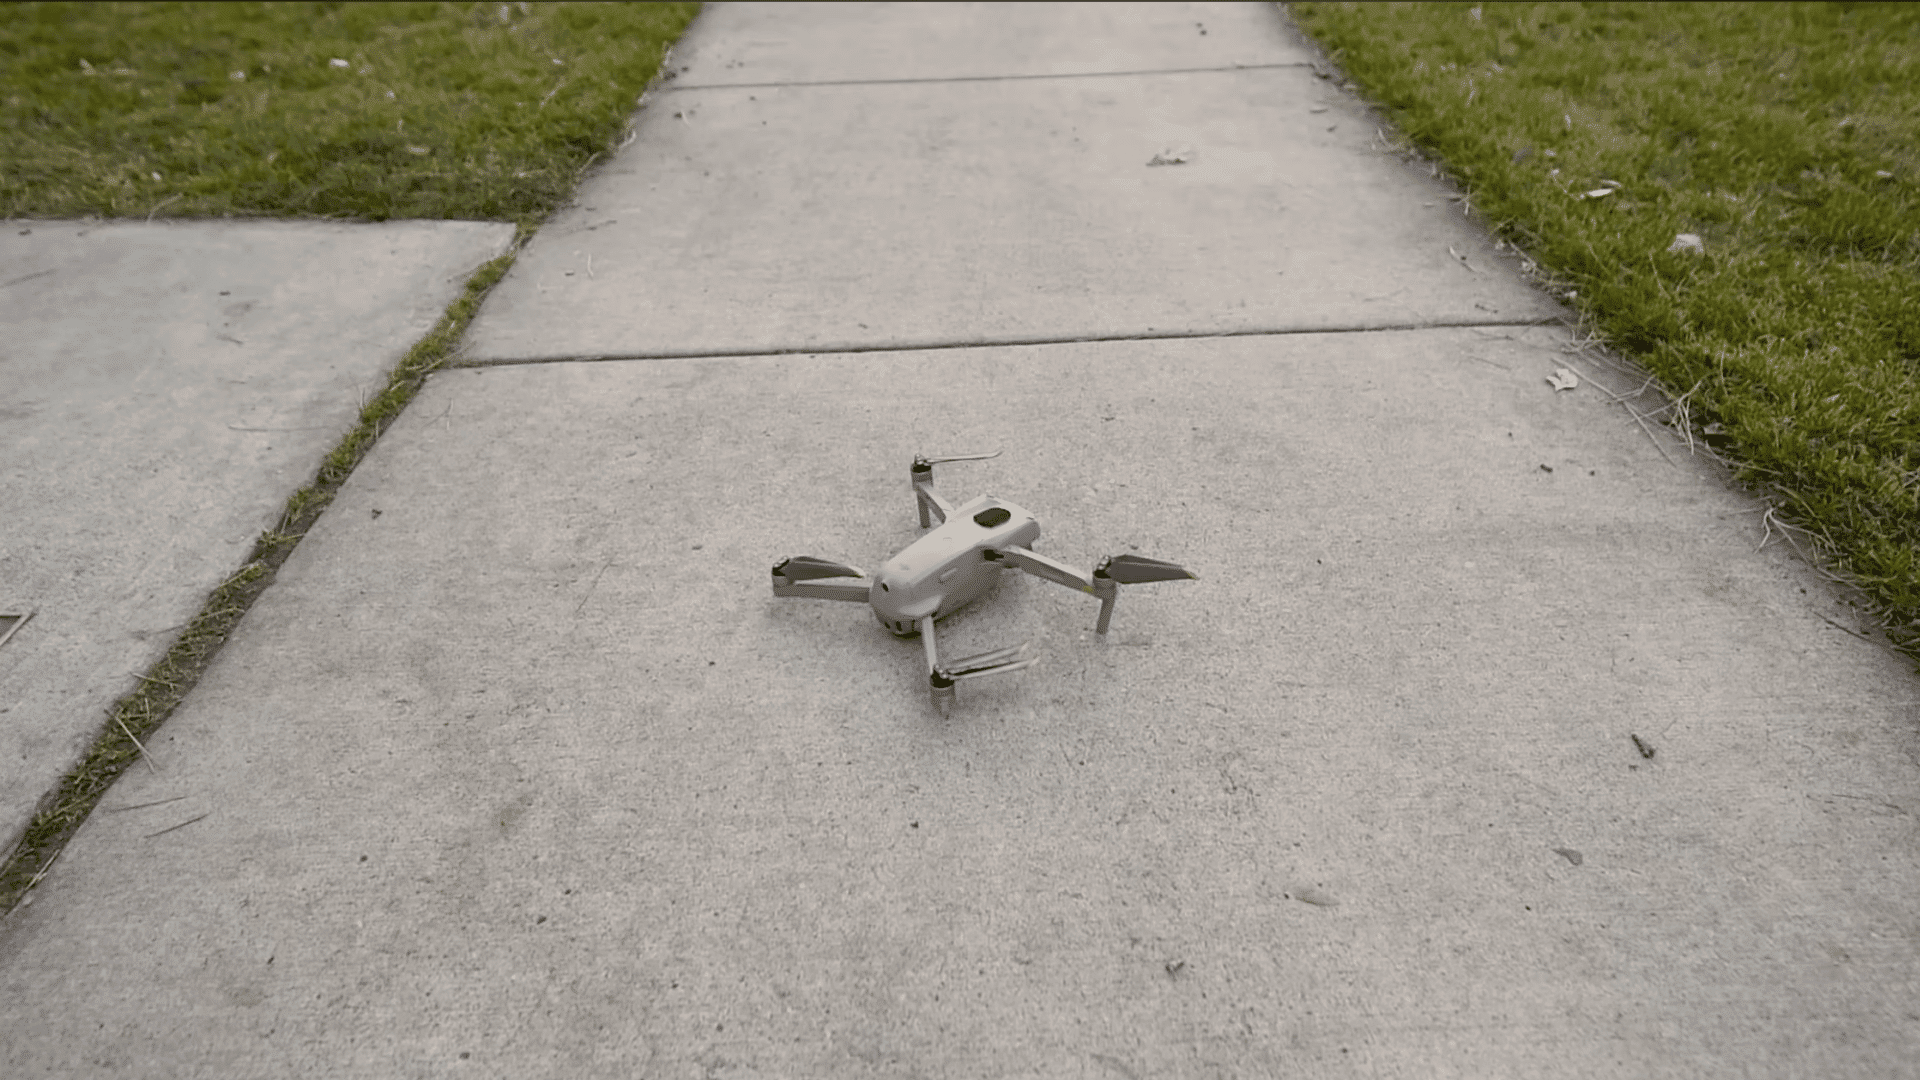
Use a clean, flat surface so the drone’s propellers can spin freely during takeoff and landing. Grass, concrete, or a stable bench can work, but avoid tall grass that may reach the propellers.
If needed, place the drone on a flat case or sturdy bag to raise it above the grass.
Keep the drone level and stable with clear space around the propellers.
Once ready, position the drone correctly before starting the motors.
Step 3: Set Up the Drone
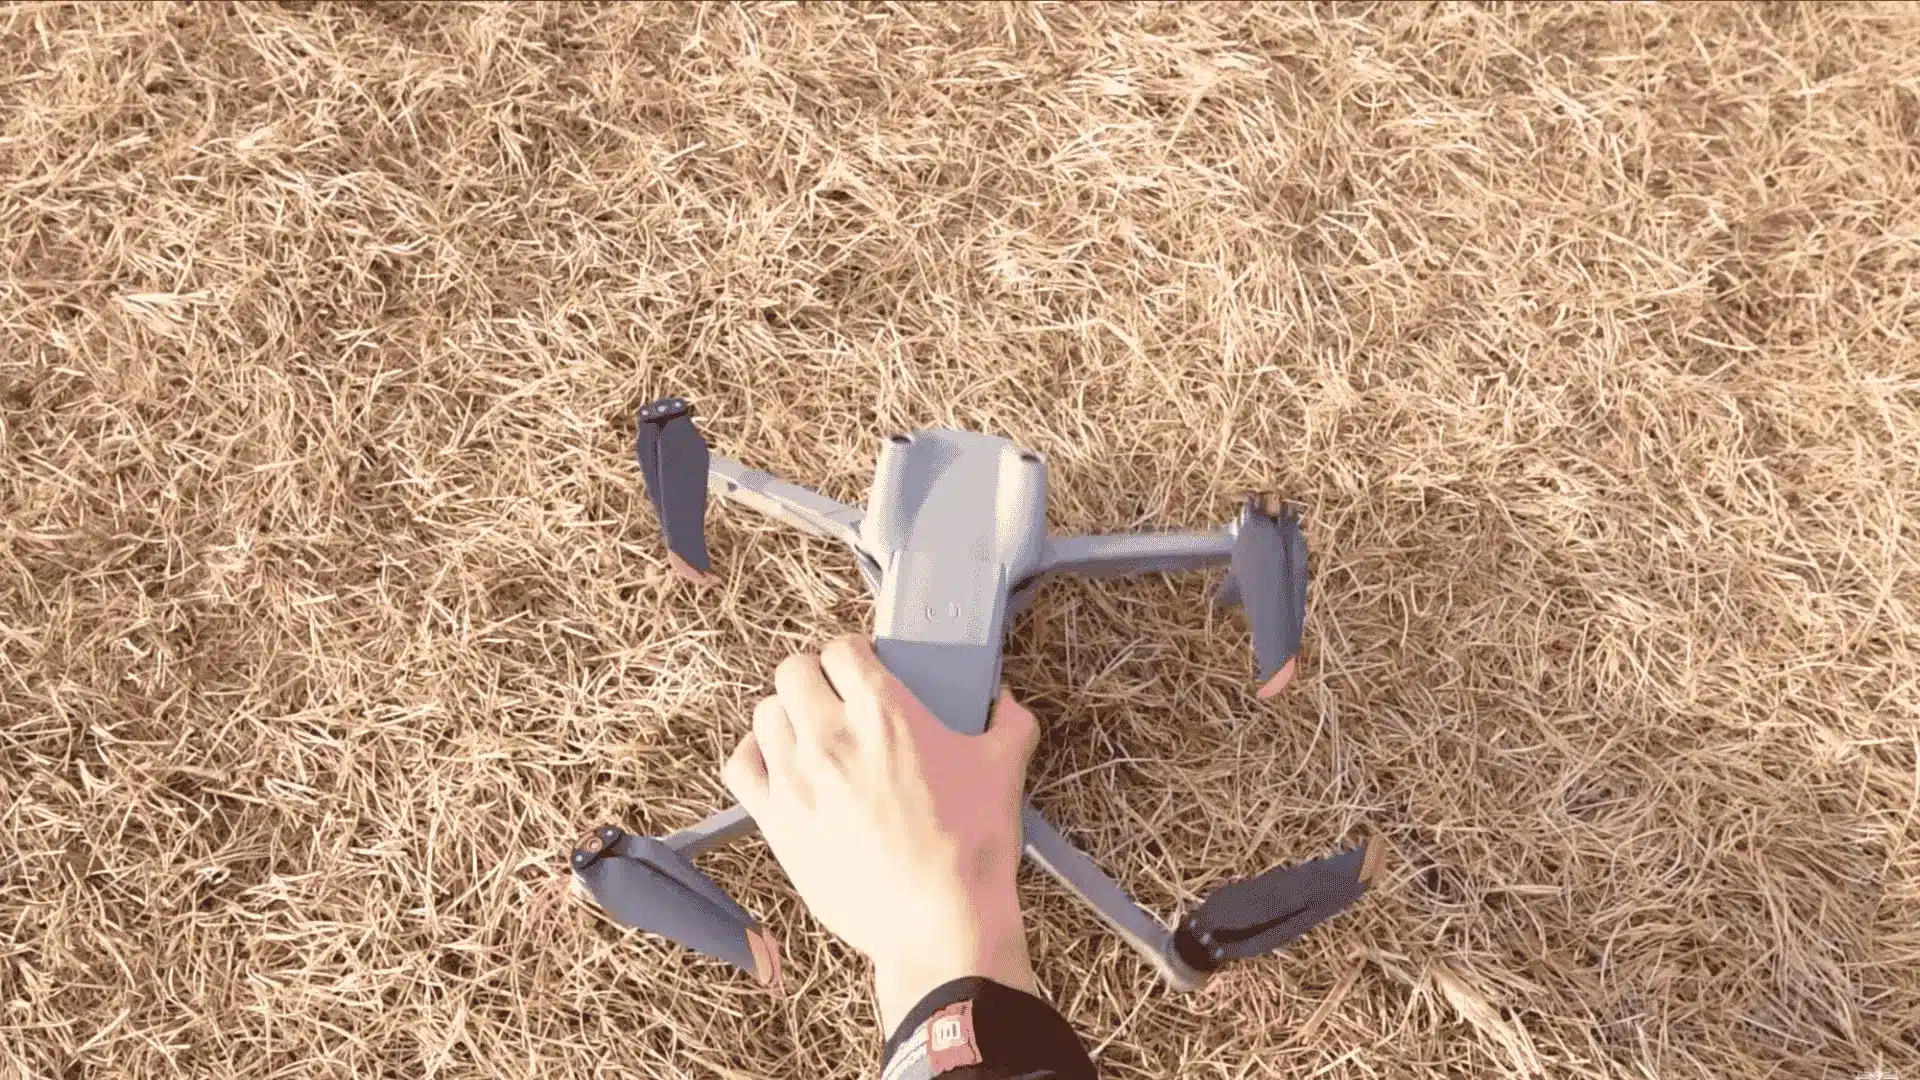
Before starting the propellers, unfold them and place the drone flat on the launch surface. Keep the back of the aircraft facing you, with the camera pointing forward.
This position makes the drone’s direction easier to understand during takeoff. Check that it sits level and that nothing blocks the propellers.
Confirm orientation early to avoid unnecessary corrections once the drone lifts off.
Step 4: Tail Toward the Pilot
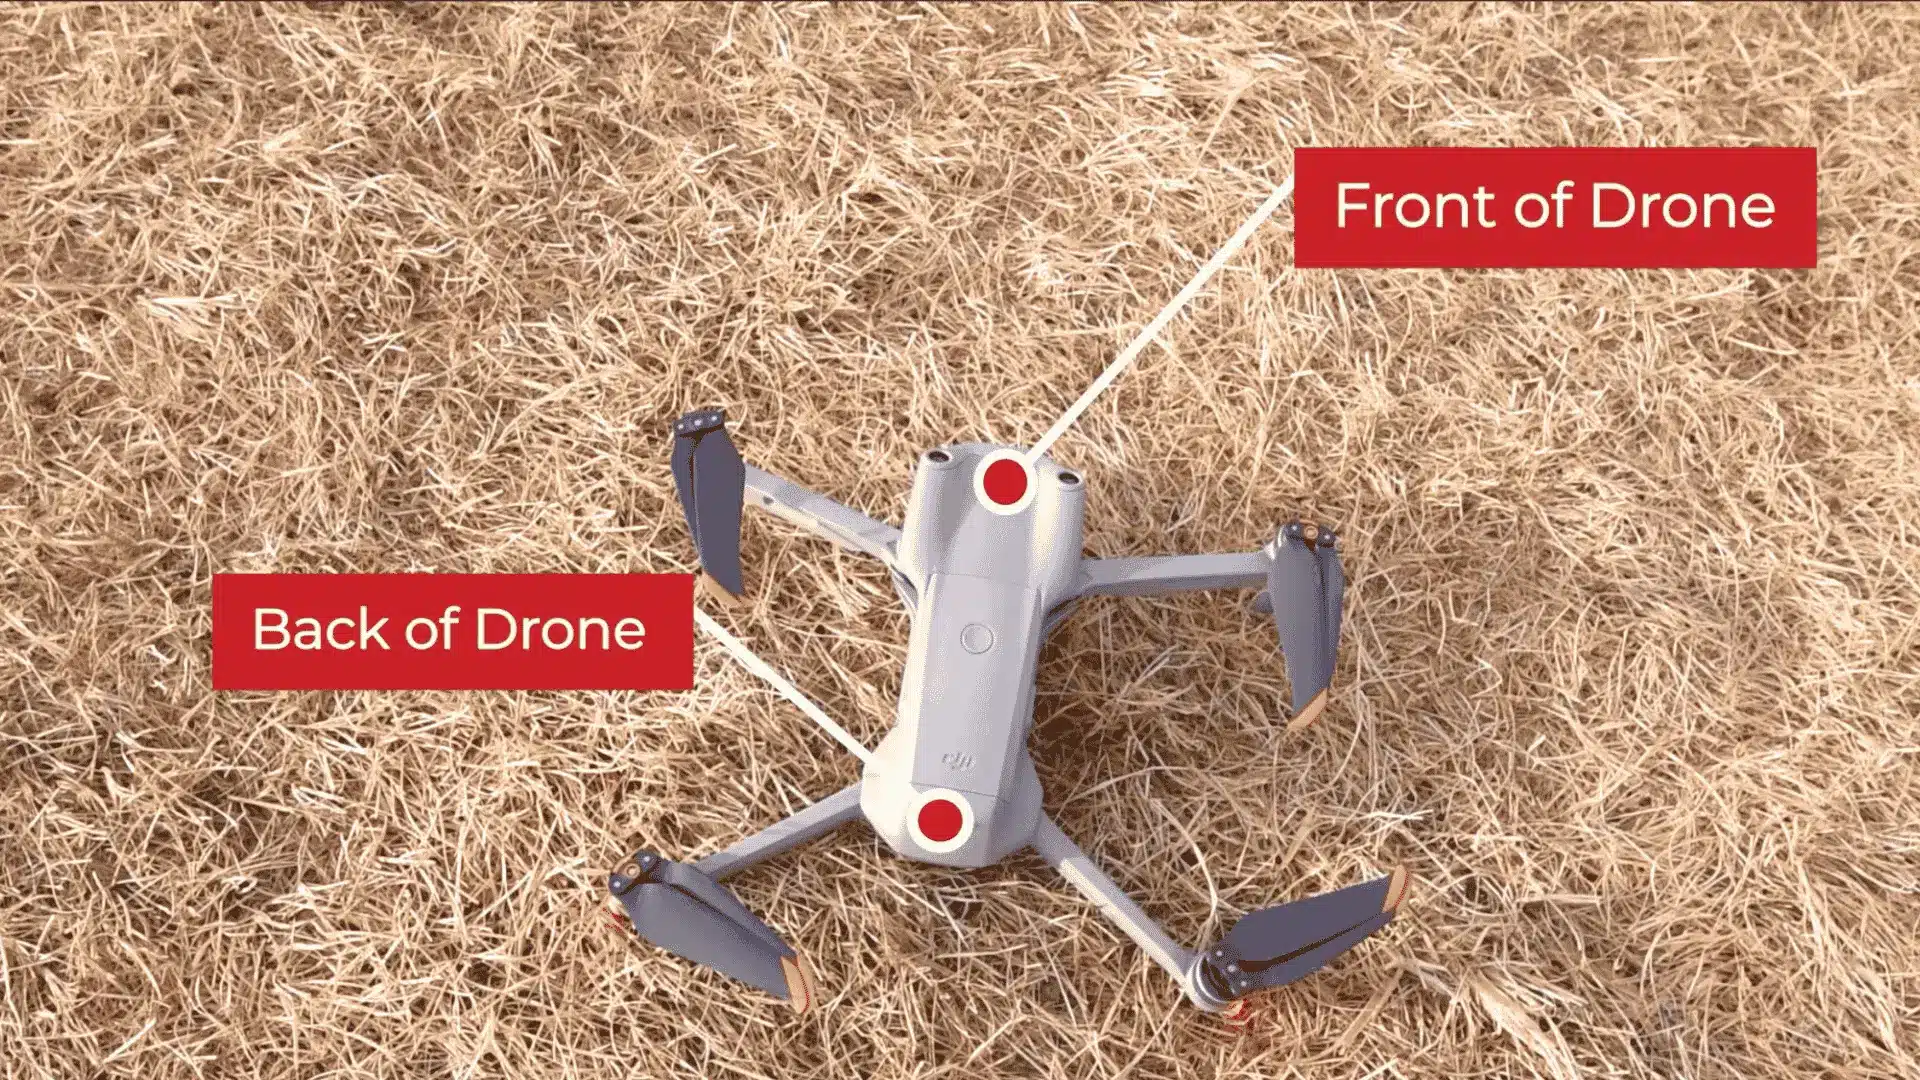
Stand behind the drone so its rear faces you and its camera points toward the open flying area. The aircraft should remain flat and steady while you prepare to start the motors.
Before continuing, check three simple details:
- Rear of the drone facing the pilot
- Camera pointing forward and away
- Aircraft resting flat on the launch surface
Keeping this position makes the first takeoff easier to follow without adding more orientation concepts too early.
Step 5: Start the Propellers
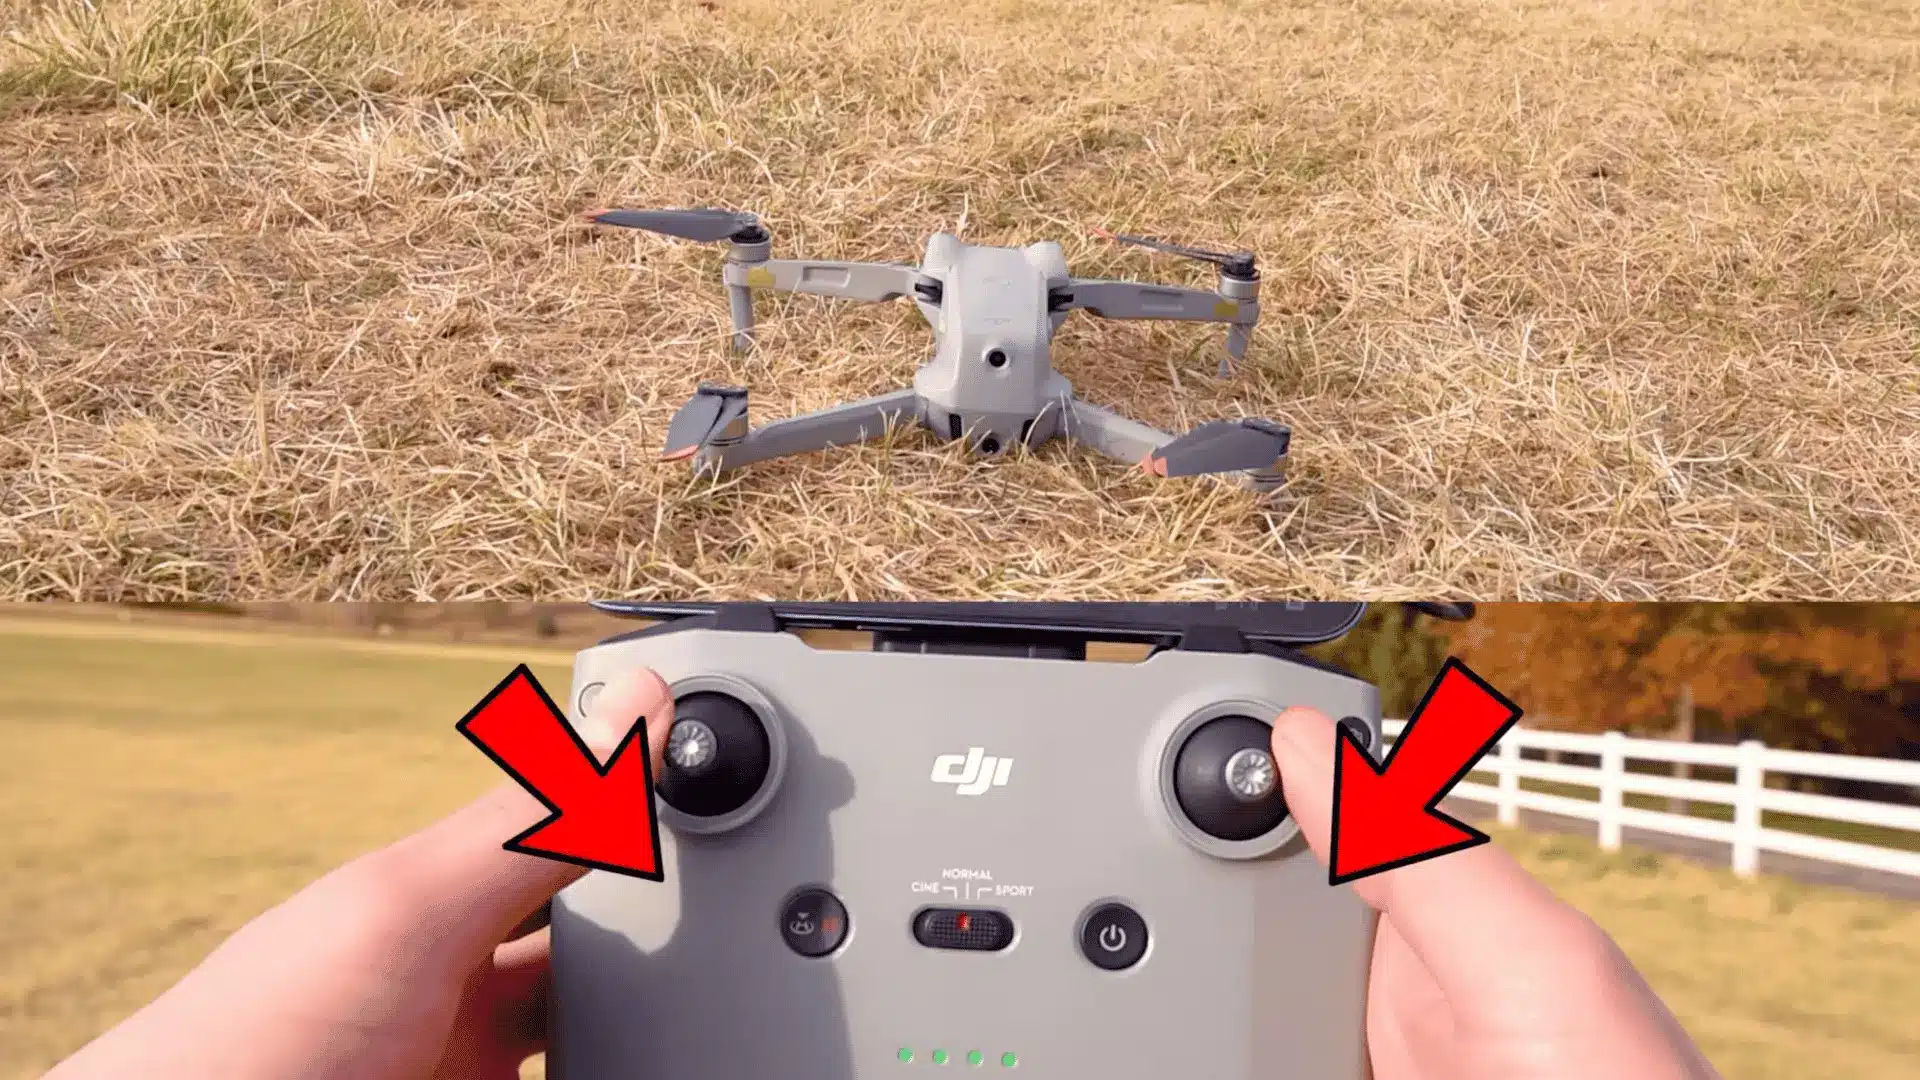
On the DJI Air 2S, start the propellers by pulling both joysticks backward and inward at the same time. Once the motors are running, the drone is ready for takeoff.
This command may not work on every model, so always follow the instructions provided in the user manual first.
After confirming the propellers are spinning normally, keep the area clear and prepare to lift the drone slowly into a low, controlled hover.
Step 6: Take Off Slowly
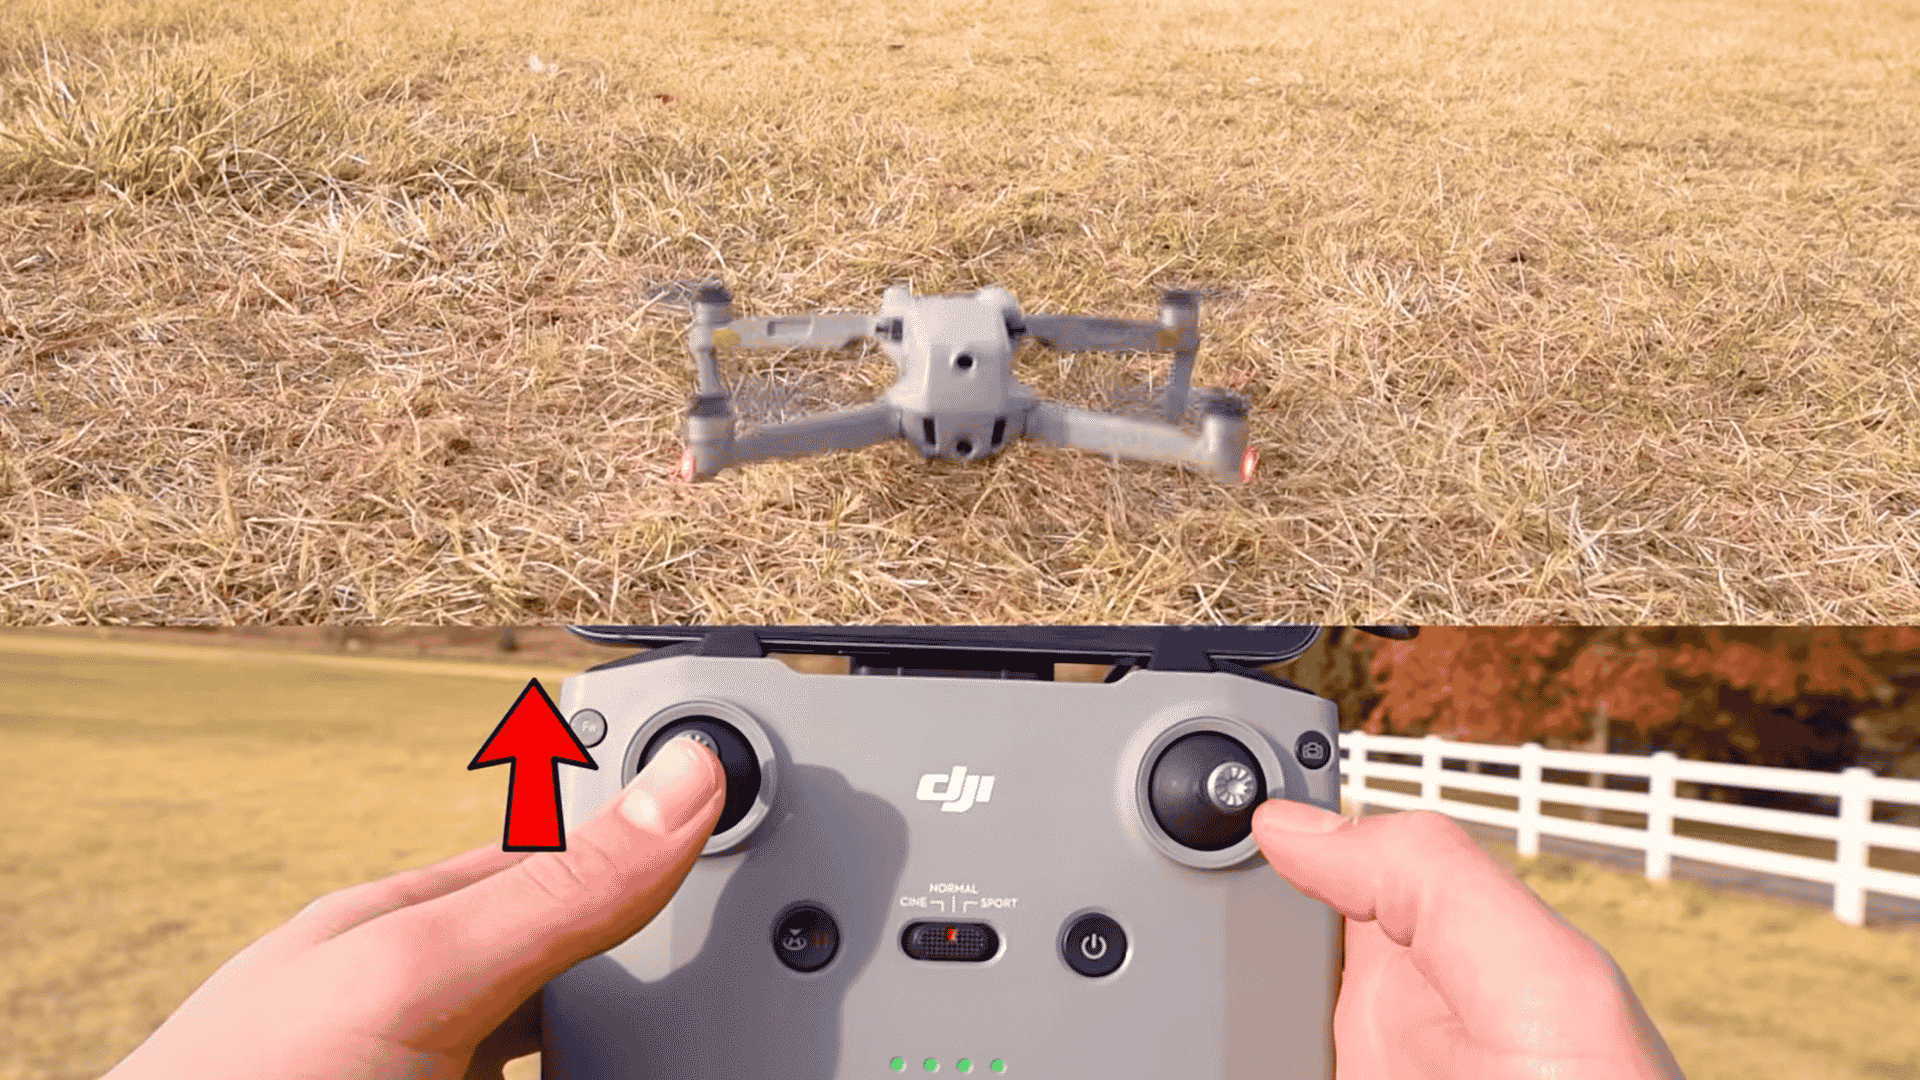
When learning how to fly a drone, use small, steady inputs during takeoff. On the DJI Air 2S, push the left stick upward to gain height.
- Start the propellers correctly.
- Raise the left stick slowly.
- Watch the drone rise.
- Release the stick at a low practice height.
Watch the aircraft and avoid large corrections.
Step 7: Let the Drone Hover
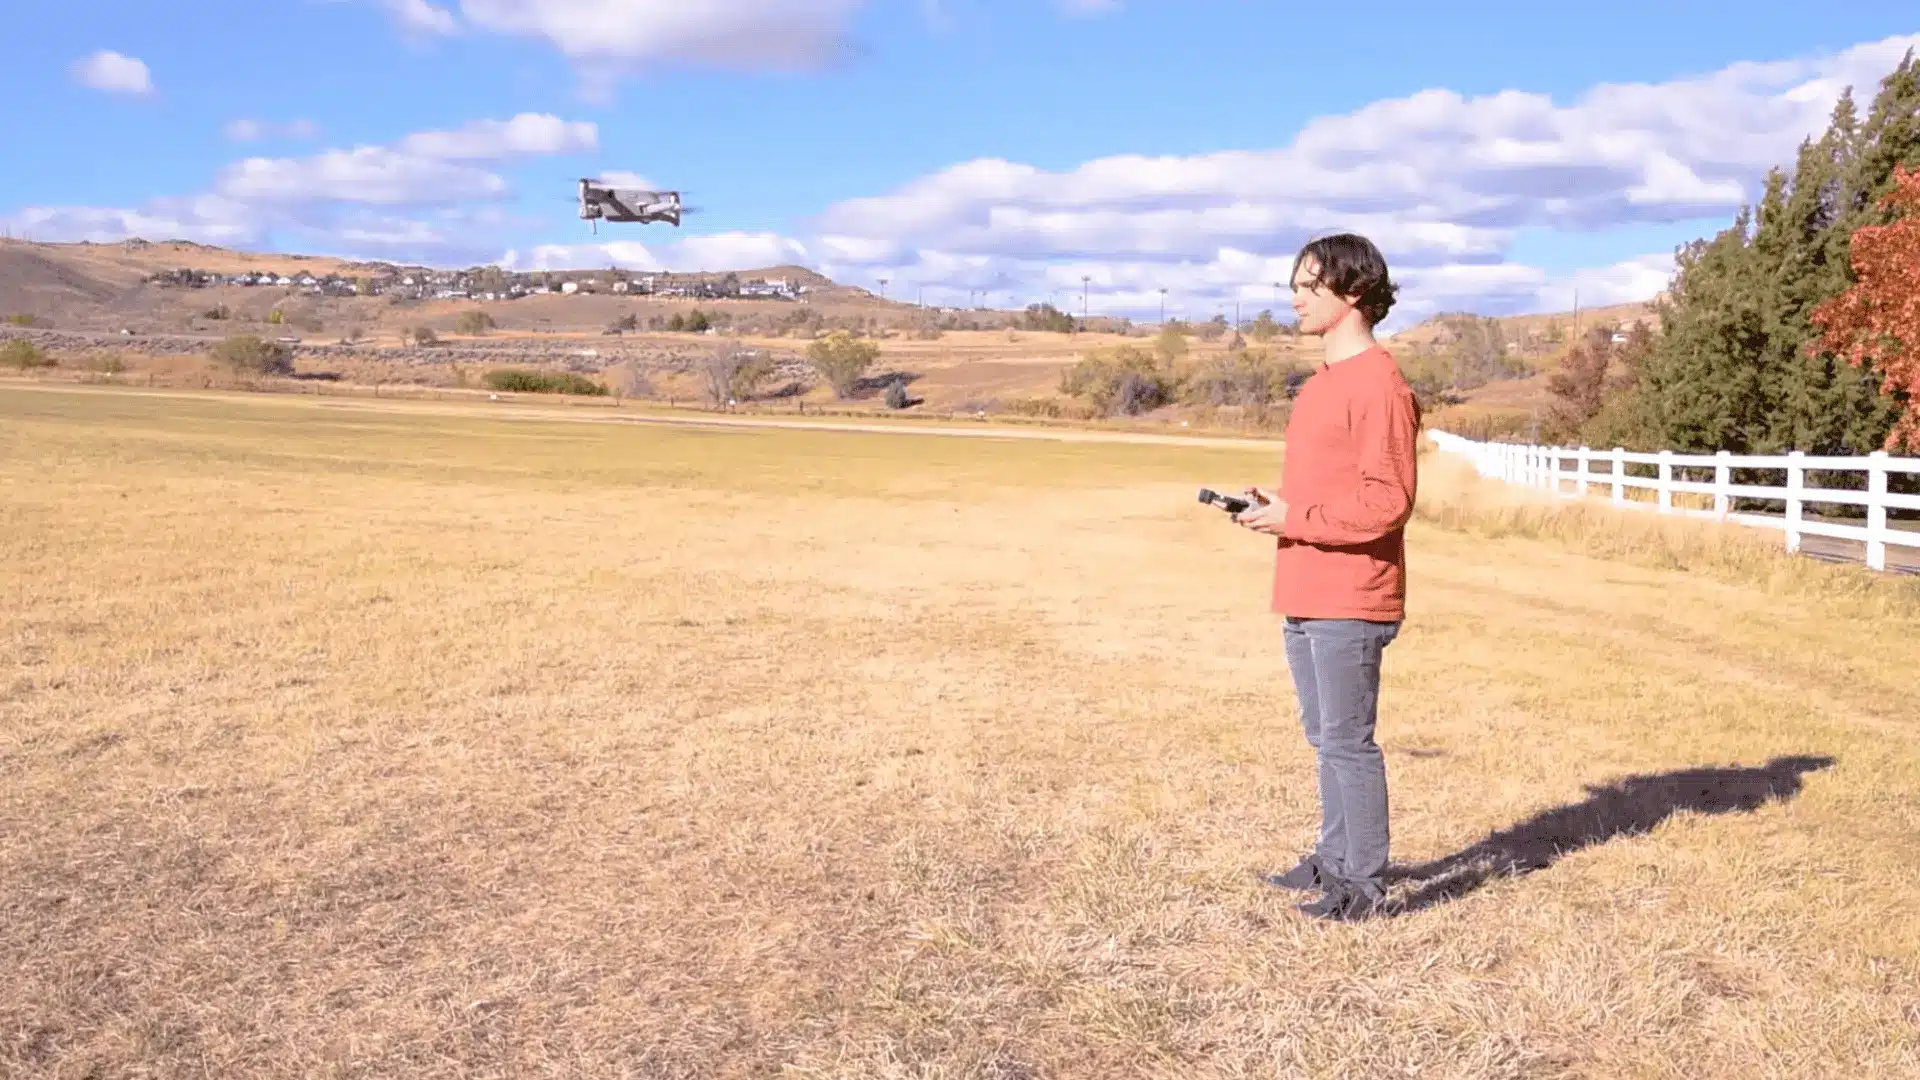
Once the drone reaches a low practice height, release the left stick and let it hover in place. Avoid moving forward, backward, or sideways yet.
Watch how the aircraft behaves while keeping it in roughly the same position. Use only small corrections if needed.
Practice the hover before adding other movements because it will give you time to get comfortable with the drone while managing just one basic skill.
Step 8: Watch and Listen
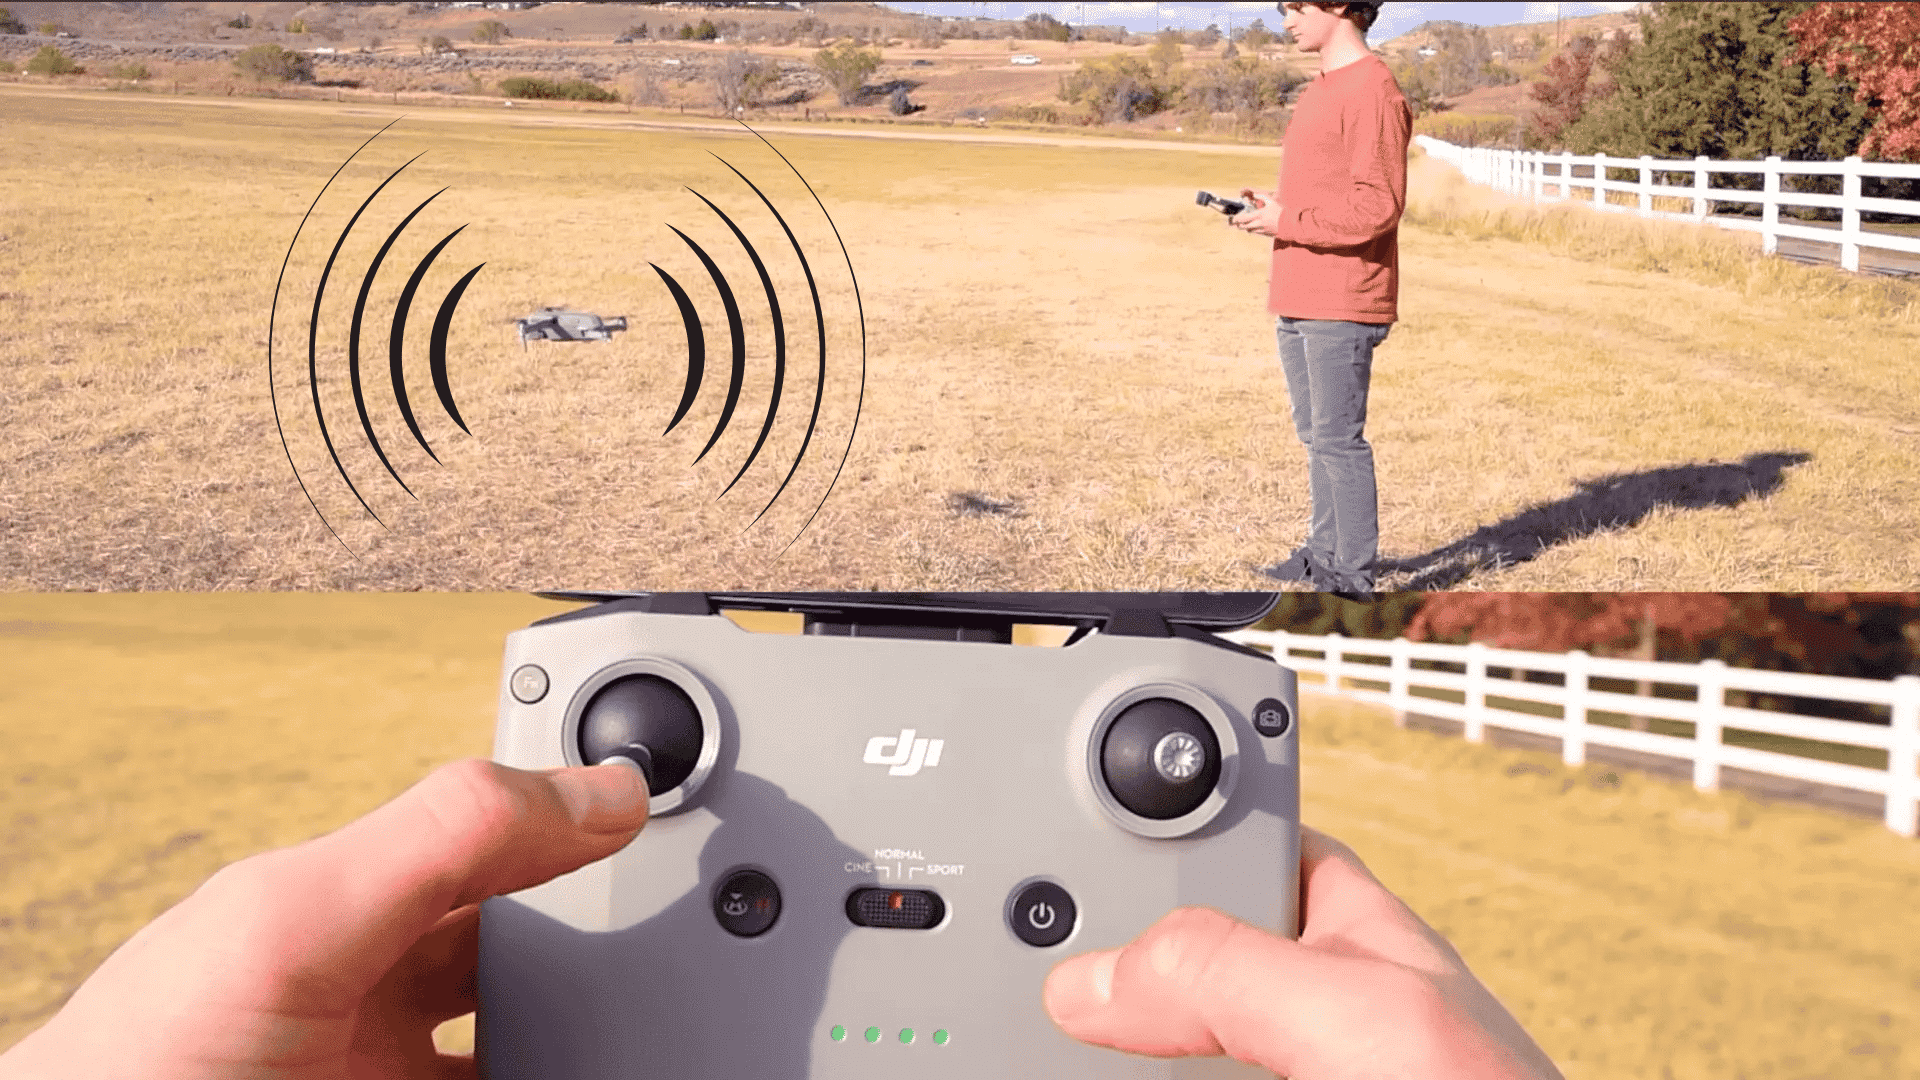
Keep your attention on the drone while it remains close to the ground. Check that it looks stable, and listen for anything unusual before continuing the flight.
I treat this hover as a procedural checkpoint. Finish the check before adding another control or increasing height, so each action stays easy to follow and verify.
If everything appears and sounds normal, you can move on to the next basic skill: bringing the drone back down safely.
Step 9: Land the Drone Smoothly
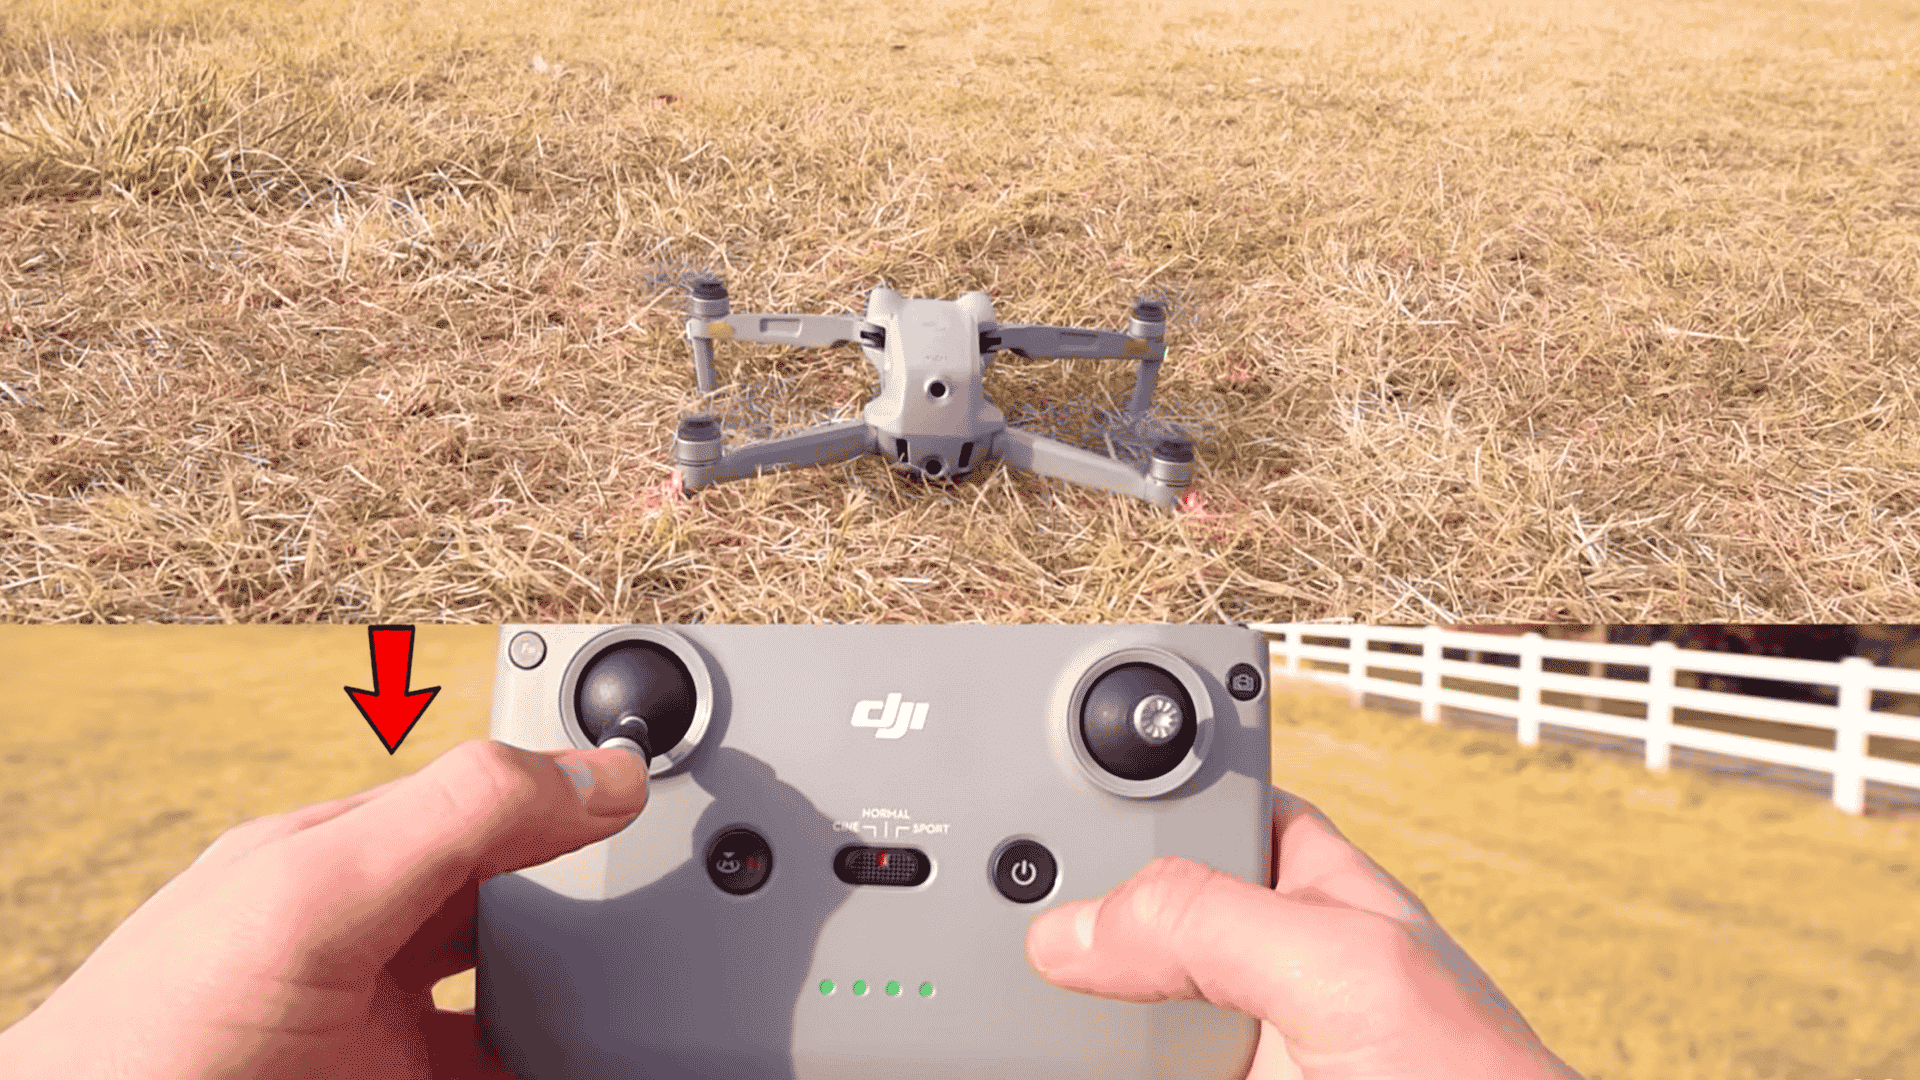
Bring the drone back over a clear landing area and hold a low, steady hover. Slowly lower the left stick so the aircraft descends without sudden drops.
Make small corrections to keep it centered as it gets closer to the ground. Once the drone touches down, follow your model’s instructions to stop the motors completely.
Keep the landing area clear until the propellers stop spinning.
Watch this UAV Coach video for a clear visual walkthrough of the basic drone flying steps.
Drone controls, setup steps, and app features can vary by brand and model, so always follow the instructions provided with your aircraft.
Beginner Drones Worth Comparing Before You Buy
If you are still learning how drone controls and features differ, comparing a few beginner models available on Amazon can make the process easier to understand.
Look at factors such as controller type, hovering support, camera quality, flight time, and Return-to-Home features.
Check the table below:
| Drone | Useful beginner feature | Camera |
|---|---|---|
| DJI Mini 4K | Stable hovering and Return-to-Home | 4K video |
| Potensic ATOM 2 | GPS-assisted flight and compact design | Up to 8K photo capability |
| DJI Neo | Multiple control options and propeller guards | 4K video |
| HOVERAir X1 | Automated flight modes and simple controls | 2.7K video |
| Note! Check the Amazon listing, seller, and specs before buying. | ||
Beginner Drone Flying Routine to Improve Control
Practice for 10 minutes, three to four days each week in a clear, open area. Keep the drone low and close enough to see its direction throughout the session.
- Minutes 1–2: Hold a steady hover and correct small drifts.
- Minutes 3–5: Practice forward, backward, left, and right movement with controlled stops.
- Minutes 6–7: Work on yaw turns and check orientation after each turn.
- Minutes 8–10: Return manually to the launch area and land inside a marked target.
After each session, track hover stability, stopping accuracy, orientation mistakes, and target landings. Repeat the routine until you can complete each movement consistently, then gradually increase distance and height.
For the next stage, begin combining throttle, pitch, roll, and yaw in one controlled flight.
What Should You Do If You Lose Drone Control or Direction?
If the drone becomes difficult to control or you lose track of its direction, avoid making sudden corrections. Your first priority is to stabilize the aircraft and get closer.
Follow this order:
- Stop making large inputs and let the drone hover if its flight system supports position holding.
- Look directly at the drone and work out which way it is facing.
- Bring it closer slowly using small, controlled movements.
- If it starts drifting, correct gently and land if you cannot maintain a safe position.
- If a battery or signal warning appears, focus on reaching a safe landing area.
- Use Return-to-Home carefully, knowing the Home Point, return altitude, flight path, and cancellation method.
Learn your drone’s warning and RTH behavior before takeoff so you know what to expect.
More Beginner Drone Mistakes That Make Flying Harder
Early flights become harder when too many changes happen at once.
Keep the drone close, low, and easy to see while you build control. Avoid depending completely on obstacle avoidance, since sensors may not detect every object or work equally well in all conditions.
Check Return-to-Home settings before takeoff so the drone has a safer backup if needed.
If the drone feels harder to control than expected, check for one of these common beginner mistakes.
| Problem | Likely cause | Correction Process |
|---|---|---|
| Drone feels too fast | Large stick inputs | Use smaller movements |
| Left and right feel confusing | Repeated turning | Stop, hover, and reorient |
| Drone becomes difficult to see | Flying too far | Stay closer |
| Height feels difficult to judge | Climbing too quickly | Gain altitude gradually |
| Landing feels rough | Descending too fast | Slow the final descent |
| Flight feels overwhelming | Several controls used together | Return to a steady hover |
Final Say!
A successful first drone flight is not about how high, far, or fast you can fly. It is about staying in control and knowing what to do when something does not go as planned.
Regular practice should help you hold a stable hover, judge direction, make accurate movements, return without relying on automation, and land in a chosen area.
Just as importantly, you should know how your drone responds to low battery, signal loss, and Return-to-Home before those situations happen.
As your control improves, gradually increase distance and height instead of changing everything at once. Keep checking your surroundings, aircraft status, and local flight rules in every session.
Which part of learning to fly a drone has challenged you most? Share your experience or questions in the comments.
Frequently Asked Questions
Do You Need Wi-Fi to Fly a Drone?
Not always. Many drones fly through a direct controller connection, though internet access may be needed for updates, maps, or account setup.
Can You Fly a Drone Without a Smartphone?
Yes. Some controllers include built-in screens, while other drones need a smartphone for the camera feed, flight data, maps, and settings.
How Long Does It Take to Learn to Fly a Drone?
Basic controls can take a few practice sessions to learn, while confident flying, orientation, and precise movement usually require more regular practice.
Can You Practice Flying a Drone Indoors?
Yes, with small drones and enough clear space. Avoid people, pets, fans, and fragile objects, and expect limited GPS performance.