


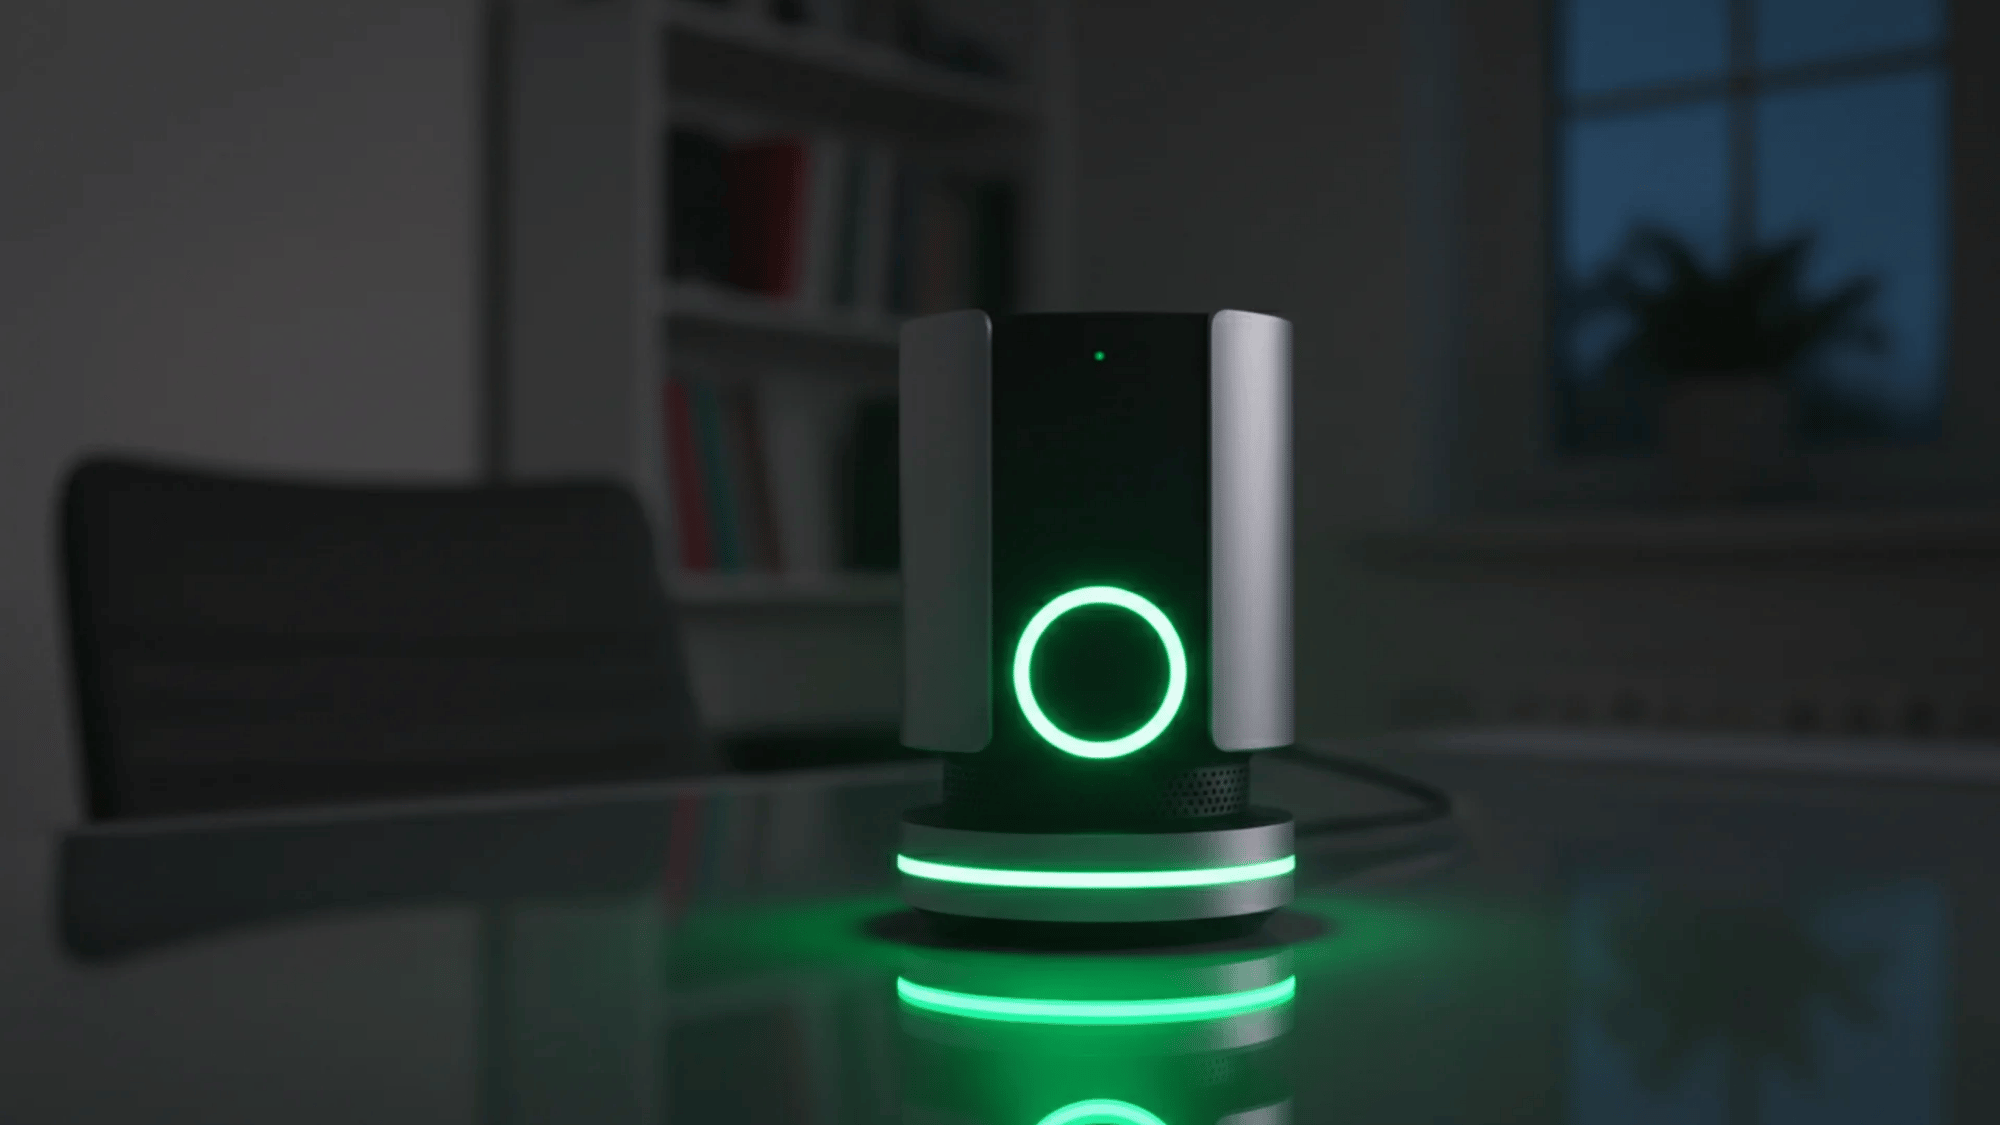
Imagine this: a package goes missing from your porch. You open your app to check the footage, only to find a blurry, spiderweb-covered mess, or worse, a blank screen because the system quietly went offline.
It is incredibly common to mount a surveillance system and completely forget about it until something actually goes wrong.
But day after day, your equipment battles dust, harsh weather, and aging software, all of which slowly compromise its performance.
You shouldn’t have to wait for an incident to find out your system is failing. Implementing a routine of regular security camera maintenance is a simple, proactive way to ensure your equipment’s longevity and your own peace of mind.
Let’s walk through a few easy tips and checks to keep your cameras functioning flawlessly, so they are ready exactly when you might need them most.
Why is Regular Security Camera Maintenance Important?
Security camera maintenance simply means performing regular cleaning, physical inspections, and software upkeep so your cameras consistently capture clear, usable footage.
By staying on top of this routine, you guarantee clearer footage and a much longer lifespan for your equipment.
It proactively prevents the dreaded “silent failure”, where a camera goes offline without you even noticing—and ensures you get the absolute best return on the money you spent securing your property.
1. Maximizes Lifespan: Continual exposure to the elements takes a toll. Maintenance protects your investment from premature wear and tear, ensuring your system lasts for years to come.
2. Ensures Reliability: There is nothing worse than a camera failing during an incident. Routine checks ensure your equipment functions perfectly when you need it most.
3. Prevents False Alarms: If you rely on motion detection, you know how annoying endless phone notifications can be. Clearing away obstructions such as spider webs, leaves, and dirt prevents them from falsely triggering your sensors.
4. Maintains High-Quality Footage: A dirty lens renders your system useless. Keeping the glass clean means crisp, identifiable footage instead of a blurry, smudged mess.
How Often to Maintain Your Cameras
Many people ask me exactly when they should perform security camera maintenance. It is a common question, and getting the timing right is highly important.
I always suggest that setting up a regular routine keeps your property safe without making you feel overworked. You do not need to check your devices every single day.
Instead, I find that following a clear timeline based on where the cameras are placed works best. Equipment outside faces rain, wind, and dust, so it needs more attention than units sitting safely inside your home.
By sticking to a basic schedule, you can catch small issues before they turn into big problems. Let us look at a checklist that keeps your setup working properly:
1. Outdoor cameras (Monthly)
Clean lenses at least once a month, or more often if you live near dirt roads, coastal salt air, or heavy tree cover. Outdoor units battle the elements 24/7. Dust, pollen, bug splatters, and rain spots build up quickly.
If you leave this debris on the glass, the camera’s infrared lights will reflect off the dirt at night, completely blinding your night vision.
2. Indoor cameras (Every 3 to 6 months)
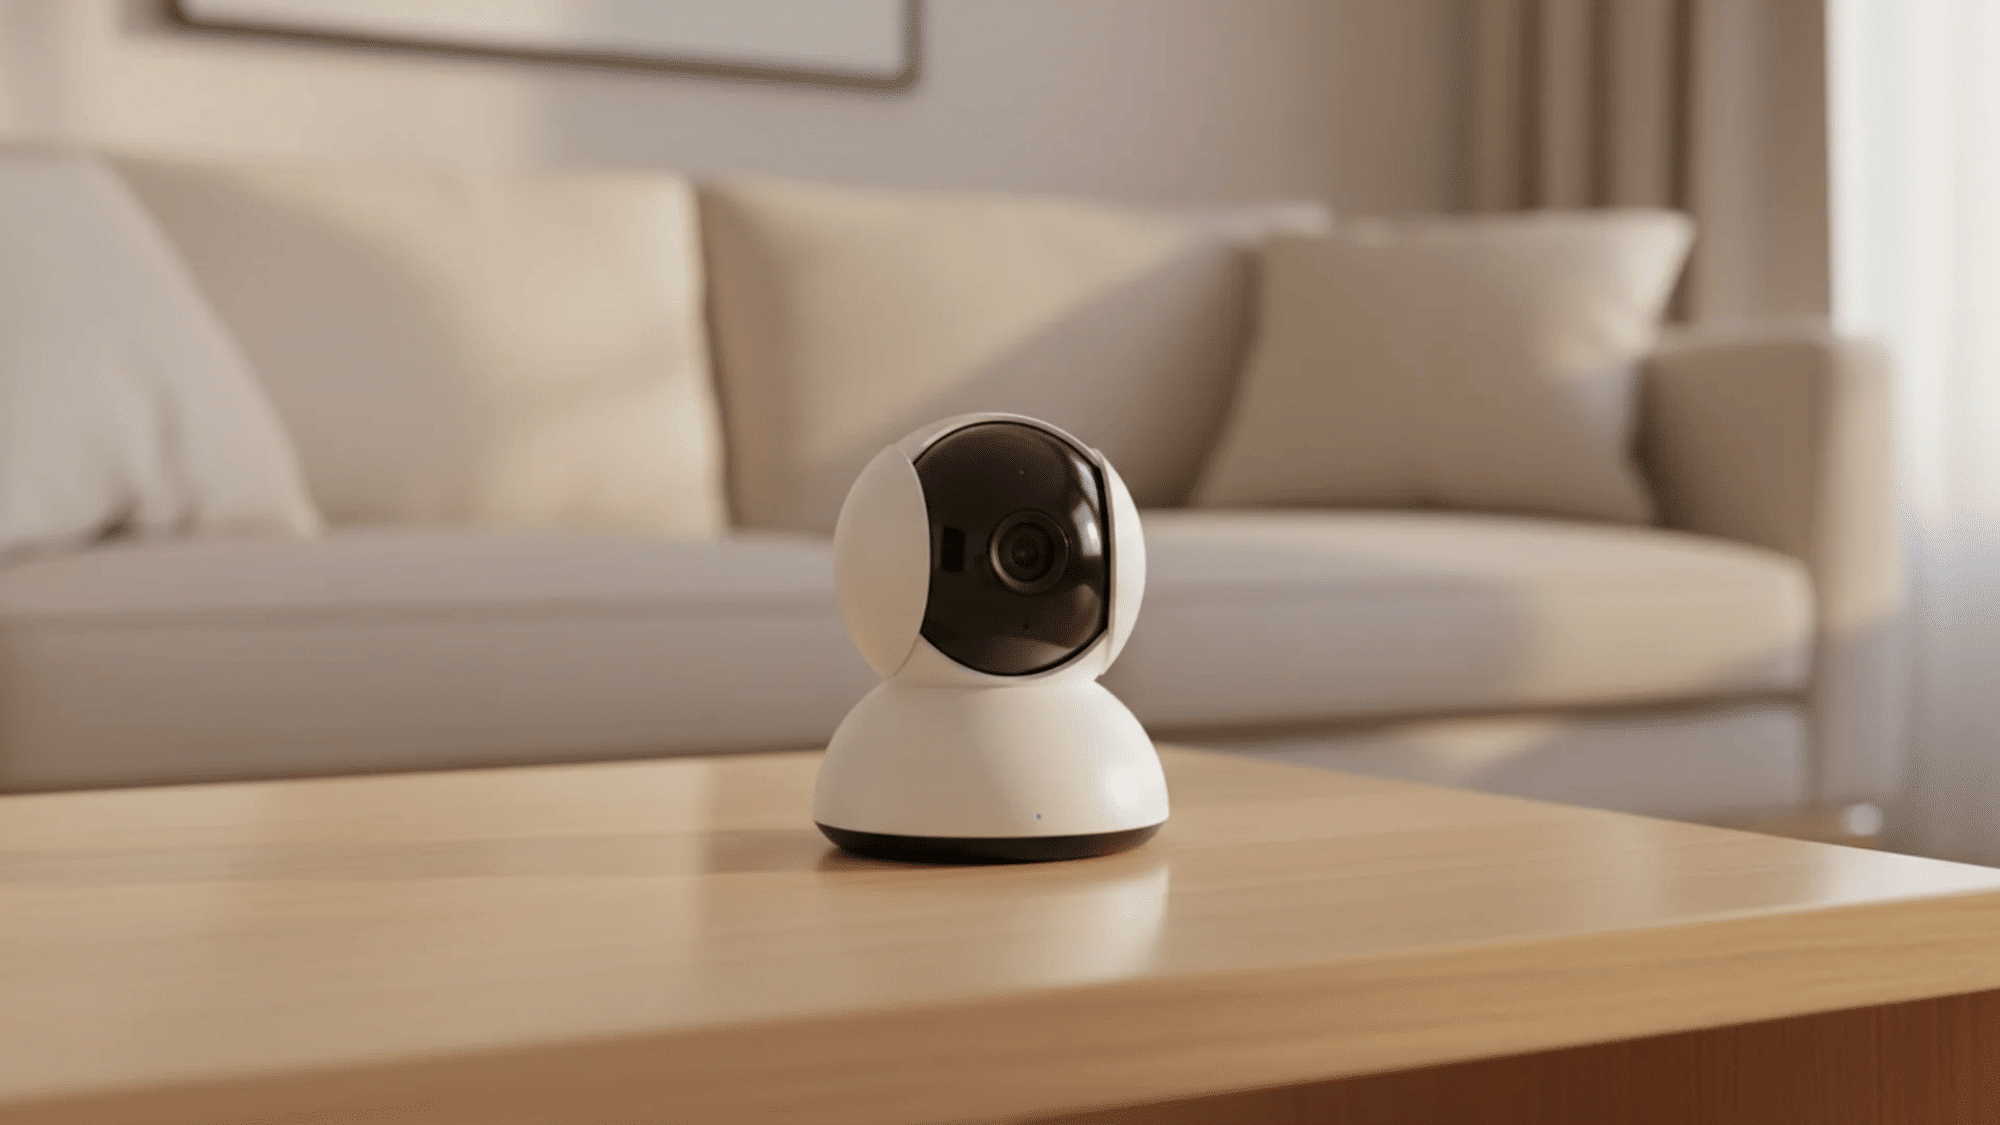
While they are safe from rain and wind, indoor lenses still attract airborne dust, pet dander, and cooking grease. This creates a subtle, hazy film over time.
A quick wipe-down a few times a year keeps indoor footage perfectly crisp.
3. Firmware and software (Every few months)
Don’t ignore those update notifications. Cybersecurity threats evolve constantly.
Manufacturers release software updates to patch security vulnerabilities, fix software bugs, and sometimes even upgrade features like AI motion detection.
Routine updates keep hackers out of your network.
4. Storage and hard drives (Check regularly; replace every 3 to 5 years)
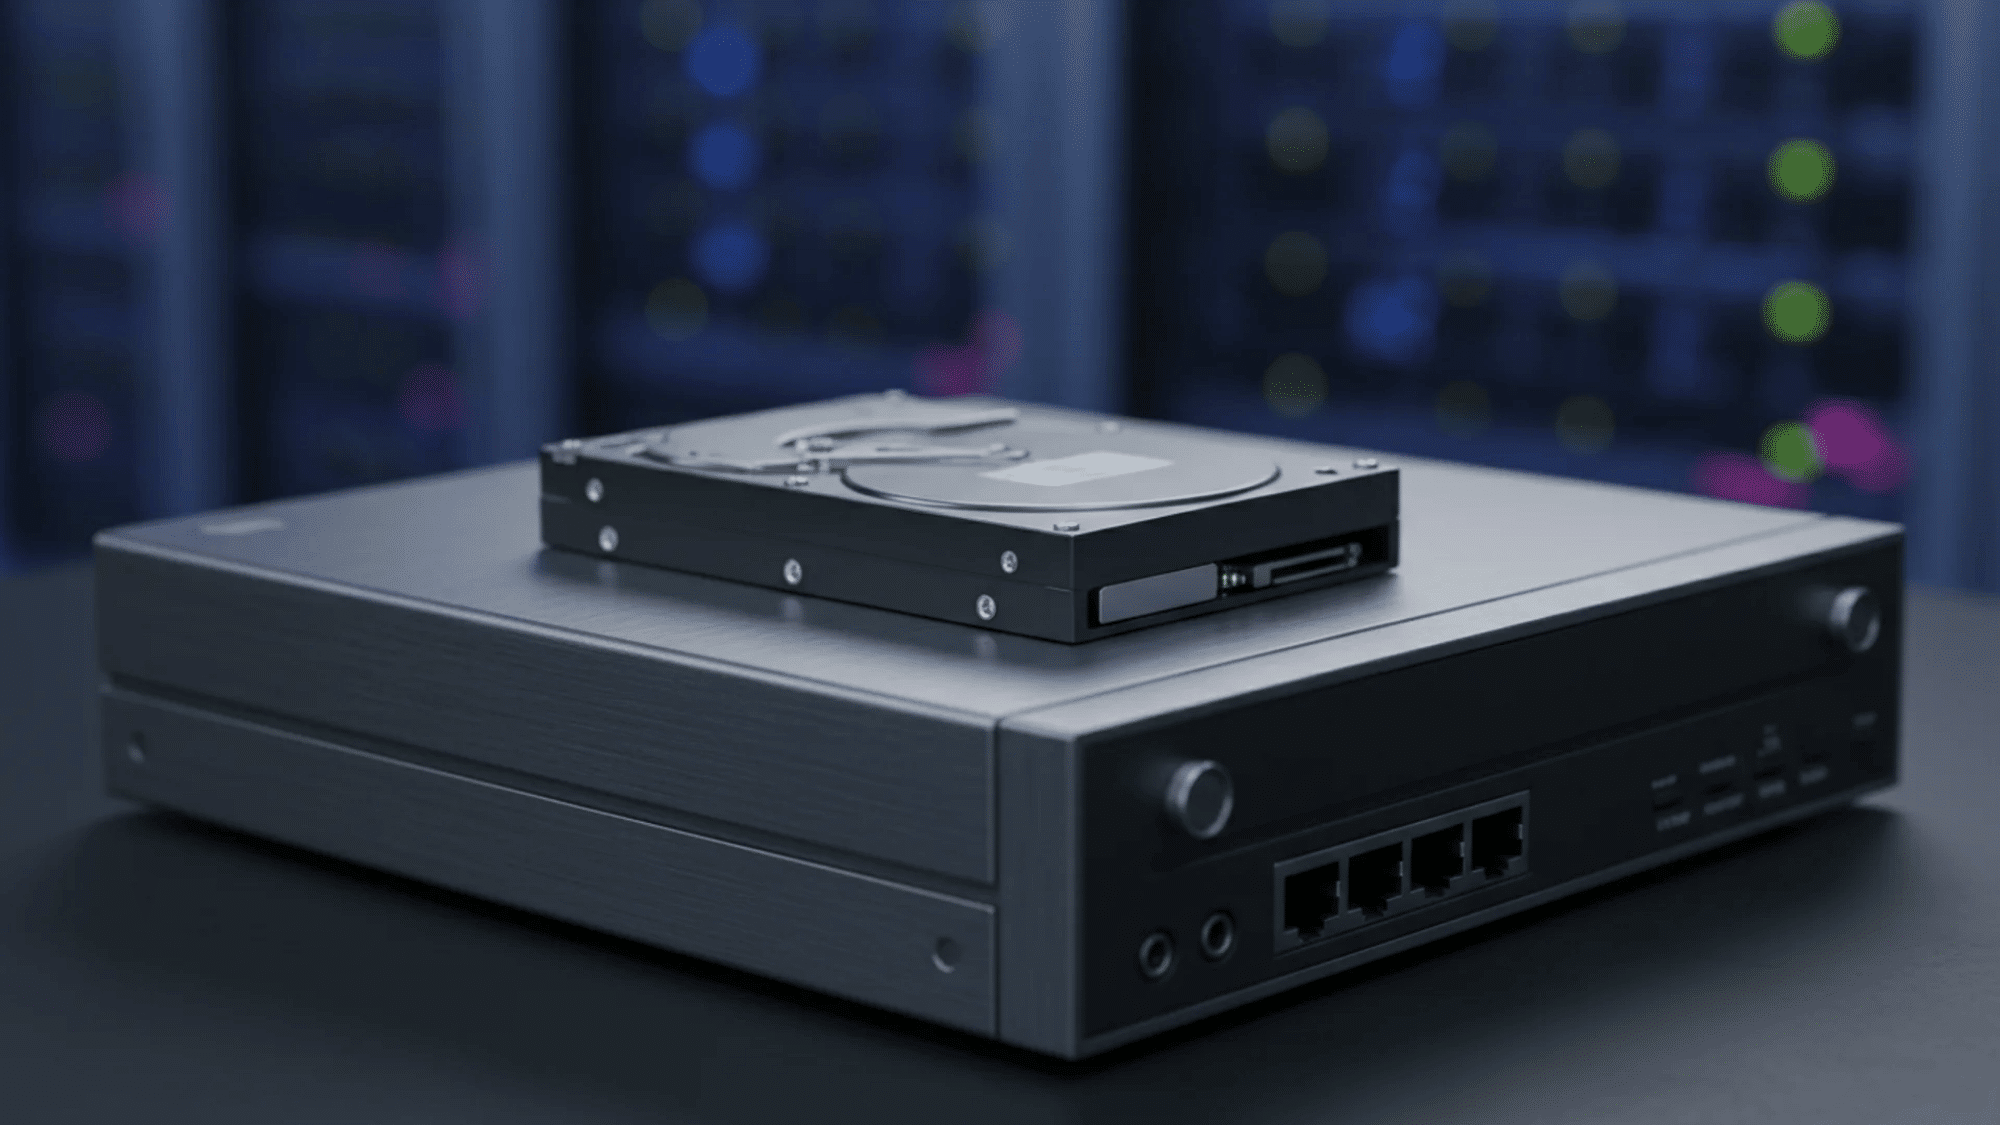
The hard drive inside your DVR or NVR is constantly running, rewriting data 24 hours a day. This non-stop cycle wears down physical drives much faster than the hard drive in your laptop.
Regularly checking your storage ensures your footage is actually being saved, and proactive replacement prevents catastrophic data loss.
5. Professional inspection (Once or twice a year)
Having an expert evaluate your setup annually is a great safety net.
Professionals know how to spot subtle signs of hardware degradation you might miss, like voltage drops, UV-damaged wiring, or loose weather seals- ensuring the structural backbone of your system remains sound.
Easy Security Camera Maintenance Tips
This is the core of your upkeep routine. Running through these simple, actionable steps ensures your hardware and software are operating at peak efficiency.
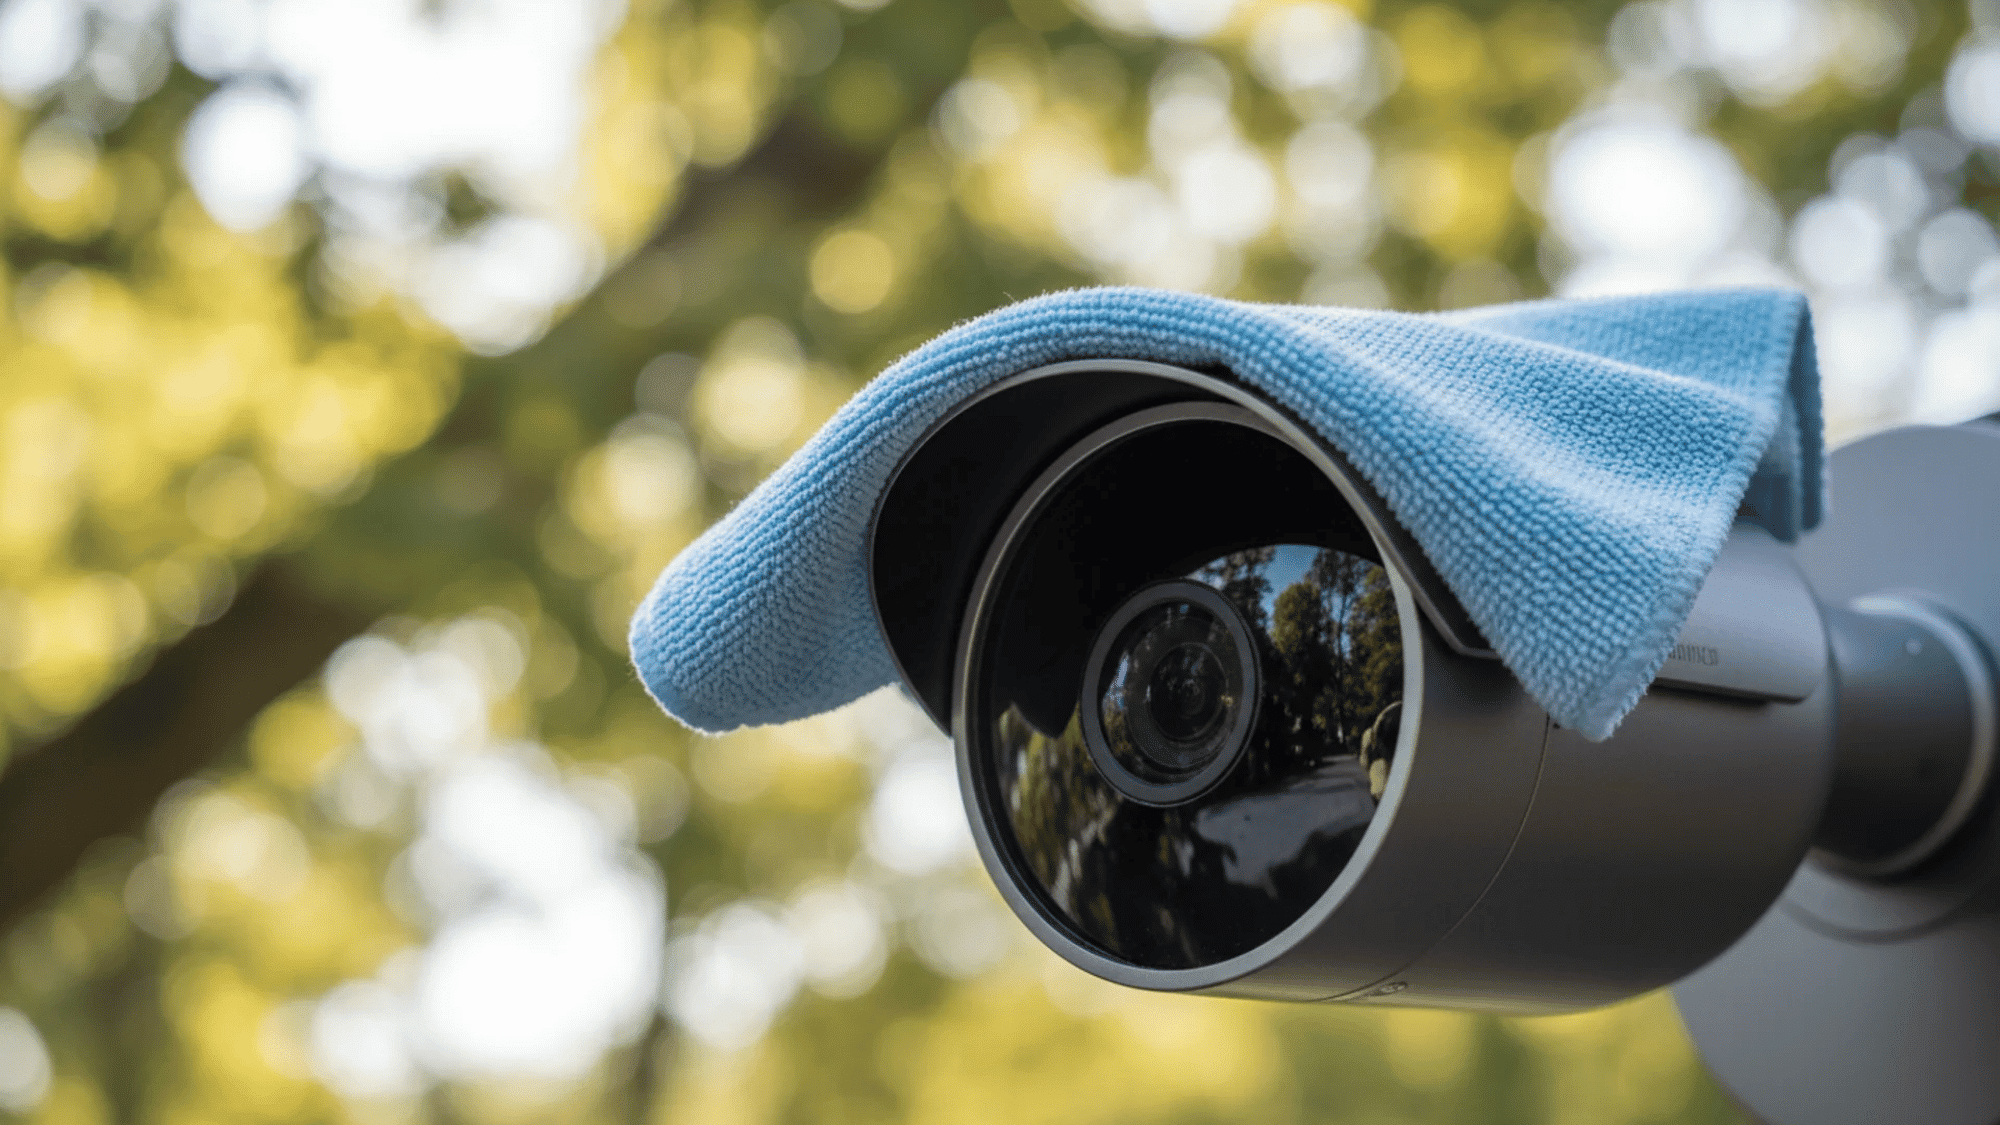
1. Clean the Camera Lens Safely
Dust, water spots, and smudges will ruin your video quality, especially at night when infrared lights reflect off the grime. Use a clean microfiber cloth and a lens-safe cleaning solution to gently wipe the glass.
Never use paper towels or rough rags, as they will scratch the surface.
Additionally, avoid harsh chemicals like standard glass cleaners, which can easily strip away the delicate anti-reflective coatings on the lens.
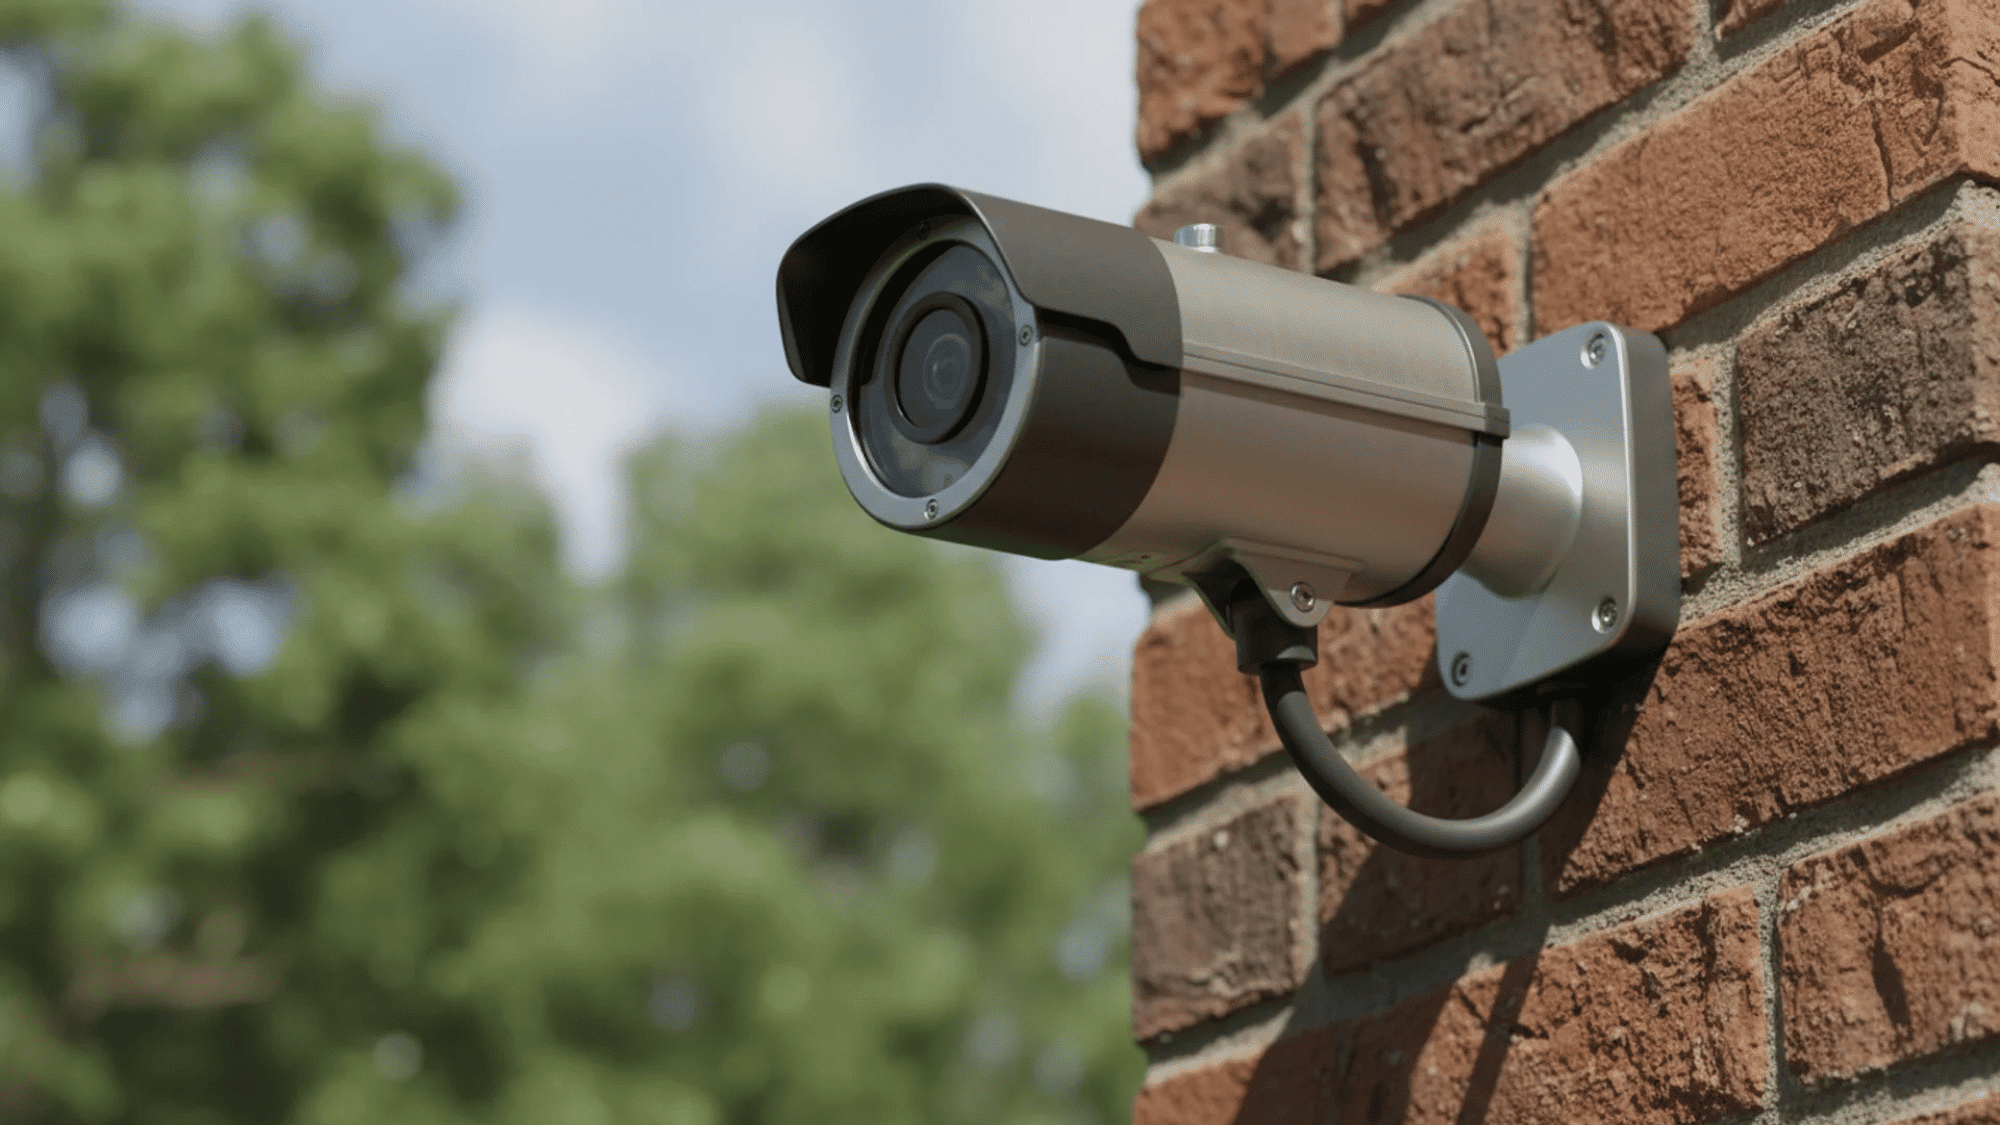
2. Check Housing, Mounting, and Angles
Perform a thorough visual inspection of the camera’s exterior. Look for early signs of rust, cracked plastic, water condensation inside the dome, or insect nests built into the crevices.
Next, check the physical mount. High winds, heavy storms, or even enthusiastic cleaning can bump a camera out of alignment.
Confirm that the mount is tight and the lens is still pointed exactly where it needs to be.
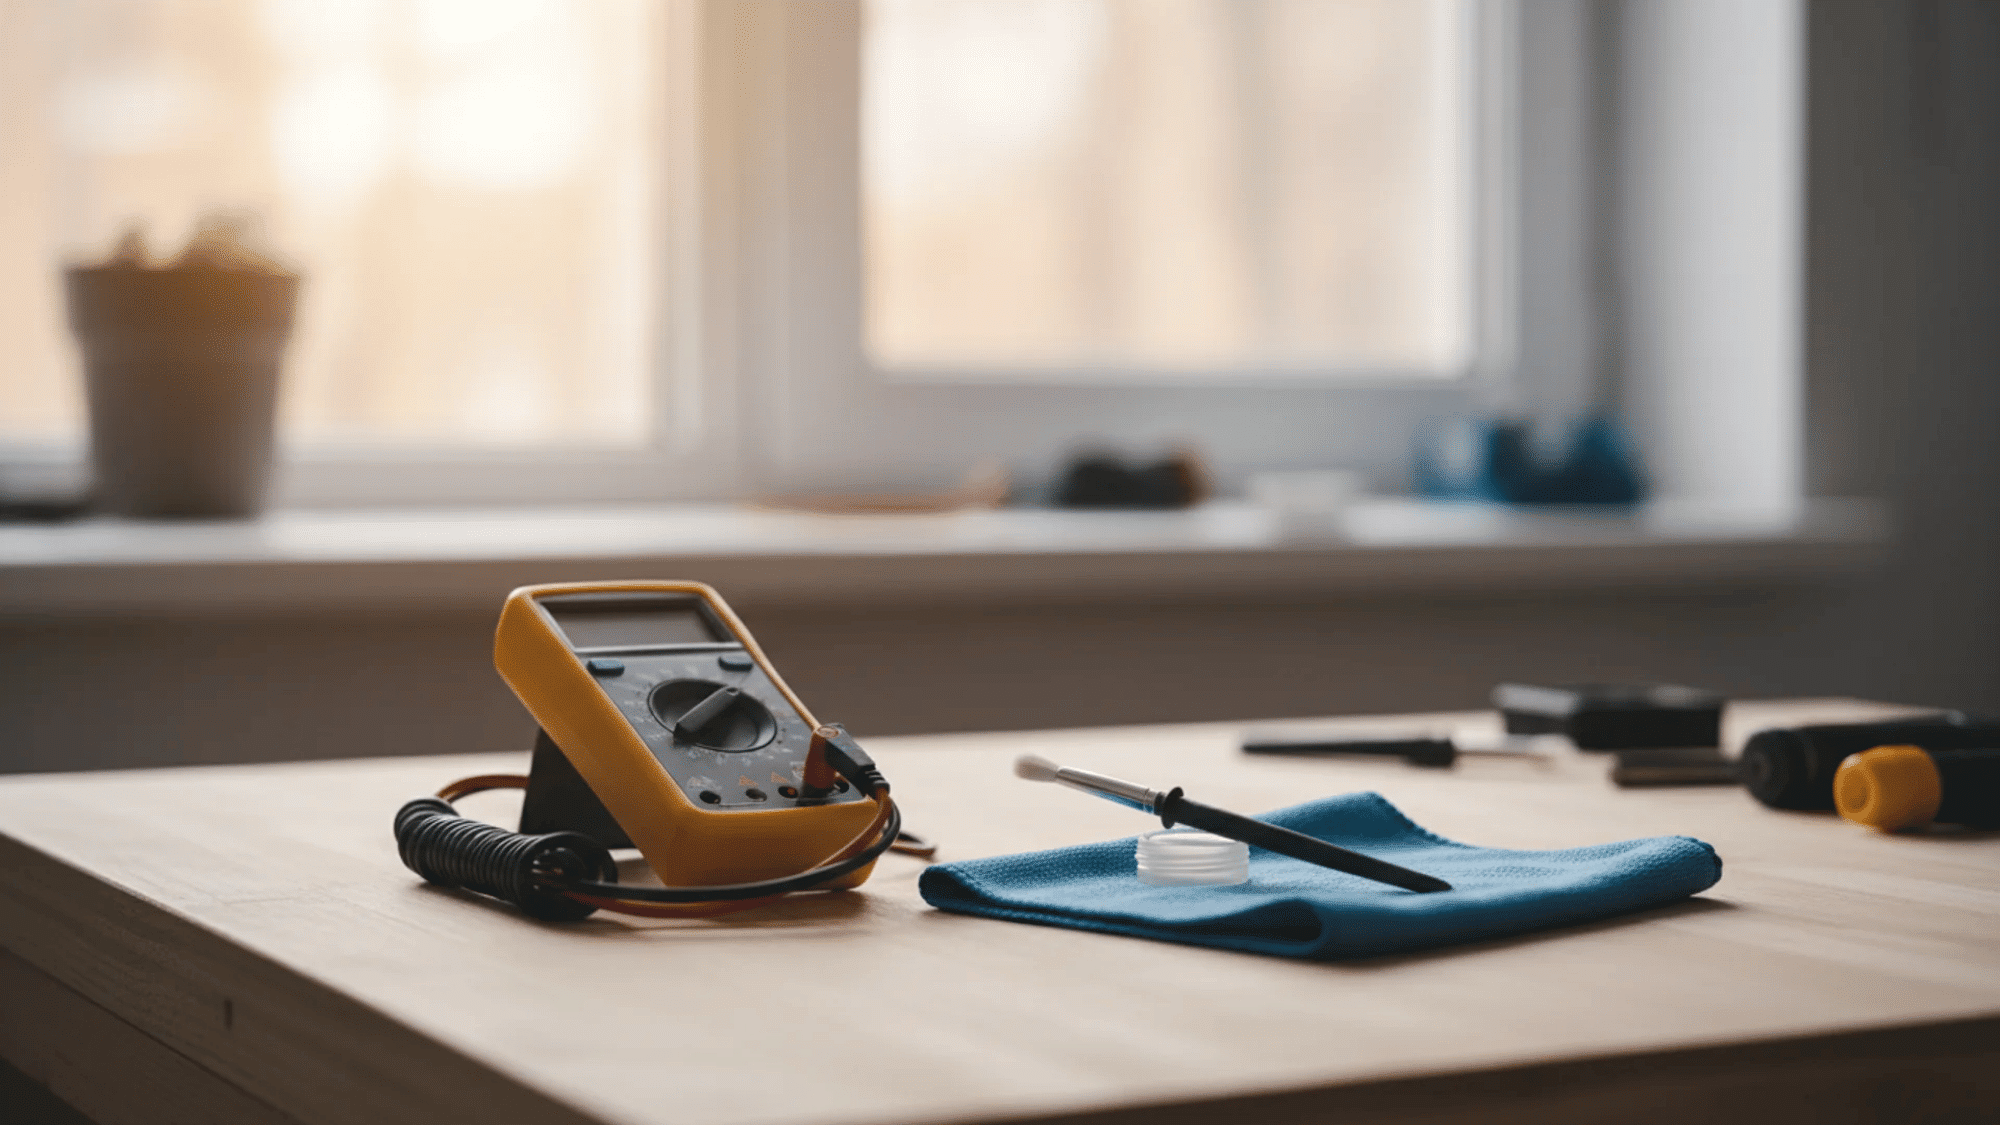
3. Inspect Wiring, Cables, and Power
Your camera is only as good as its connection.
Trace the exposed cables and look for any fraying, UV damage from the sun, or signs of rodent chewing. Ensure all connectors are securely plugged in and tightly sealed against moisture.
Finally, verify that the power supply is stable, as fluctuating power can cause the camera to drop offline or record inconsistently.
4. Test the Video Feed and Recording
Don’t just assume your system is working because the little LED light is on.
Pull up the live feed on your monitor or mobile app and watch for any visual distortion, color discoloration, or digital glitches. More importantly, check the playback.
Confirm that your DVR or NVR is actively logging new footage and that your hard drives have adequate storage space to continue looping.
5. Update Firmware and Software
Maintenance is not purely physical. Manufacturers regularly release updates for your camera’s operating system and your viewing apps.
Taking a few minutes to update your firmware patches critical security gaps, keeping your network safe from hackers.
It also frequently improves overall performance and fixes known bugs.
6. Clear Obstructions and Reboot
Nature grows quickly. Take a walk around your property and trim back any tree branches, bushes, or climbing vines that have encroached on your camera’s field of view or might block motion sensors.
Once the physical area is clear, give your entire system a quick reboot.
Just like a computer or smartphone, restarting your cameras and recording hub clears the temporary cache and keeps the system running fresh.
Common Mistakes to Avoid
Even with the best intentions, it is easy to make simple errors that can accidentally damage your equipment or render your footage useless.
Avoiding these common pitfalls will save you time, money, and a lot of frustration.
| Malpractises | What to Do |
| Using Abrasive Materials on the Lens | Avoid using paper towels or your shirt to clean the lens. These rough materials cause tiny scratches and remove protective coatings, permanently ruining your camera’s video quality. |
| Ignoring Night Vision Blur | Foggy night vision happens when dust, fingerprints, or spider webs reflect infrared light directly back into the sensor. If your night footage looks blurry, clean the lens immediately. |
| Skipping Weatherproofing on Outdoor Cameras | Outdoor cameras are not entirely waterproof. Moisture easily enters loose connections or brackets. Always check your rubber gaskets and apply weatherproof tape to stop cable corrosion. |
| Waiting Until Footage Fails | Never treat your security system as something you can just ignore. You must perform regular checks to ensure your cameras actually record footage when you need it most. |
Bottom Line
Keeping your security system in top shape does not take much time. A simple routine keeps your video footage crystal clear and helps your cameras last much longer.
I always like to think of regular maintenance as insurance for your investment. By gently wiping the lenses, inspecting the cables, and updating the software, you protect the exact equipment that protects your home.
There is no need to wait for a failure to happen.
Try these easy cleaning tips this weekend, build a basic schedule, and keep your property safe. Share your own maintenance routine in the comments below!
Frequently Asked Questions
Can I Use Bug Spray Near My Camera?
No. The chemicals in standard insect repellents can quickly melt or stain the plastic housing. Instead, carefully apply peppermint oil around the mounting base.
Is It Safe to Paint My Security Camera?
I strongly advise against painting the housing. Paint can block ventilation holes, trap heat, and easily ruin the sensitive microphone or speaker components inside.
Can I Apply Anti-Fog Spray on the Lens?
You should never apply aftermarket sprays to your glass. These liquids usually strip the factory protective coats, making night video look terribly blurry over time.
How do I Stop Sun Glare on the Lens?
If morning sunlight hits your device directly, try tilting the angle slightly downwards. You can also attach a small plastic sun shield over the top.