





A computer that will not start can make it hard to know what went wrong. The power supply is one of the first parts I check because it powers every component.
Learning how to test a power supply can help you rule out a bad PSU before replacing other hardware.
I will walk you through the tools needed, safe testing steps, paperclip and jumper methods, multimeter checks, voltage readings, and signs of failure.
I have seen connection issues look like hardware damage, so careful testing matters. You will also learn which method gives the most useful result, what mistakes to avoid, and what to do if the PSU fails.
The steps are written for beginners, but they also cover checks used during computer repair. By the end, you should feel confident testing the unit safely and deciding if it works properly.
Tools Needed to Test a Power Supply
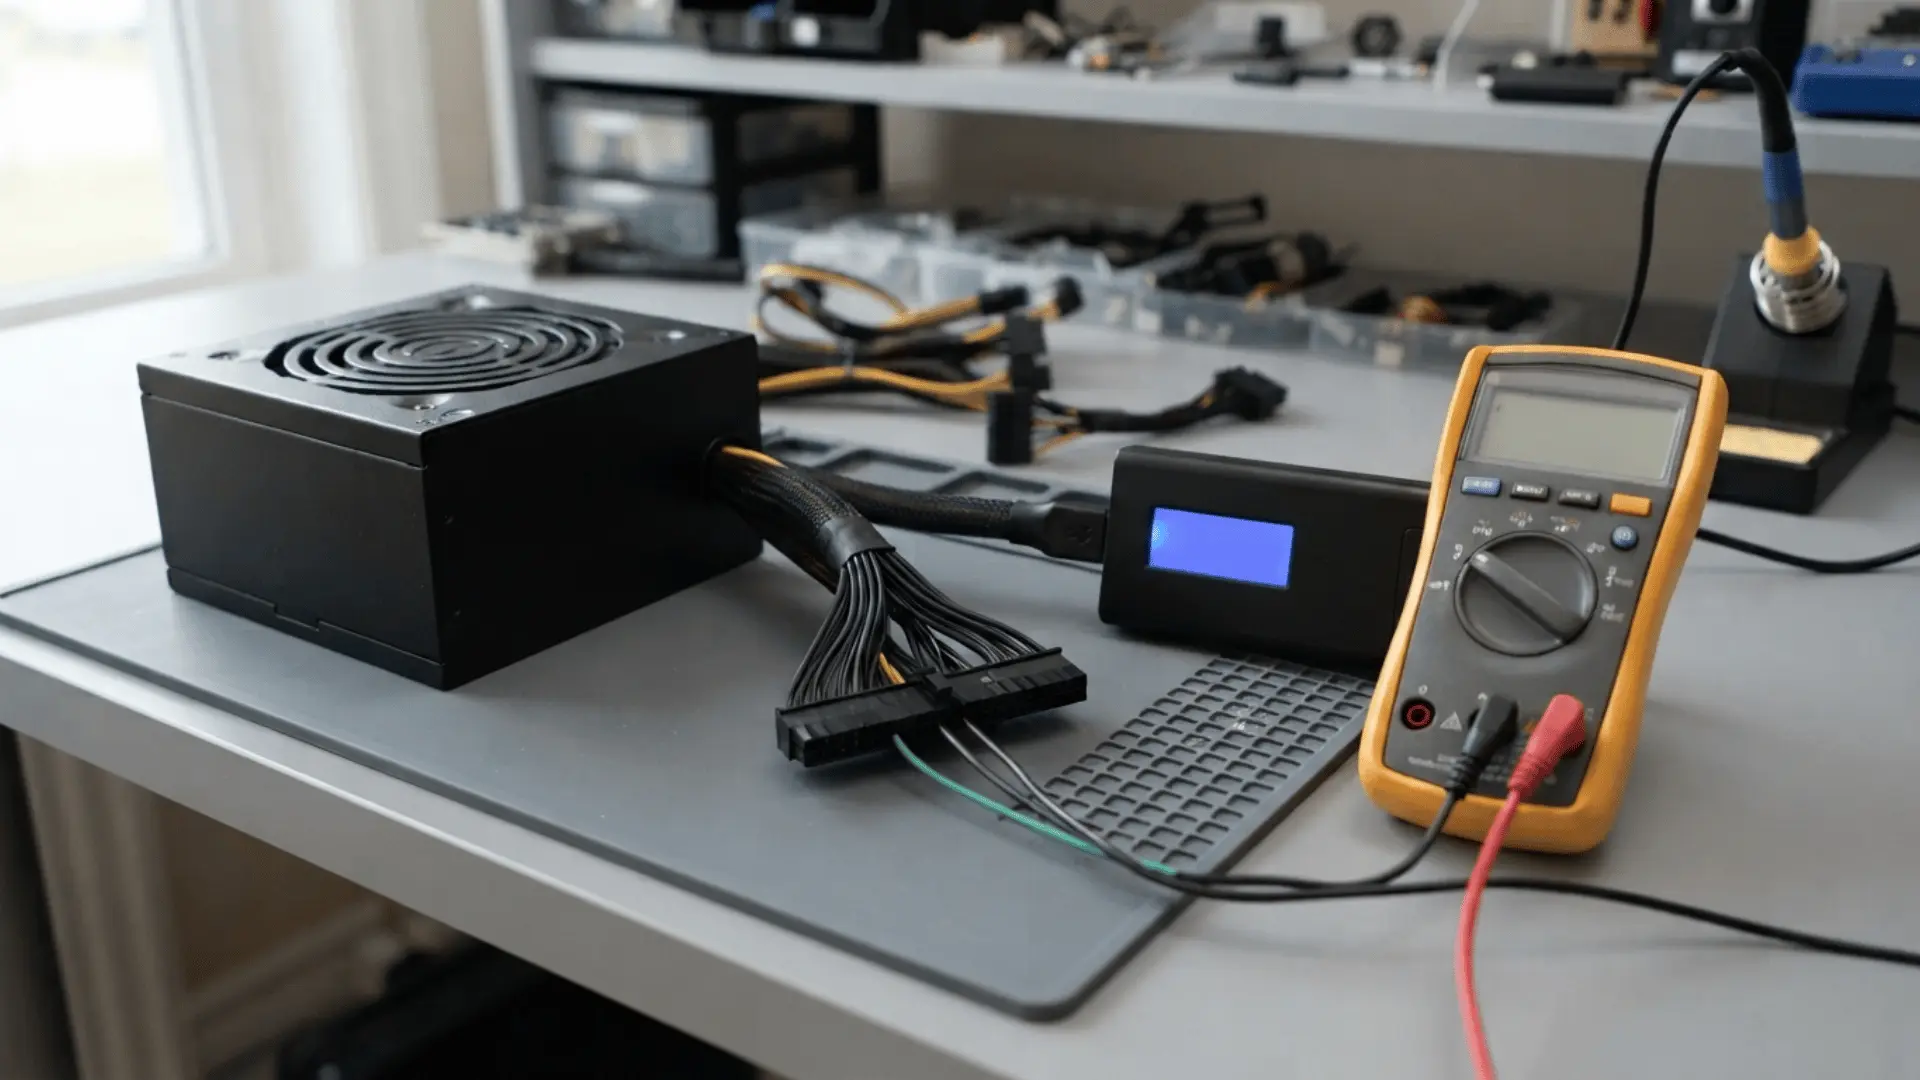
The right tools make PSU testing safer and more accurate. Some methods need only a basic item, while voltage checks require proper testing equipment.
- Paperclip
- PSU jumper tool
- Digital multimeter
- Dedicated PSU tester
- Phillips screwdriver
- Anti-static wrist strap
- Flashlight
- Manufacturer manual
Safety Precautions Before Testing a PSU
Safety comes first because a power supply can hold electrical charge even after being unplugged. Before learning how to test a power supply, shut down the computer, switch the PSU off, and remove the wall cable.
Press the case’s power button for several seconds to discharge any remaining charge. Work on a dry, flat surface with good lighting, and keep liquids away from the area.
Never open the metal PSU housing because internal capacitors may retain dangerous voltage. Disconnect cables by gripping the plastic connector rather than pulling the wires.
Avoid touching exposed pins while the unit is powered. Use insulated tools and confirm the correct pin layout before performing a paperclip or jumper test.
Stop immediately if there is smoke, a burning smell, melted plastic, or visible cable damage.
How to Test a Power Supply
The steps below allow testing of the PSU without a motherboard. A load test is still the best way to confirm stable performance.
Step-1: Turn Off and Disconnect the PSU
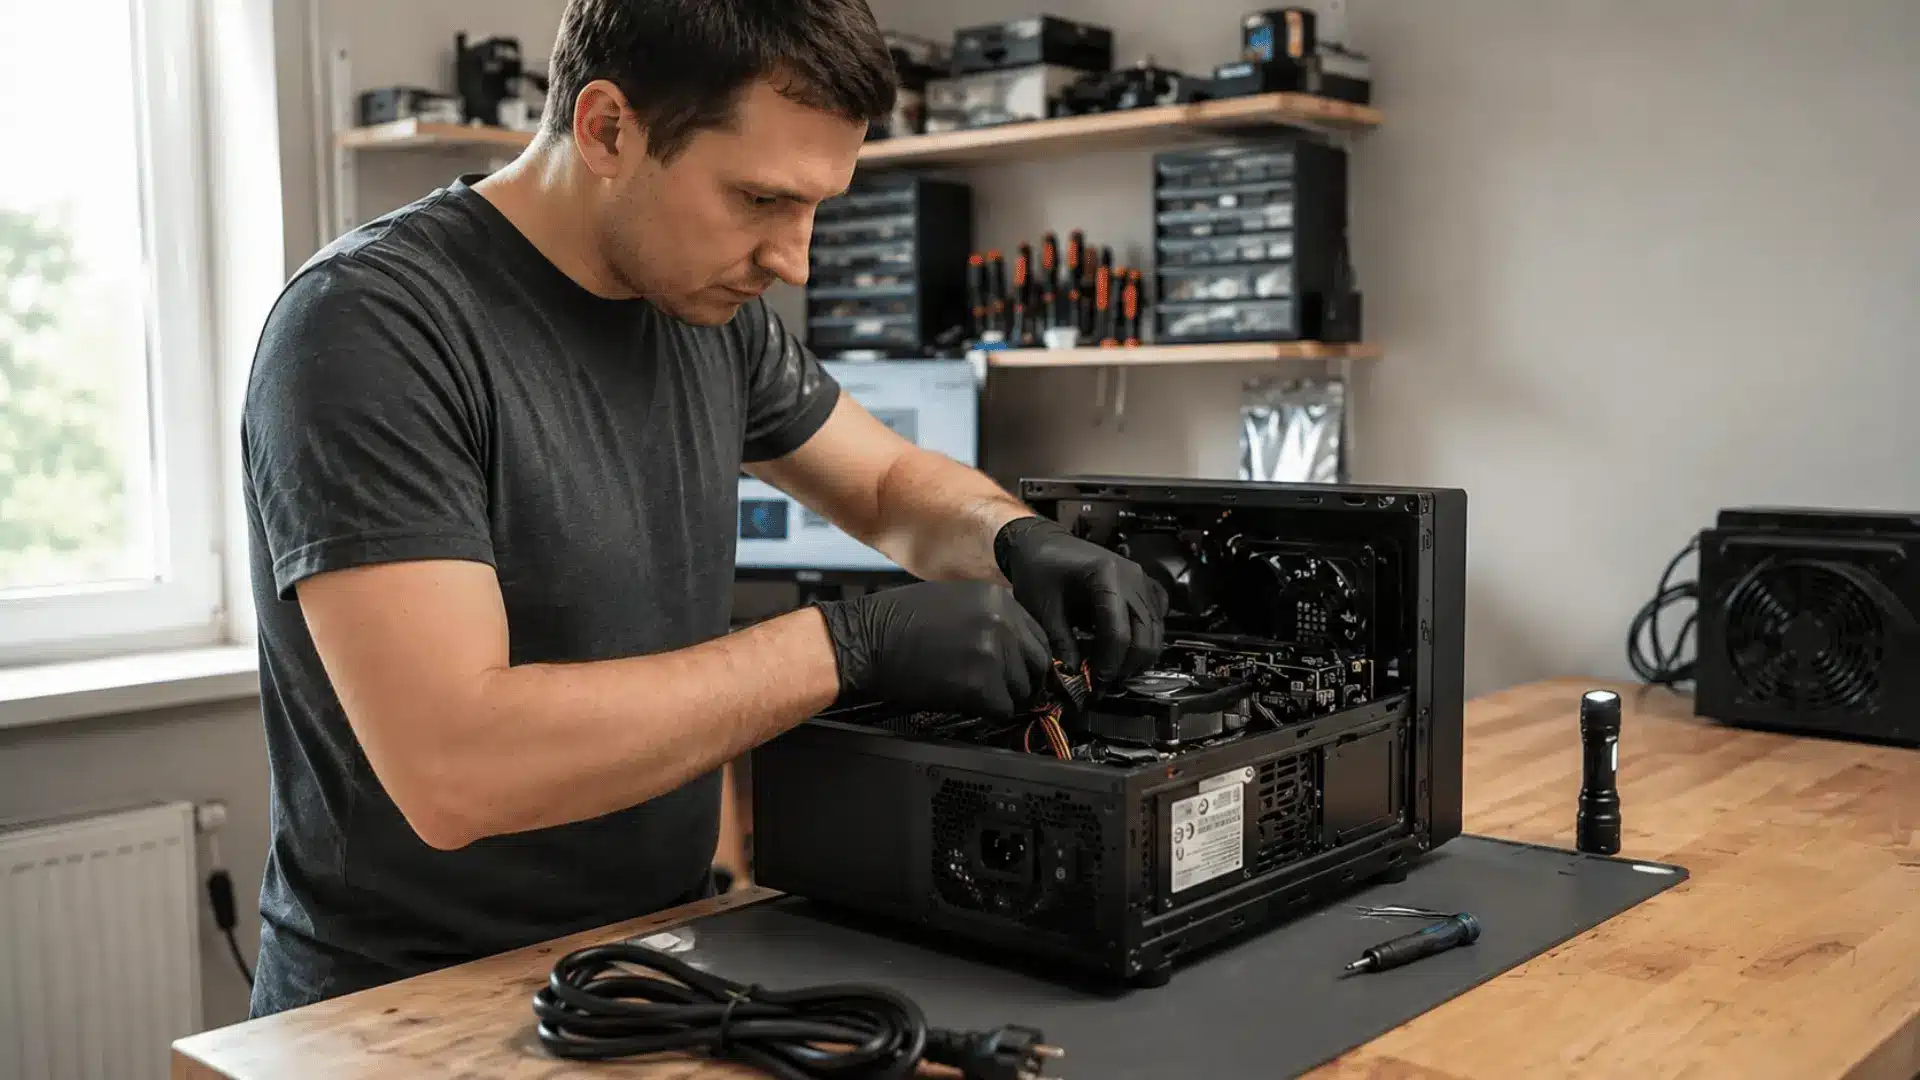
Shut down the computer, unplug the power cable, and switch the PSU off. Open the case and disconnect the power supply cables from the motherboard, graphics card, drives, and other parts.
Before testing, check for:
- Burnt smells
- Melted connectors
- Loose cables
- Damaged wires
- Heavy dust buildup
Stop immediately if the unit has visible heat damage or a strong burnt smell.
Step-2: Perform a Paperclip or Jumper Test
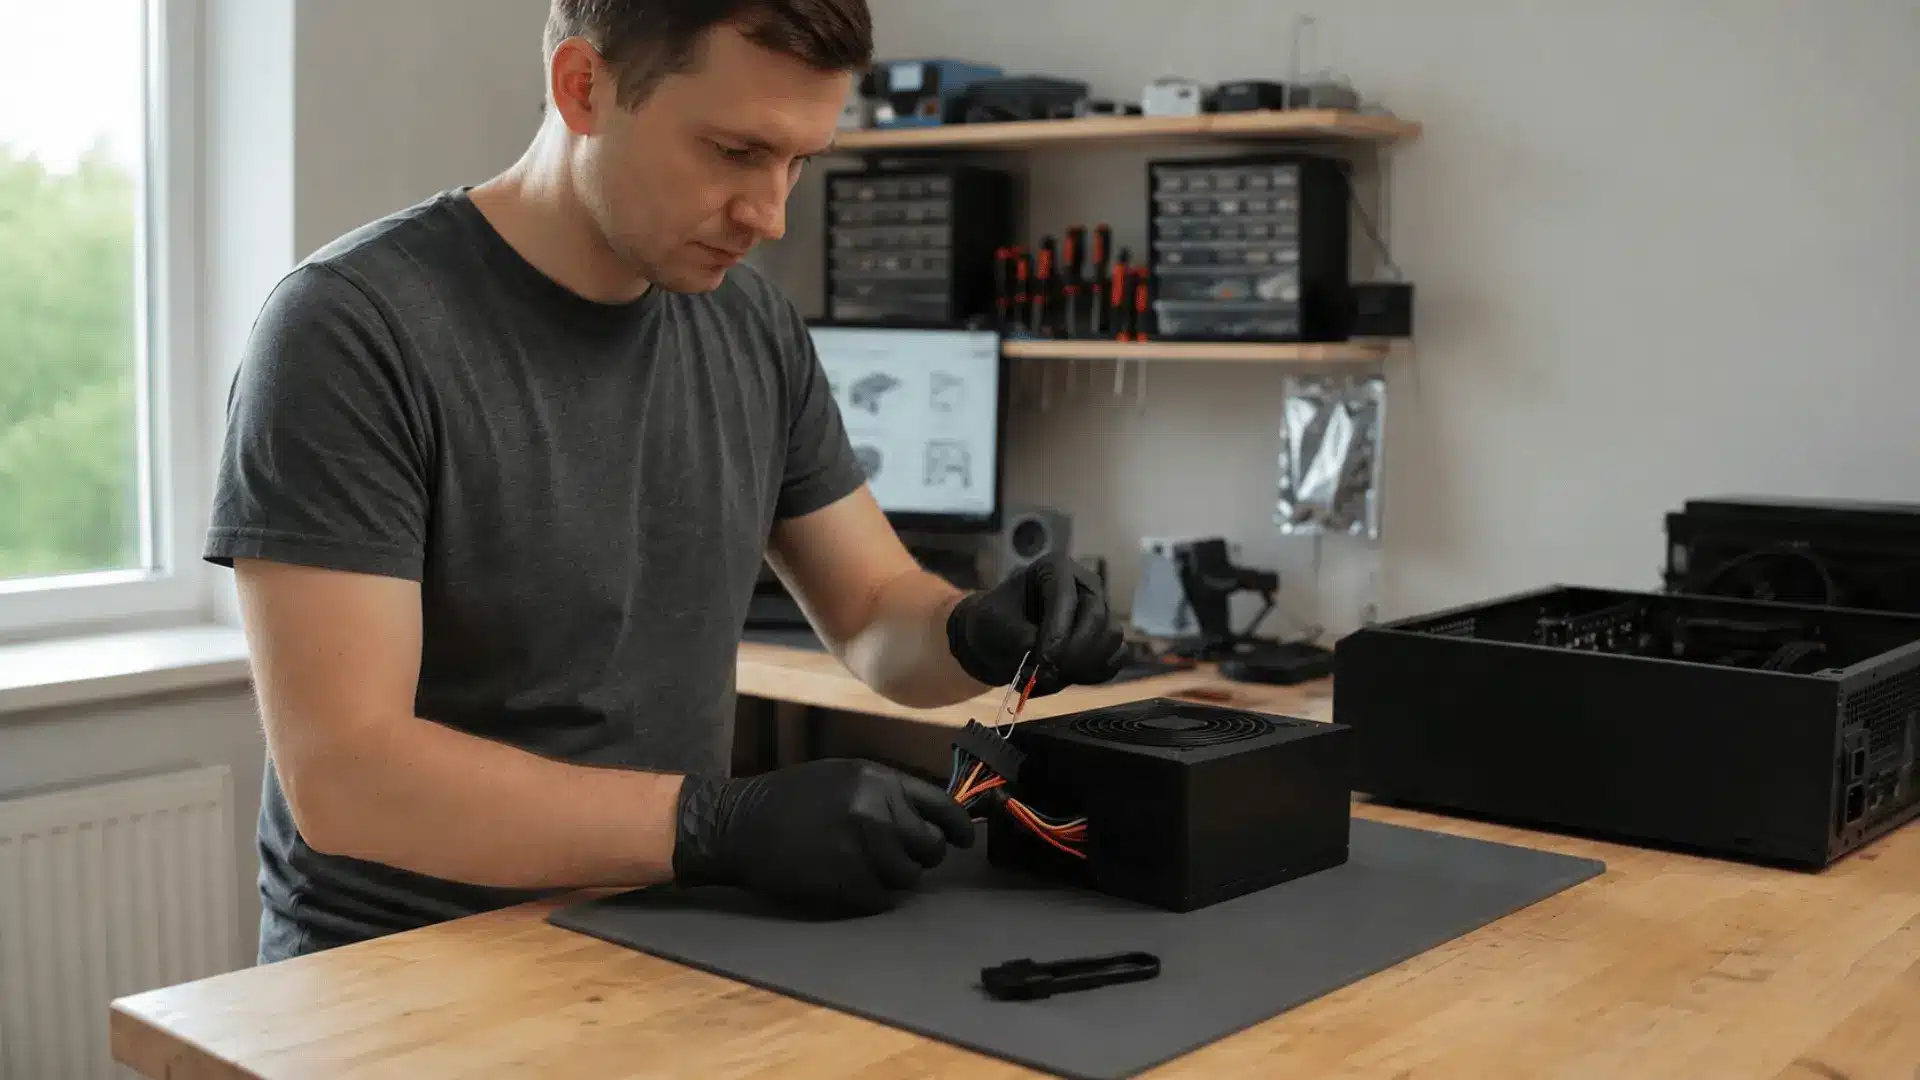
Connect the green PS_ON pin to a black ground pin on the 24-pin connector using a paperclip or PSU jumper. Plug the unit in and switch it on.
Check for:
- PSU fan movement
- Tester lights
- Connected fan activity
- Clicking or unusual sounds
A startup response only shows that the PSU can turn on. It does not confirm that the voltage output is correct.
Step-3: Check the Voltage Output
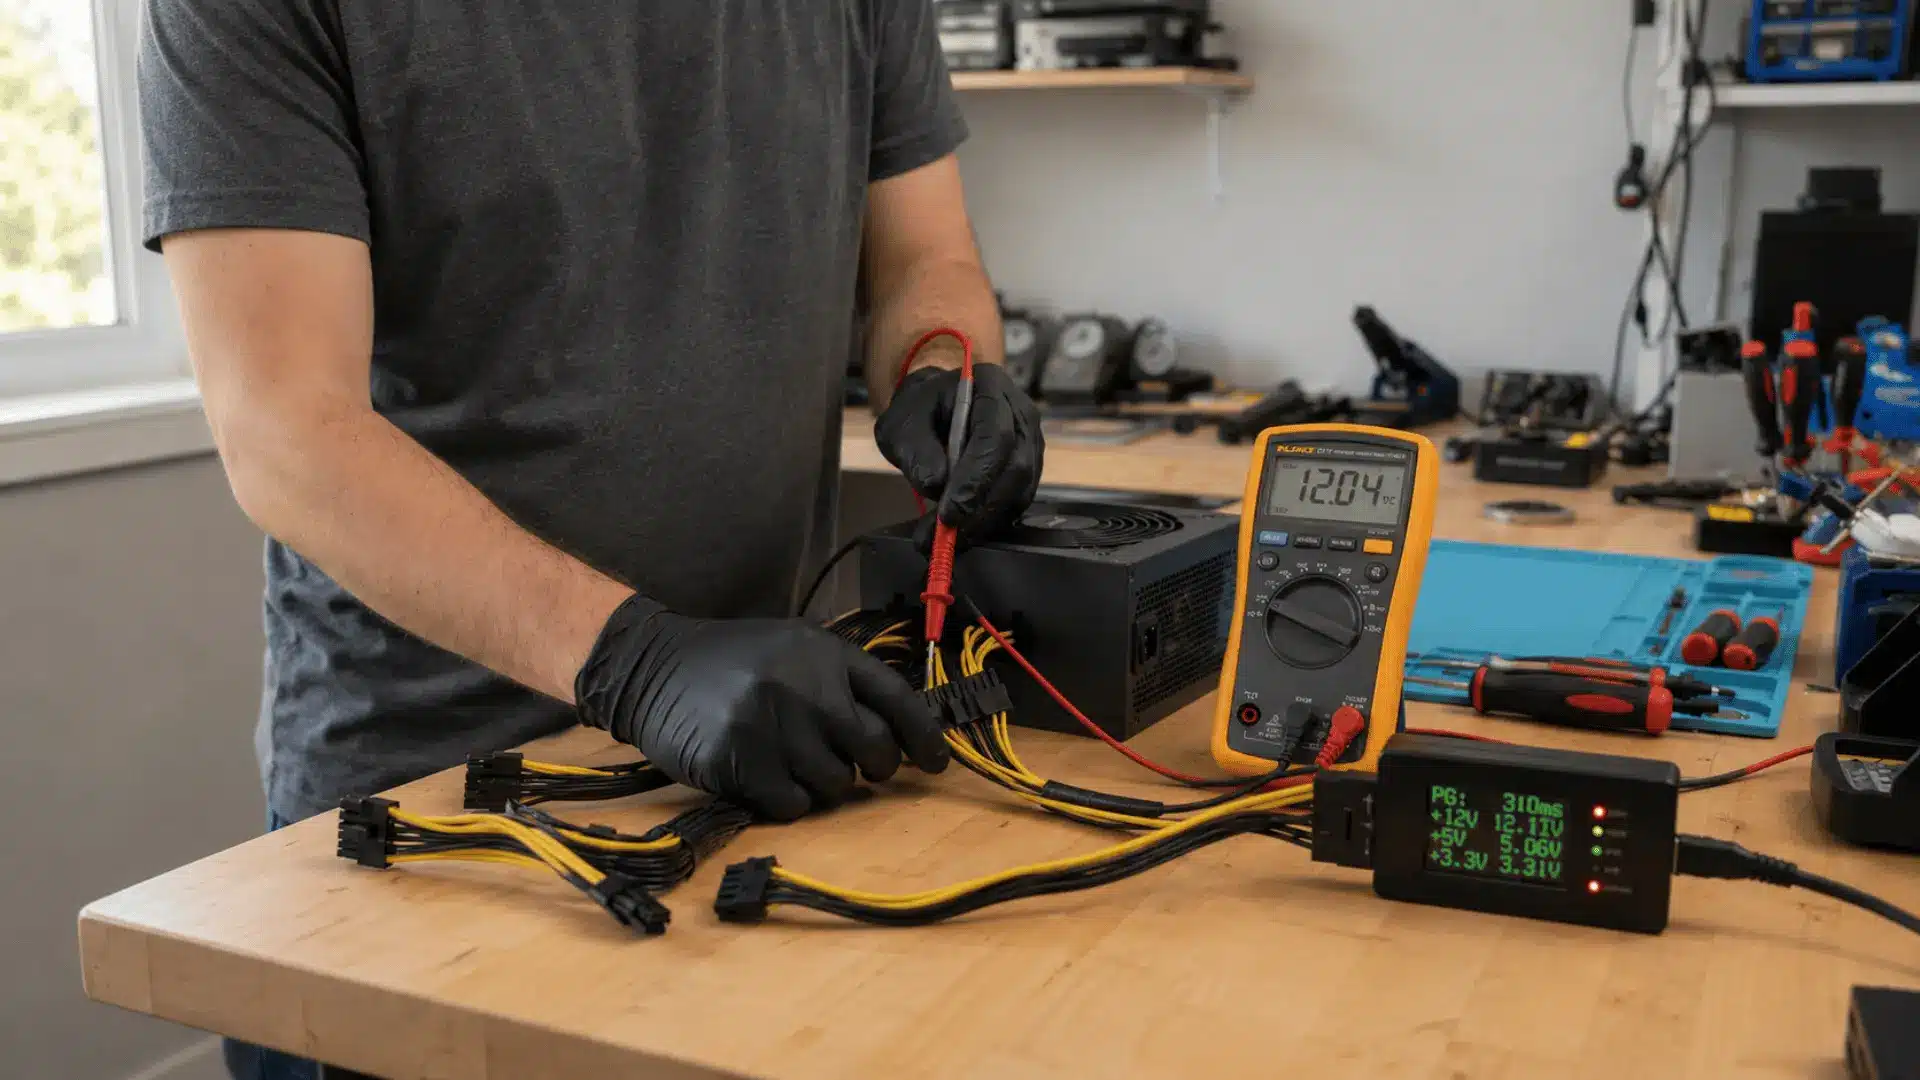
Use a multimeter or dedicated PSU tester to check the main voltage rails. A multimeter gives detailed readings, while a PSU tester is easier for beginners.
Test these outputs:
- 12V rail
- 5V rail
- 3.3V rail
- Power Good signal
Readings outside the accepted range may point to a faulty power supply.
Step-4: Reconnect and Test the Computer
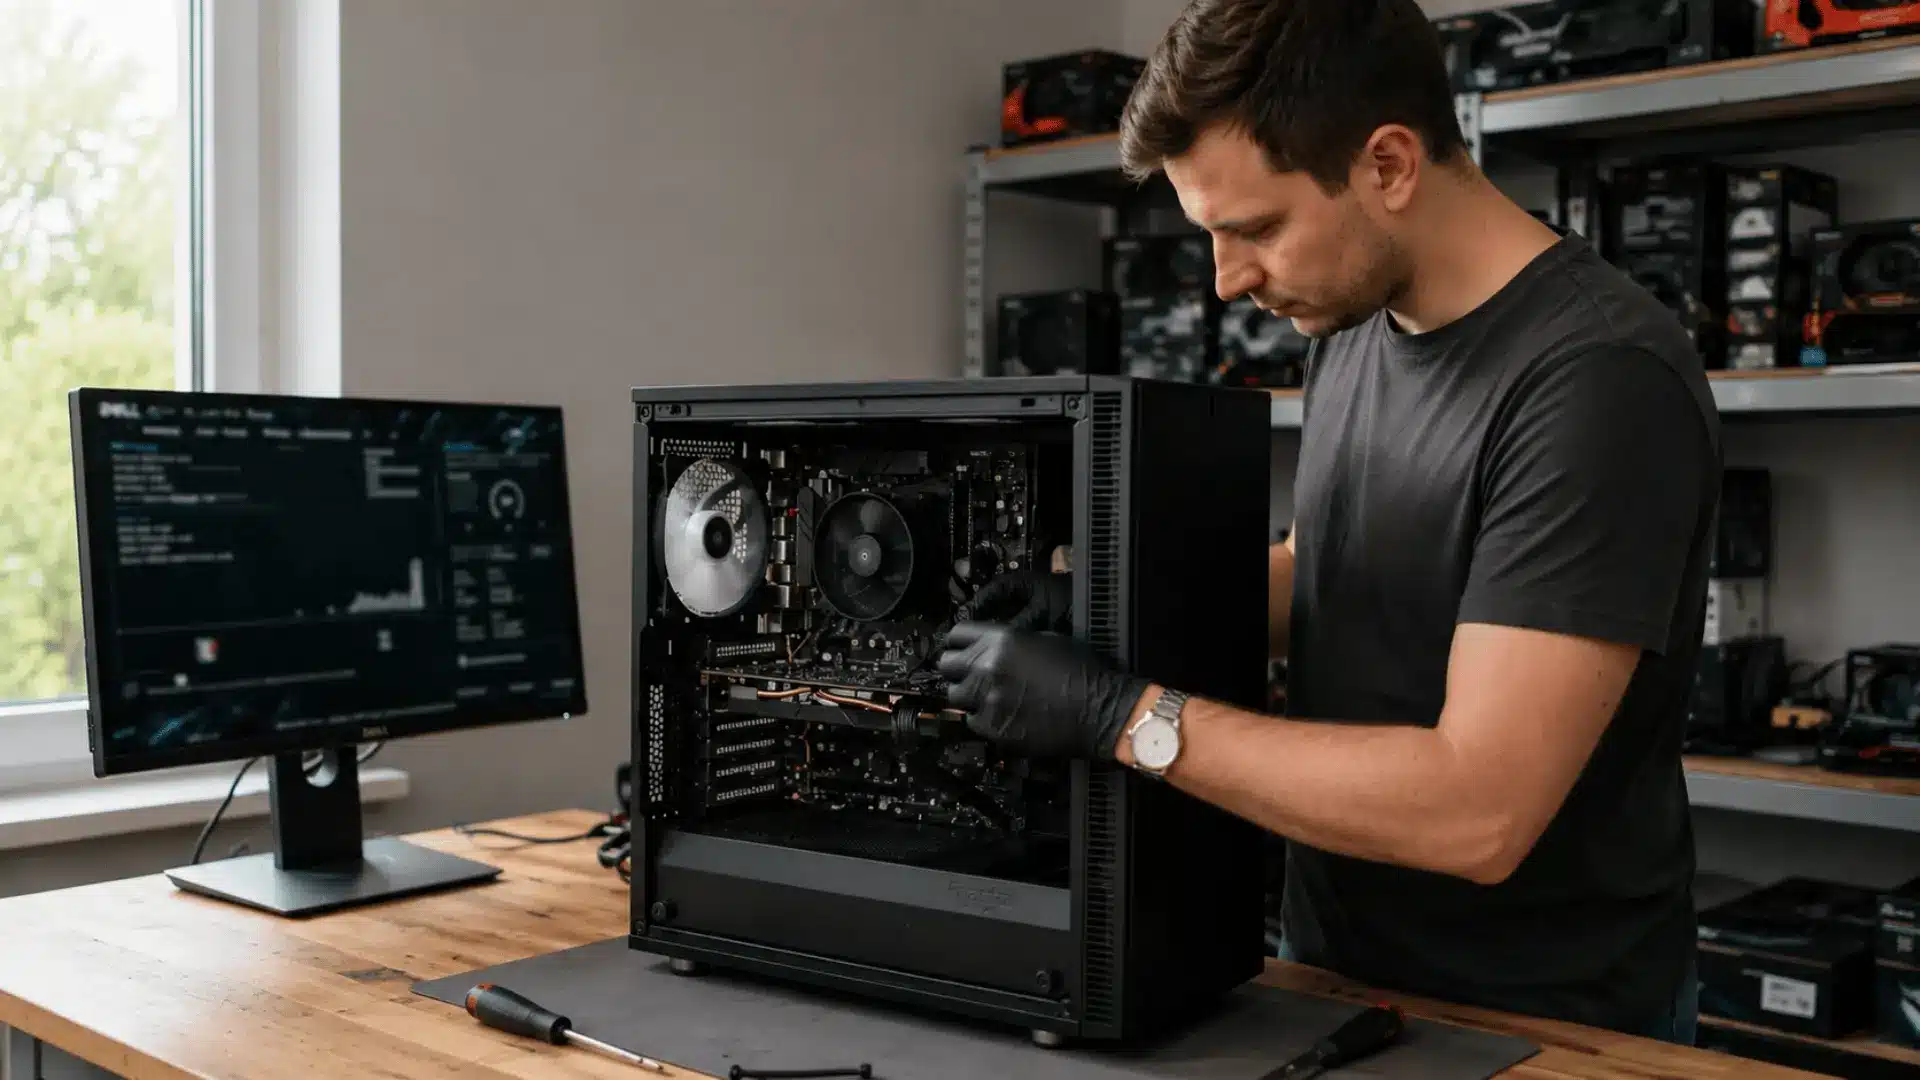
Reconnect every cable firmly and start the computer. Watch how the system behaves during normal use and under heavier tasks.
Common warning signs include:
- Random shutdowns
- Restart loops
- Screen flickering
- Drive disconnects
- Crashes during gaming
- Burning smells or buzzing sounds
A PSU that passes a paperclip test but causes instability under load may still need replacement.
Methods to Test PSU
Each method offers a different level of detail, safety, and accuracy. This comparison helps readers choose the appropriate way to test PSU performance based on the available tools and the suspected fault type.
| Testing Method | What It Checks | Best For | Accuracy | Works Without Motherboard | Advantage | Main Limitation |
|---|---|---|---|---|---|---|
| Paperclip Test | Confirms if the PSU can start | Quick startup checks | Low | Yes | Fast and inexpensive | Does not measure voltage or load performance |
| PSU Jumper Test | Confirms basic PSU startup | Safer repeated testing | Low | Yes | Reduces the risk of connecting the wrong pins | Only shows if the unit powers on |
| Multimeter Test | Measures 12V, 5V, and 3.3V rails | Exact voltage checks | High | Yes | Provides detailed readings for each power rail | Requires careful probe placement |
| Dedicated PSU Tester | Checks several connectors and voltage rails | Fast beginner-friendly testing | Moderate to high | Yes | Displays multiple readings and warnings quickly | May not detect faults that appear under heavy load |
| System Load Test | Checks stability during real computer use | Finding shutdowns under demand | High | No | Reveals problems that appear during gaming or heavy tasks | Risks instability if the PSU is already badly damaged |
For a complete result, start with a paperclip or jumper test, confirm voltage output with a multimeter or PSU tester, and check stability under load only when the unit shows no visible damage.
How to Read PSU Test Results
A successful startup test only confirms that the power supply can turn on. It does not prove that the PSU is healthy, stable, or capable of supporting the computer under load.
Fan movement, tester lights, or connected device activity indicate that some power is present, but a low voltage can still cause crashes, failed starts, and random shutdowns.
A PSU should be judged by both its startup response and voltage readings. Stable results within the accepted ATX limits usually suggest normal operation. Low, high, missing, or changing readings point to a possible fault.
If one method yields an inconclusive result, repeat the check using another tool before replacing the unit.
How to Check PSU Voltage Output
ATX voltage tolerances indicate if a power supply is delivering safe, stable power. Compare each reading with the accepted range and look for values that remain too high, too low, or unstable.
| PSU Rail | Standard Voltage | Acceptable ATX Range | What the Reading Means |
|---|---|---|---|
| 12V Rail | 12V | 11.40V to 12.60V | Powers the CPU, GPU, fans, and other high-demand parts. |
| 5V Rail | 5V | 4.75V to 5.25V | Supports drives, USB devices, and several motherboard circuits. |
| 3.3V Rail | 3.3V | 3.14V to 3.47V | Supplies lower-voltage power to memory and motherboard components. |
A reading inside the accepted range is usually normal. Values below the range may cause crashes, failed starts, or device disconnects, while readings above the range may place connected hardware at risk.
Replace the PSU when several rails remain outside the safe limits, voltage changes sharply, or the computer still shuts down under load.
Signs of a Failing Power Supply
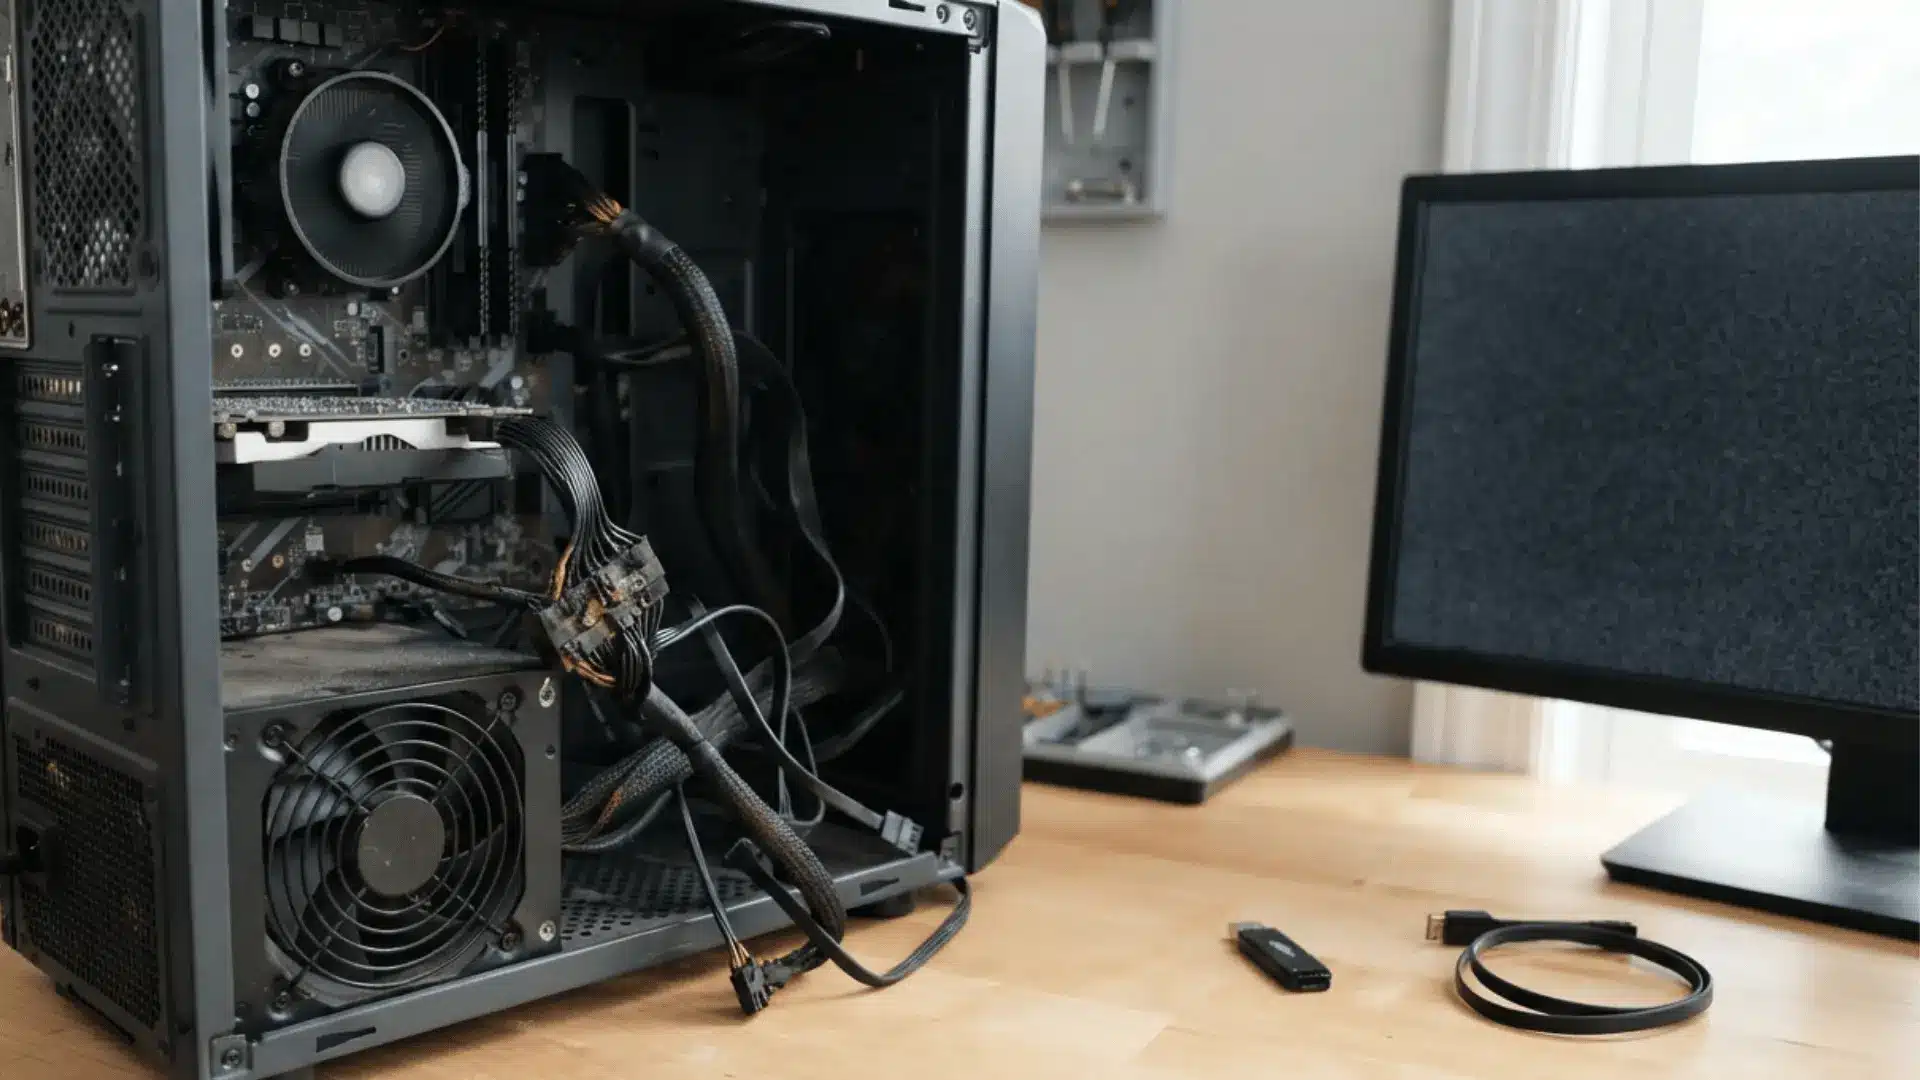
A weak PSU often causes unstable behavior before it stops working completely. These warning signs can help narrow down the problem before testing or replacing other computer parts.
- Computer Will Not Start: No lights, fan movement, or response after pressing the power button may point to a dead PSU.
- Random Shutdowns: Sudden power loss during gaming or heavy tasks can mean the unit cannot handle the system load.
- Unexpected Restarts: Repeated restarts may occur when the PSU delivers unstable voltage to the motherboard or processor.
- Burning Smell: A sharp, burnt odor can indicate damaged wiring, overheated components, or an internal electrical fault.
- Buzzing or Clicking Sounds: New electrical noises from the PSU area may indicate a failing fan, coil, or internal component.
- Screen Flickering: Uneven power to the graphics card can cause display flicker, black screens, or signal loss.
- Drive or USB Disconnects: Storage devices and accessories may disconnect when the 5V rail becomes weak or unstable.
- Crashes Under Load: A computer that works normally at idle but crashes during demanding tasks may have a weak power supply.
Learning how to test the power supply’s output can confirm if these symptoms are caused by the PSU or another hardware issue.
What to do if the Power Supply Fails the Test
A power supply that fails testing should not remain in use. Replace the PSU if voltage readings stay outside the safe range or the unit shows burning, smoke, or repeated shutdowns.
Before replacing it, repeat the test using a second method to rule out a loose cable, an incorrect meter setting, or an incorrect pin connection.
Check the wall outlet and power cord as well. When learning how to test power supply performance, remember that passing a paperclip test does not confirm stable output under load.
Choose a replacement with enough wattage for the processor, graphics card, drives, and future upgrades. Use only the modular cables included with the new unit.
Old power supplies should be taken to an approved electronics recycling center rather than being placed in regular household waste.
How to Maintain a Power Supply
Good airflow and regular cleaning can help a PSU work reliably for longer. Simple checks also reduce heat, dust buildup, and sudden power problems.
- Remove Dust Regularly: Use compressed air around the PSU vent while the computer is turned off and unplugged.
- Keep Air Vents Clear: Leave space behind the computer so warm air can escape rather than be trapped.
- Avoid System Overload: Choose a PSU with enough wattage for the graphics card, processor, drives, and connected devices.
- Use Surge Protection: A quality surge protector or UPS can reduce damage from voltage spikes and power cuts.
- Check Cables: Look for loose connectors, bent pins, melted plastic, or damaged insulation during routine cleaning.
- Control Heat: Keep the computer away from heaters, closed cabinets, and direct sunlight.
- Replace Aging Units: Older PSUs showing unstable voltage, noise, or shutdowns should be tested and replaced promptly.
Common PSU Testing Mistakes
Testing errors can cause false readings or hardware damage. Use this table to keep the process safer and more accurate.
| Mistake | Better Approach |
|---|---|
| Testing the wrong pins | Check the connector layout first. |
| Assuming fan movement means success | Verify voltage with a tester or multimeter. |
| Opening the PSU casing | Keep the housing closed at all times. |
| Using mismatched modular cables | Use cables made for the exact PSU model. |
| Selecting the wrong meter setting | Choose DC voltage before testing. |
| Relying only on the paperclip test | Combine methods when learning to test a power supply’s output. |
At the End
Testing a power supply does not need to feel confusing when the process starts with checks. Begin by looking for loose cables, damaged connectors, unusual smells, or signs of overheating.
These clues may explain the problem before deeper testing is needed. Next, confirm that the PSU delivers voltage within the accepted ATX ranges.
Stable readings help rule out the power supply, while low, high, or fluctuating values indicate a fault. If the unit repeatedly fails, causes shutdowns, or produces unsafe readings, replacement is the better choice.
Continuing to use an unreliable PSU can place computer parts at risk. Take each check slowly, follow the connector layout, and stop when damage is visible.
Have you tested a power supply before? Share your experience or troubleshooting tips in the comments below.
Frequently Asked Questions
Can a Bad PSU Damage a Motherboard or GPU?
Yes, a failing PSU can send unstable power that may damage the motherboard, GPU, or other connected components.
How Long does a Computer Power Supply Usually Last?
A quality computer power supply typically lasts 5 to 10 years, depending on usage and build quality.
Can a PSU be Too Powerful for a Computer?
No, a higher-wattage PSU is generally safe because it supplies only the power the computer actually needs.