




Learning how to activate an eSIM is easier than many people think. Even if you use an iPhone or an Android device, setup is usually quick once your carrier provides the activation details.
You can activate an eSIM using a QR code, a carrier app, or manual activation information.
In most cases, installation and activation take just 2–10 minutes, although carrier verification or network issues may cause slight delays.
Before you begin, make sure your phone supports eSIM, and your carrier has enabled the service. If you run into problems, checking your internet connection, updating your software, or restarting your device often fixes them.
Follow these steps, and you’ll be ready to enjoy the convenience and flexibility of eSIM technology.
I’ve set up eSIMs on iPhone 13, Pixel 8, and Galaxy S23 over the past years, and the shared process is more promising than most guides suggest.
iPhone vs Android eSIM Setup Differences
Activating an eSIM involves a few common steps across most phones. Use this overview to understand the process.
| Step | What You Need to Do | iPhone | Android |
|---|---|---|---|
| 1. Check Support | Confirm your phone supports eSIM | Check for EID using *#06# | Check for EID using *#06# |
| 2. Prepare Setup | Get ready before activation | Connect to Wi-Fi | Connect to Wi-Fi |
| 3. Open Settings | Find the eSIM menu | Cellular → Add eSIM | SIM Manager → Add eSIM |
| 4. Activate eSIM | Add your carrier profile | QR code, app, or manual entry | QR code, app, or activation code |
| 5. Finish Setup | Enable and test the line | Select plan and test data | Install profile and test data |
What is an eSIM?
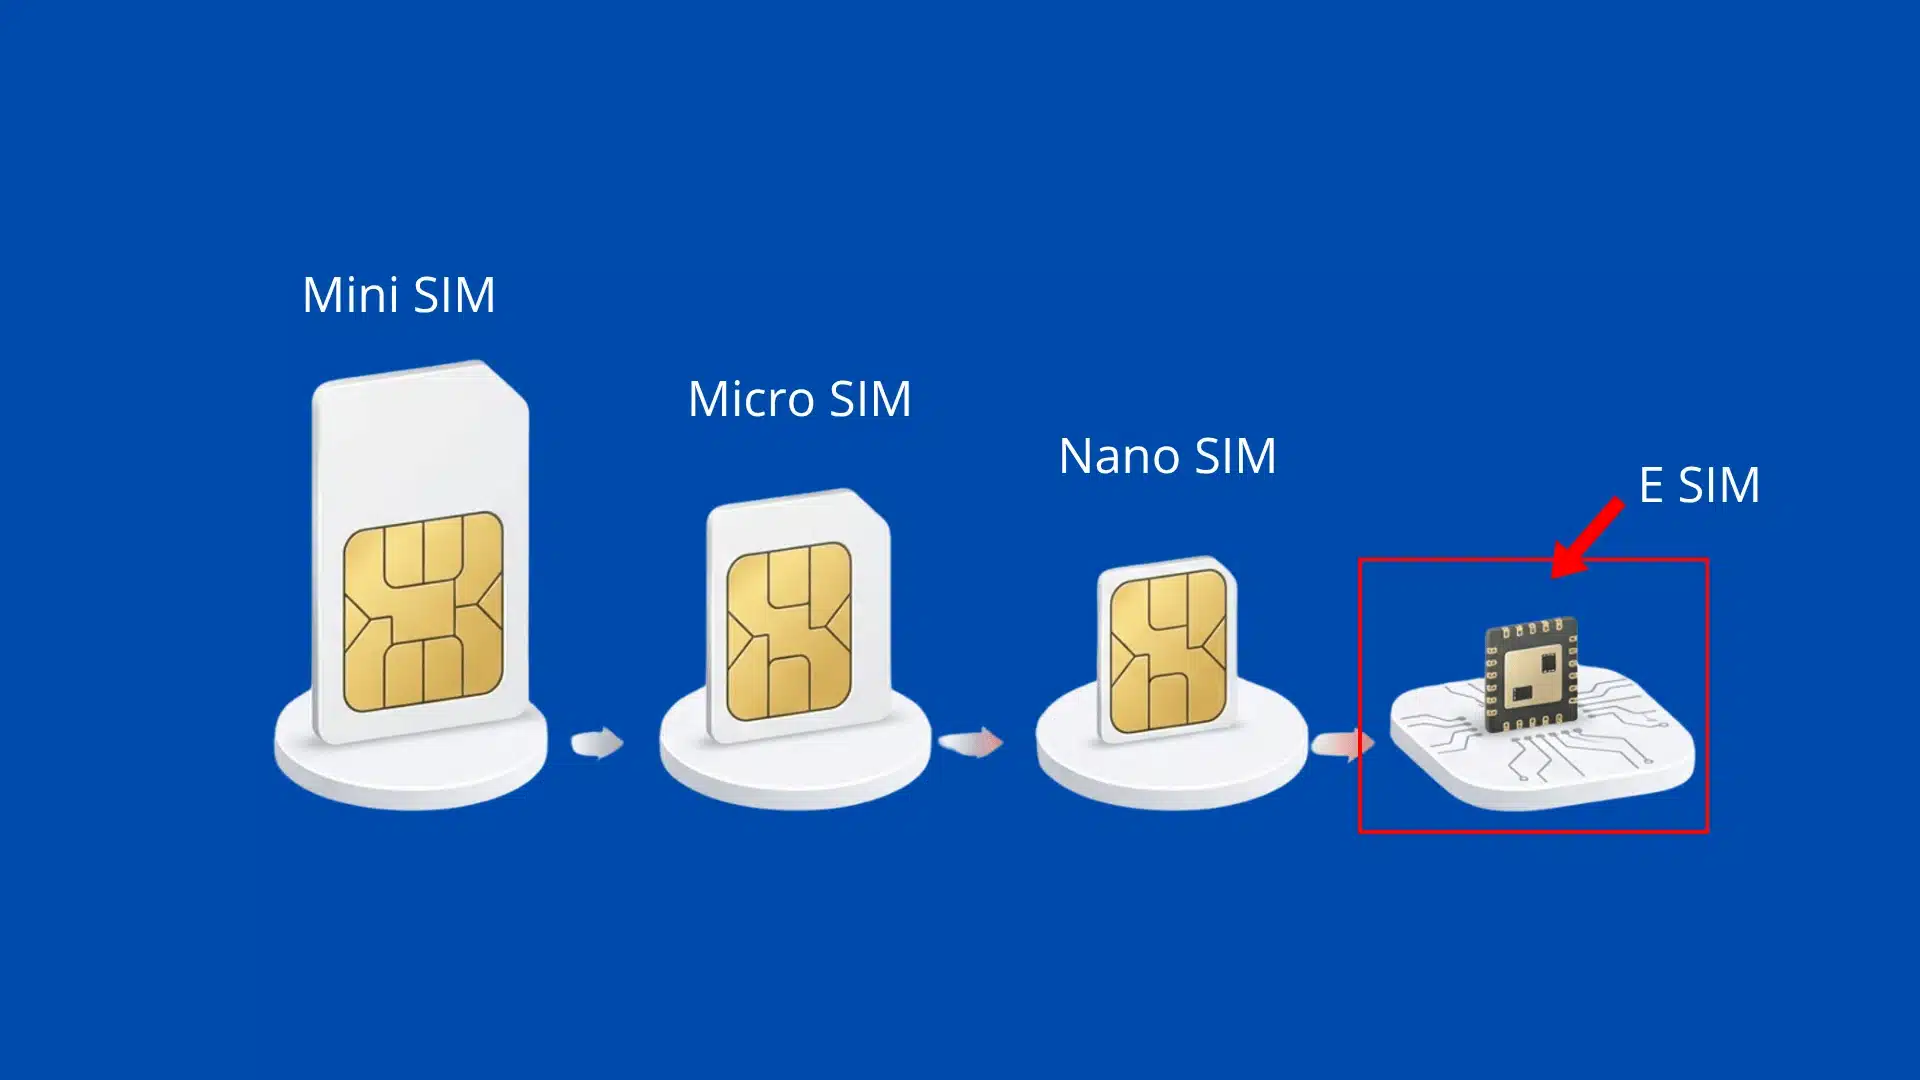
An eSIM is a digital SIM that is built into your smartphone. Instead of inserting a plastic SIM card, you download your mobile plan directly onto the device.
Unlike a physical SIM, an eSIM cannot be removed from the phone. It stores your carrier profile securely inside the device.
Many recent iPhones, Samsung Galaxy phones, Google Pixel devices, and other flagship models support eSIM technology. iPhone XR and later support it, and in the United States every iPhone from the 14 onward has no SIM tray at all, so eSIM is the only option on those models.
With an eSIM, changing carriers or adding another mobile plan usually takes only a few minutes.
The plan itself is stored as a profile that your carrier sends to the phone, which is why you need an internet connection to install it and why a QR code usually works only once.
Benefits of Using an eSIM
An eSIM provides a simpler way to activate and manage mobile service without handling a removable SIM card.
- Faster Activation: You can often activate an eSIM by scanning a QR code or using your carrier’s app without waiting for a physical card to arrive.
- No Physical SIM Card Required: Because the eSIM is built into the device, there is no card to insert, remove, bend, or damage during regular use.
- Better Dual SIM Support: Many compatible phones allow an eSIM and physical SIM to work together so you can manage personal and work numbers on one device.
- Easier Carrier Switching: Changing providers may only require downloading a new carrier profile instead of visiting a store or replacing the card in your phone.
- Useful for International Travel: Travelers can add a local or travel eSIM plan before arriving and avoid carrying several physical SIM cards between destinations.
- Lower Risk of Loss: An eSIM cannot fall out of the phone or become misplaced because it is stored digitally inside the device.
Note: These benefits depend on whether your phone and mobile carrier support eSIM activation and multiple plans.
Check if Your Phone Supports eSIM
Before activating an eSIM, check that your phone supports it and confirm the device is unlocked. You can find both details directly from your phone instead of checking lengthy specifications.
- Dial *#06# on your phone keypad. If an EID number appears alongside the IMEI, your phone supports eSIM. If no EID is shown, you may need a physical SIM.
- On iPhone, go to Settings → General → About and look for the EID line. You can also check Carrier Lock in the same menu. “No SIM restrictions” means the phone is unlocked.
- On Android, open Settings → About Phone → Status Information and look for eSIM details. The exact menu name may differ depending on the manufacturer.
- Save your IMEI and EID numbers before setup. Carriers often ask for both details when resolving activation problems.
Physical SIM vs eSIM
Comparing physical SIM and eSIM features helps you choose the option that best matches your device travel needs and preferred setup method.
| Comparison Point | Physical SIM | eSIM |
|---|---|---|
| Form | Small removable plastic card | Digital SIM built into the device |
| Installation | Inserted into a SIM tray | Activated through a QR code, carrier app, or settings |
| Switching Carriers | Requires replacing the card | Usually completed through device settings |
| Device Space | Needs a physical SIM slot | Does not require a removable card slot |
| Damage or Loss | Can be lost, bent, or damaged | Cannot be physically lost or damaged |
| Multiple Plans | Limited by the number of SIM slots | Can store several carrier profiles on supported devices |
| Travel Use | Requires buying and inserting another SIM | Travel plans can often be added digitally |
| Compatibility | Works with most compatible mobile phones | Requires a device and carrier that support eSIM |
| Moving to Another Phone | Remove the card and insert it into another phone | May require carrier approval or a new activation code |
Both options provide mobile service, but eSIM offers greater convenience while physical SIM cards remain easier to transfer between compatible phones.
You might not know this! Compatible smartphones can combine a physical SIM with an eSIM, making it easier to keep personal, work, or travel numbers together.
How to Activate eSIM on iPhone?
Apple offers several ways to activate an eSIM, depending on your carrier and how you purchased your iPhone. Below are the best four methods you can use to add an eSIM on an iPhone.
Before you begin, make sure your iPhone is connected to Wi-Fi and your carrier supports eSIM. Below are the different methods you can use to activate an eSIM on an iPhone.
Method 1. Transfer Your Phone Number Using eSIM Quick Transfer
If you’re moving from an older iPhone, you can transfer your existing phone number directly to your new device.
- Open Settings on your new iPhone.
- Tap Cellular.
- Select Set Up Cellular or Add eSIM.
- Choose the cellular plan you want to transfer. If you don’t see it, tap Transfer From Nearby iPhone.
- Follow the prompts on your old iPhone.
- Tap Transfer or enter the verification code shown on your new iPhone.
- Wait for the cellular plan to activate.
- If prompted, tap Finish Setting Up Your Carrier’s Cellular Plan to complete activation through your carrier.
Method 2. Activate Using eSIM Carrier Activation
Some carriers assign an eSIM automatically when you purchase your iPhone or request an eSIM.
- Wait for the Carrier Cellular Plan Ready to Be Installed notification.
- Tap the notification.
- Tap Continue.
- Wait for your eSIM to activate.
- Make a test call to confirm your cellular service is working.
- If your new eSIM replaces a physical SIM, remove the physical SIM and restart your iPhone.
Method 3. Set Up an eSIM With a QR Code
If your carrier provides a QR code, follow these steps.
- Open the Camera app and scan the QR code.
- Tap the Cellular Plan Detected notification.
- Tap Continue.
- Select Add Cellular Plan.
- Enter the confirmation code if your carrier provides one.
- Wait for the eSIM to finish installing and activating.
Method 4. Activate Using a Carrier Link
Some carriers send a secure activation link instead of a QR code.
- Tap the activation link from your carrier.
- When Activate New eSIM appears, tap Allow.
- Tap Continue.
- Wait for the activation process to complete.
Method 5. Activate Using Your Carrier’s App
Many carriers let you activate an eSIM directly through their mobile app.
- Download your carrier’s official app from the App Store.
- Sign in to your account.
- Select your mobile plan.
- Tap the Activate eSIM option.
- Follow the on-screen instructions until activation is complete.
Method 6. Enter eSIM Details Manually
If your carrier provides manual activation details, you can enter them yourself.
- Open Settings.
- Tap Cellular or Mobile Data.
- Tap Add Cellular Plan.
- Select Enter Details Manually.
- Enter the SM-DP+ address, activation code, and any additional information provided by your carrier.
- Follow the prompts to complete the setup.
Method 7. Verify That Your eSIM Is Active
After activation, make sure everything is working properly.
- Open Settings > Cellular.
- Confirm that your mobile plan appears in the list of SIMs.
- Make a phone call or use mobile data to verify the connection.
- Restart your iPhone if your carrier recommends it or if the plan doesn’t appear immediately.
Seeing the process on screen can make the setup easier to follow. GuideRealm ’s video walks through the iPhone eSIM activation process, from opening the eSIM menu to completing the installation.
How to Add an eSIM on Android?
The four methods below help you add an eSIM on an Android device, depending on your carrier and phone model.
| Important! The exact steps may vary depending on your phone brand and Android version, but the process is similar on most devices. |
Method1. Add an eSIM Using a QR Code
- Open the Settings app.
- Tap Network & Internet, Connections, or SIM Manager (the name varies by device).
- Select SIMs, Mobile Network, or SIM Manager.
- Tap Add eSIM, Add Mobile Plan, or Download SIM.
- Choose Scan QR Code.
- Scan the QR code provided by your mobile carrier.
- Follow the on-screen instructions to download and install the eSIM.
- Wait for the activation to finish.
- Restart your phone if prompted.
Method 2. Add an eSIM Manually
If your carrier provides an activation code instead of a QR code, you can enter the details manually.
- Open Settings.
- Go to Network & Internet, Connections, or SIM Manager.
- Tap Add eSIM or Add Mobile Plan.
- Select Set Up Manually or Enter Activation Code.
- Enter the SM-DP+ address, activation code, and any additional information provided by your carrier.
- Tap Continue or Download.
- Wait while your phone installs the eSIM profile.
- Restart your phone if required.
Method 3. Add an eSIM Using Your Carrier’s App
Some carriers let you activate an eSIM directly through their mobile app.
- Download your carrier’s official app from the Google Play Store.
- Sign in to your account.
- Select the mobile plan you want to activate.
- Tap Activate eSIM .
- Follow the on-screen instructions.
- Wait for the activation to complete.
Method 4. Verify That Your eSIM Is Working
After adding the eSIM, make sure it is active.
- Open Settings.
- Go to SIM Manager or Mobile Network.
- Confirm that your new eSIM appears in the list of available SIMs.
- Turn on the eSIM if it is disabled.
- Make a test call, send a text message, and use mobile data to confirm everything is working correctly.
Because Android manufacturers use different menu layouts, the activation path may not look identical on every phone. The following video from Technomentary shows how the eSIM installation process works in practice.
eSIM Menu Paths by Device
Menu names differ across brands, so this quick reference shows exactly where each device hides the eSIM setup option.
| Device | Menu Path to Add eSIM |
|---|---|
| Samsung Galaxy | Settings > Connections > SIM Manager > Add eSIM |
| Google Pixel | Settings > Network & Internet > SIMs > Download a SIM Instead |
| Motorola | Settings > Network & Internet > SIM & Network > Add eSIM |
| OnePlus | Settings > SIM & Network > Add eSIM |
| Xiaomi | Settings > SIM Cards & Mobile Networks > Add eSIM |
| OPPO | Settings > SIM Card & Mobile Network > Add eSIM |
| vivo | Settings > Dual SIM & Mobile Networks > Add eSIM |
| Android Tablets (cellular) | Same path as the phone counterpart, if both tablet and carrier support eSIM |
eSIM Activation Problems and How to Fix Them

Even though eSIM activation is usually quick and straightforward, you may occasionally run into issues during setup.
The table below covers the eSIM activation problems I’ve run into most often, along with what actually fixed them.
| Issue | Quick Fix |
|---|---|
| QR code will not scan | Improve lighting, clean the camera, increase QR brightness, or request a new code. |
| eSIM activation fails | Check carrier activation status, verify details, and retry after a few minutes. |
| eSIM option is missing | Confirm your phone supports eSIM and update the software. |
| No internet after activation | Connect to Wi-Fi, check mobile data settings, or set the eSIM as the data line. |
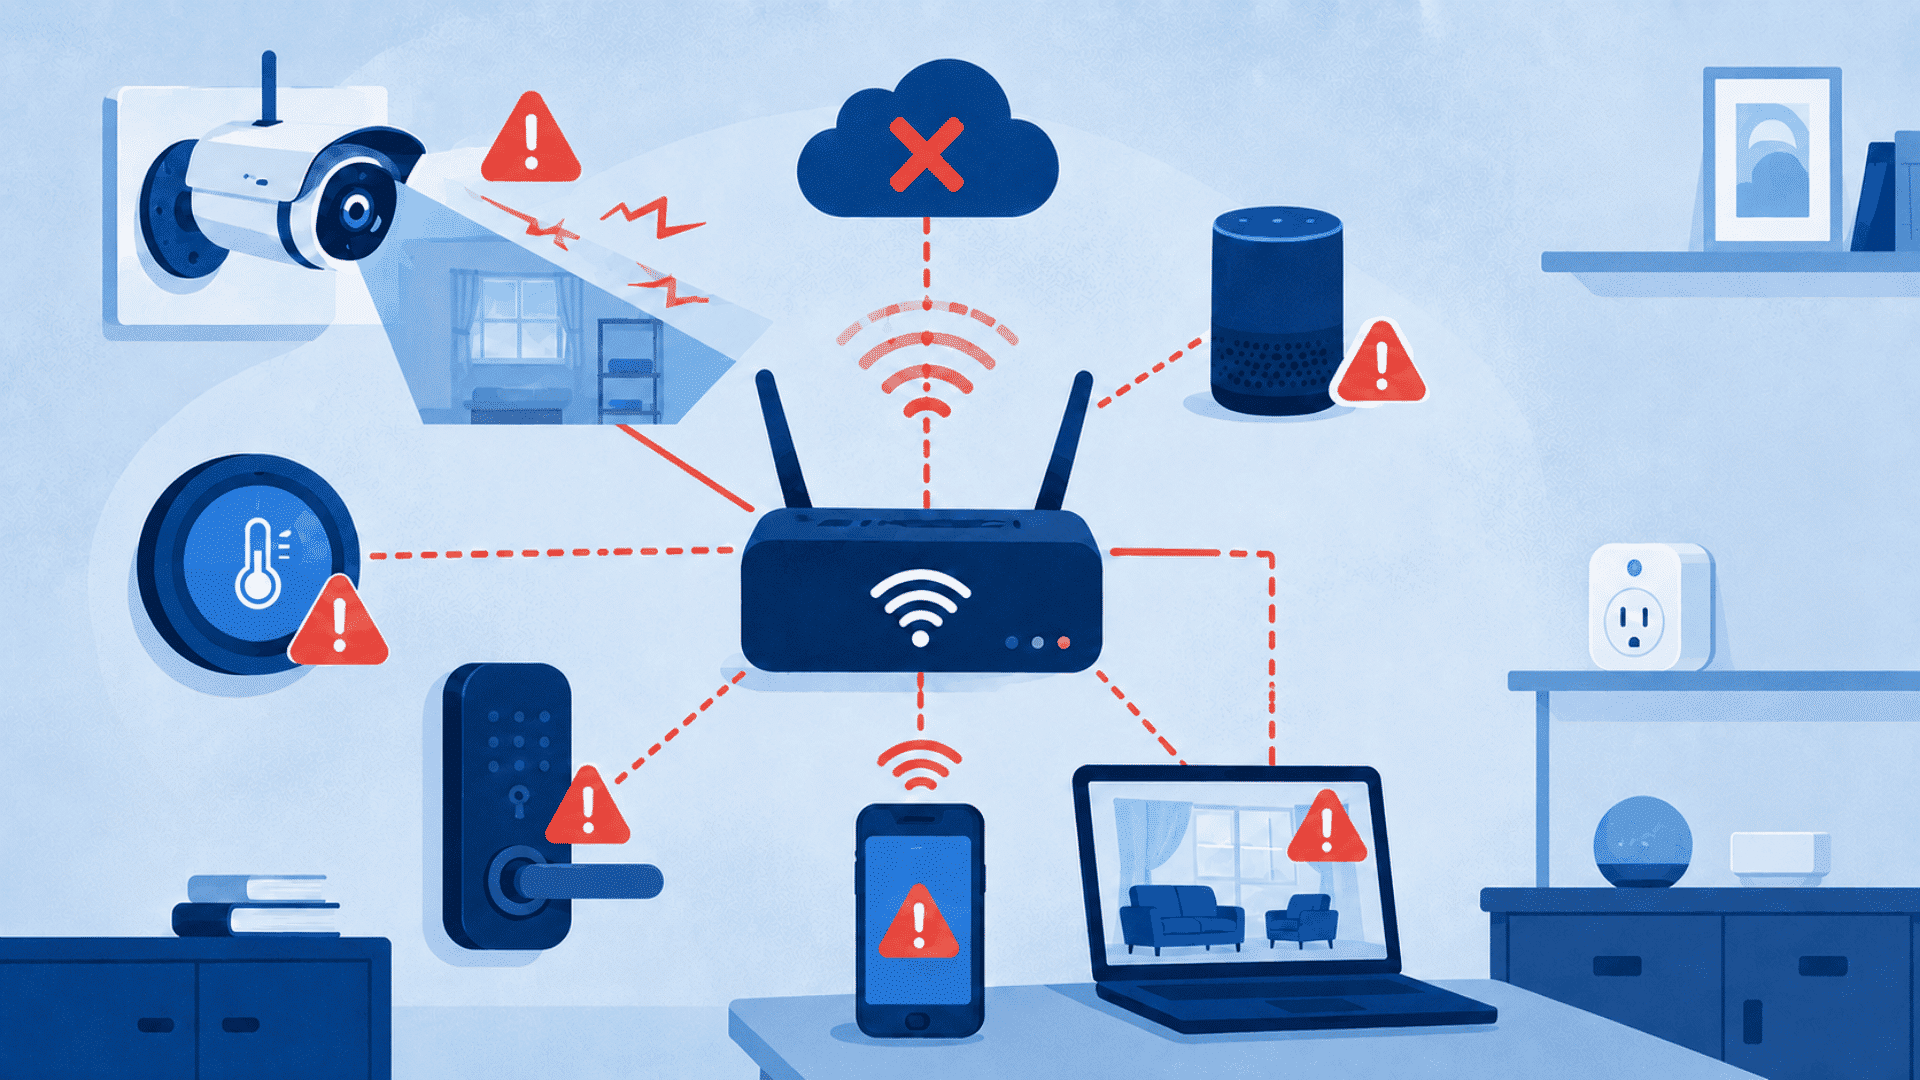
| No signal after setup | Turn on the eSIM line, restart the phone, or refresh network settings. |
| Activation is stuck | Wait 10–30 minutes, restart the device, and try again. |
| Cannot add eSIM | Check if the profile is already installed or request a new activation profile. |
| Manual setup fails | Recheck the SM-DP+ address and activation code from your carrier. |
| Carrier app does not work | Update the app, sign in again, or use QR/manual activation. |
If the problem persists, contact your carrier, as only they can reset or reissue an eSIM profile.
At theEnd
Whichever route you took, how to activate eSIM and how to add eSIM come down to the same three checks: an EID on the phone, a device that is not carrier locked, and Wi-Fi while the profile downloads.
Get those right, and the install itself takes about two minutes.
Two things are worth doing before you close Settings. Set the new line as your data line and confirm it works with Wi-Fi switched off.
Then take a screenshot of your EID and keep the carrier’s activation email, because both are the first things support asks for if the plan stops working a week later.
If your phone has no EID, a physical SIM is still the answer, and there is nothing wrong with that.
Did your eSIM activation go smoothly, or did you run into any issues? Drop a comment and share what worked for you.
Frequently Asked Questions
Can I Use Both a Physical SIM and an eSIM?
Yes. Many modern smartphones support Dual SIM, allowing you to use a physical SIM and an eSIM at the same time.
Is an eSIM Safer than a Physical SIM?
Generally, yes. An eSIM is harder to remove or steal than a physical SIM, but it isn’t completely secure and remains vulnerable to carrier account compromise or SIM-swap attacks.
What Should I do if My eSIM Will Not Activate?
Restart your phone, check your internet connection, verify your activation details, and contact your carrier if the problem continues.
Can I Move an eSIM to a New Phone?
Sometimes. iPhone-to-iPhone transfers work from Settings. Most other moves need the carrier to issue a new activation code.
Can I Use the Same eSIM QR Code Twice?
No. Most codes work once. Once the profile installs, the carrier has to issue a new code for another device.

One Response