



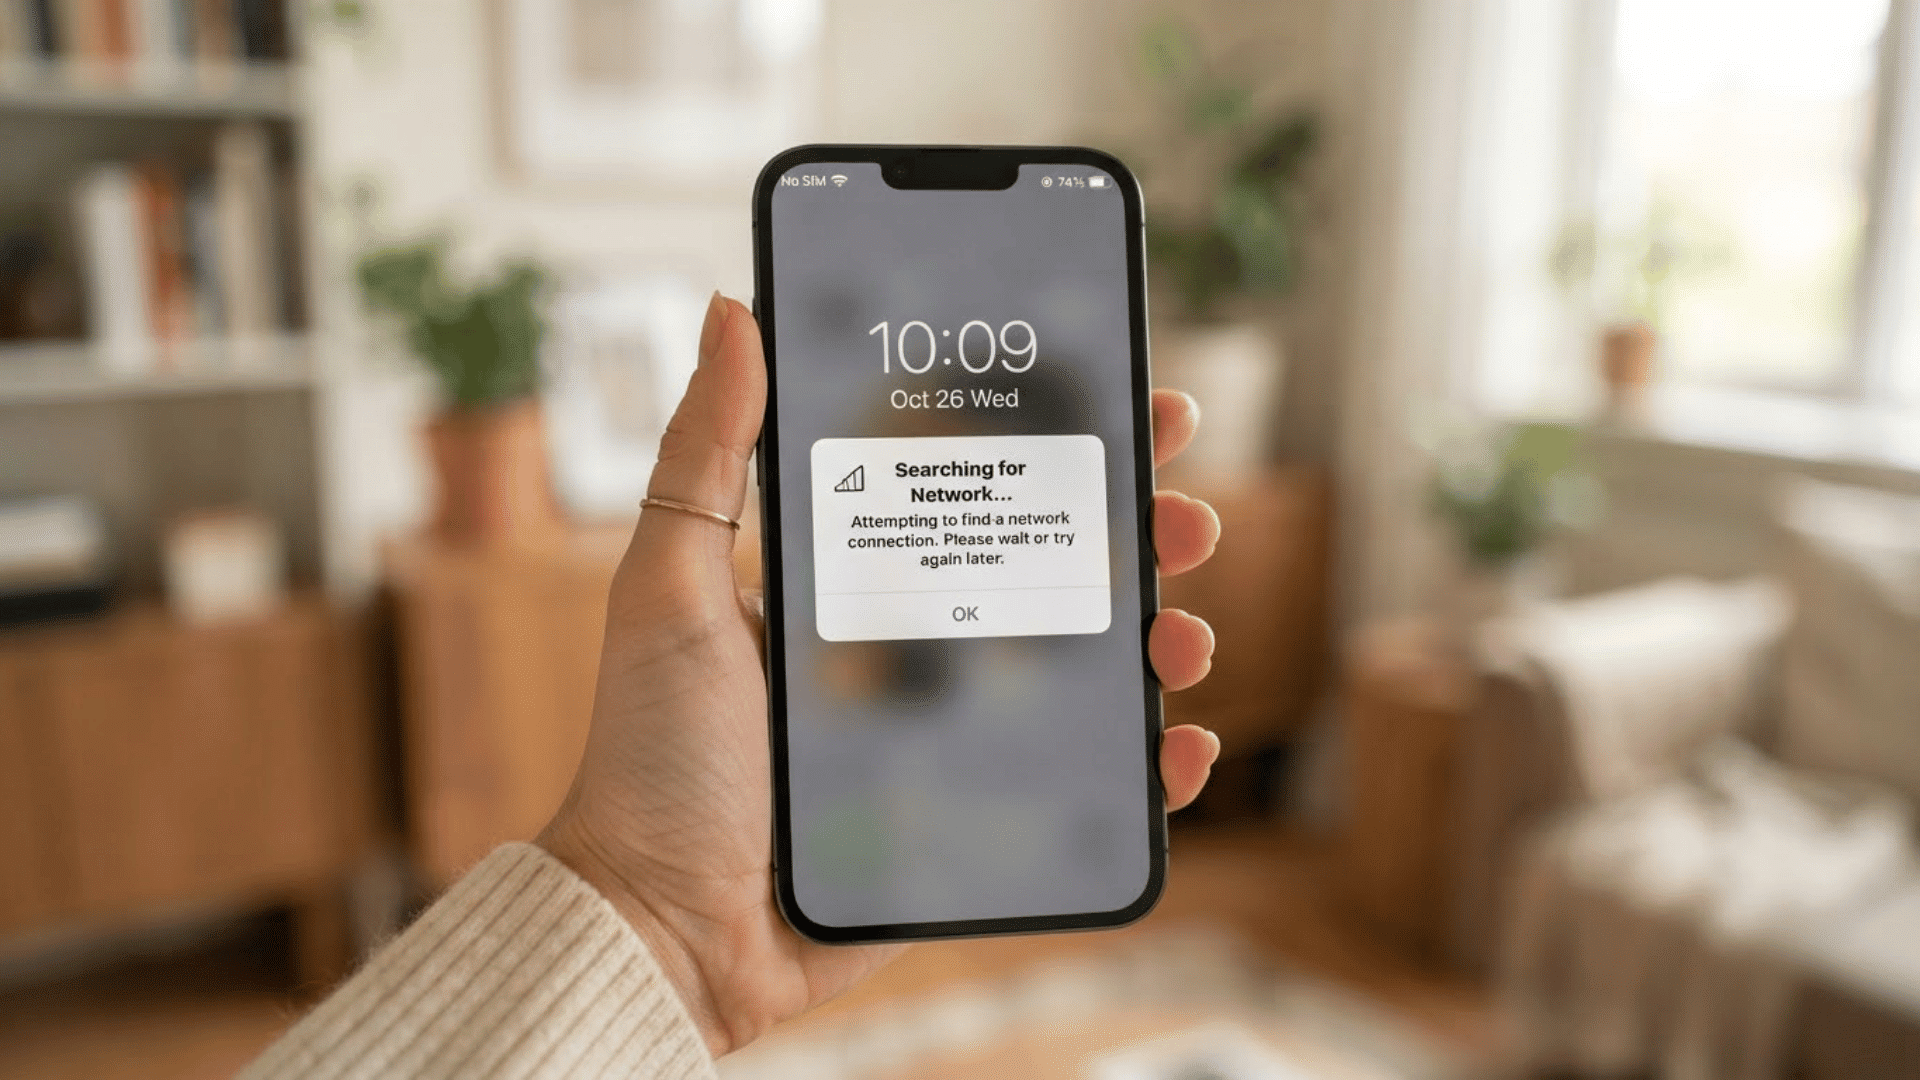
Dropping your phone in water feels like a jump scare in real life. One second you’re scrolling, the next your screen is swimming.
The good news? You don’t need rice bowls or wild hacks, just calm, quick moves. I’ve dried out a few phones this way, and the steps hold up every time.
Quick answer: Power the phone off, remove the case, and hold it speaker-down. Play a water eject sound for 30 to 60 seconds to shake droplets loose, then let it rest near a fan or in silica gel for 24 hours before charging.
This guide walks you through how to get water out of your phone, from the first thirty seconds to full dry time, including draining the ports and knowing when it’s safe to charge again.
Why You Need to Act Fast
Water damage is rarely about the water itself. It is about what the phone is doing while it is wet. Water and electricity don’t mix well.
If your phone is still on while wet, moisture can travel deeper into the internal components and cause a short circuit.
Apple claims that even their phones with a water-resistant rating aren’t fully waterproof.
That rating protects against brief exposure, not a full dunk in a pool, sink, or toilet.
The longer water sits inside your phone, the more damage it can cause. That’s why the first move matters more than any drying trick.
Salt water and heavy chlorine are worse than plain tap water, because the minerals speed up corrosion.
If your phone went into the ocean or a chlorinated pool, a quick rinse in clean fresh water before drying can wash the residue away. For a plain water spill, skip the rinse. It adds risk without any benefit.
Signs Tell You Water Reached Somewhere it Should Not Have
Some of these signs show up right away; others take a few hours to notice. Either way, spotting them early means you can start drying before things get worse.
- Muffled or Distorted Sound: water sitting against the speaker mesh or mic makes calls sound quiet or garbled; if it clears after draining the speaker, the water was shallow.
- Won’t Charge or Charges on and Off: moisture in the port blocks the connection or triggers a safety cutoff; if you see a liquid-detected warning, don’t override it, since forcing a charge risks real damage
- Blank or Flickering Screen: water reaching the display connector causes flickering or discoloration; if it’s still happening after a full day of drying, that’s a repair-shop issue, not a wait-it-out one.
- Fogging Under the Camera Lens or Screen: condensation trapped under the glass means moisture got past the outer seal; leaving the phone speaker-down near airflow or in silica gel for a day usually clears light fogging.
- Phone Feels Warm without Being in Use: unexplained heat can mean water is bridging electrical contacts and causing a partial short circuit; power it down fully and stop testing it if this happens.
How to Get Water Out of Phone: Step by Step
Work through these in order. The first three matter most, so do not skip ahead to the fun part.
Step 1: Turn your phone’s volume up to maximum
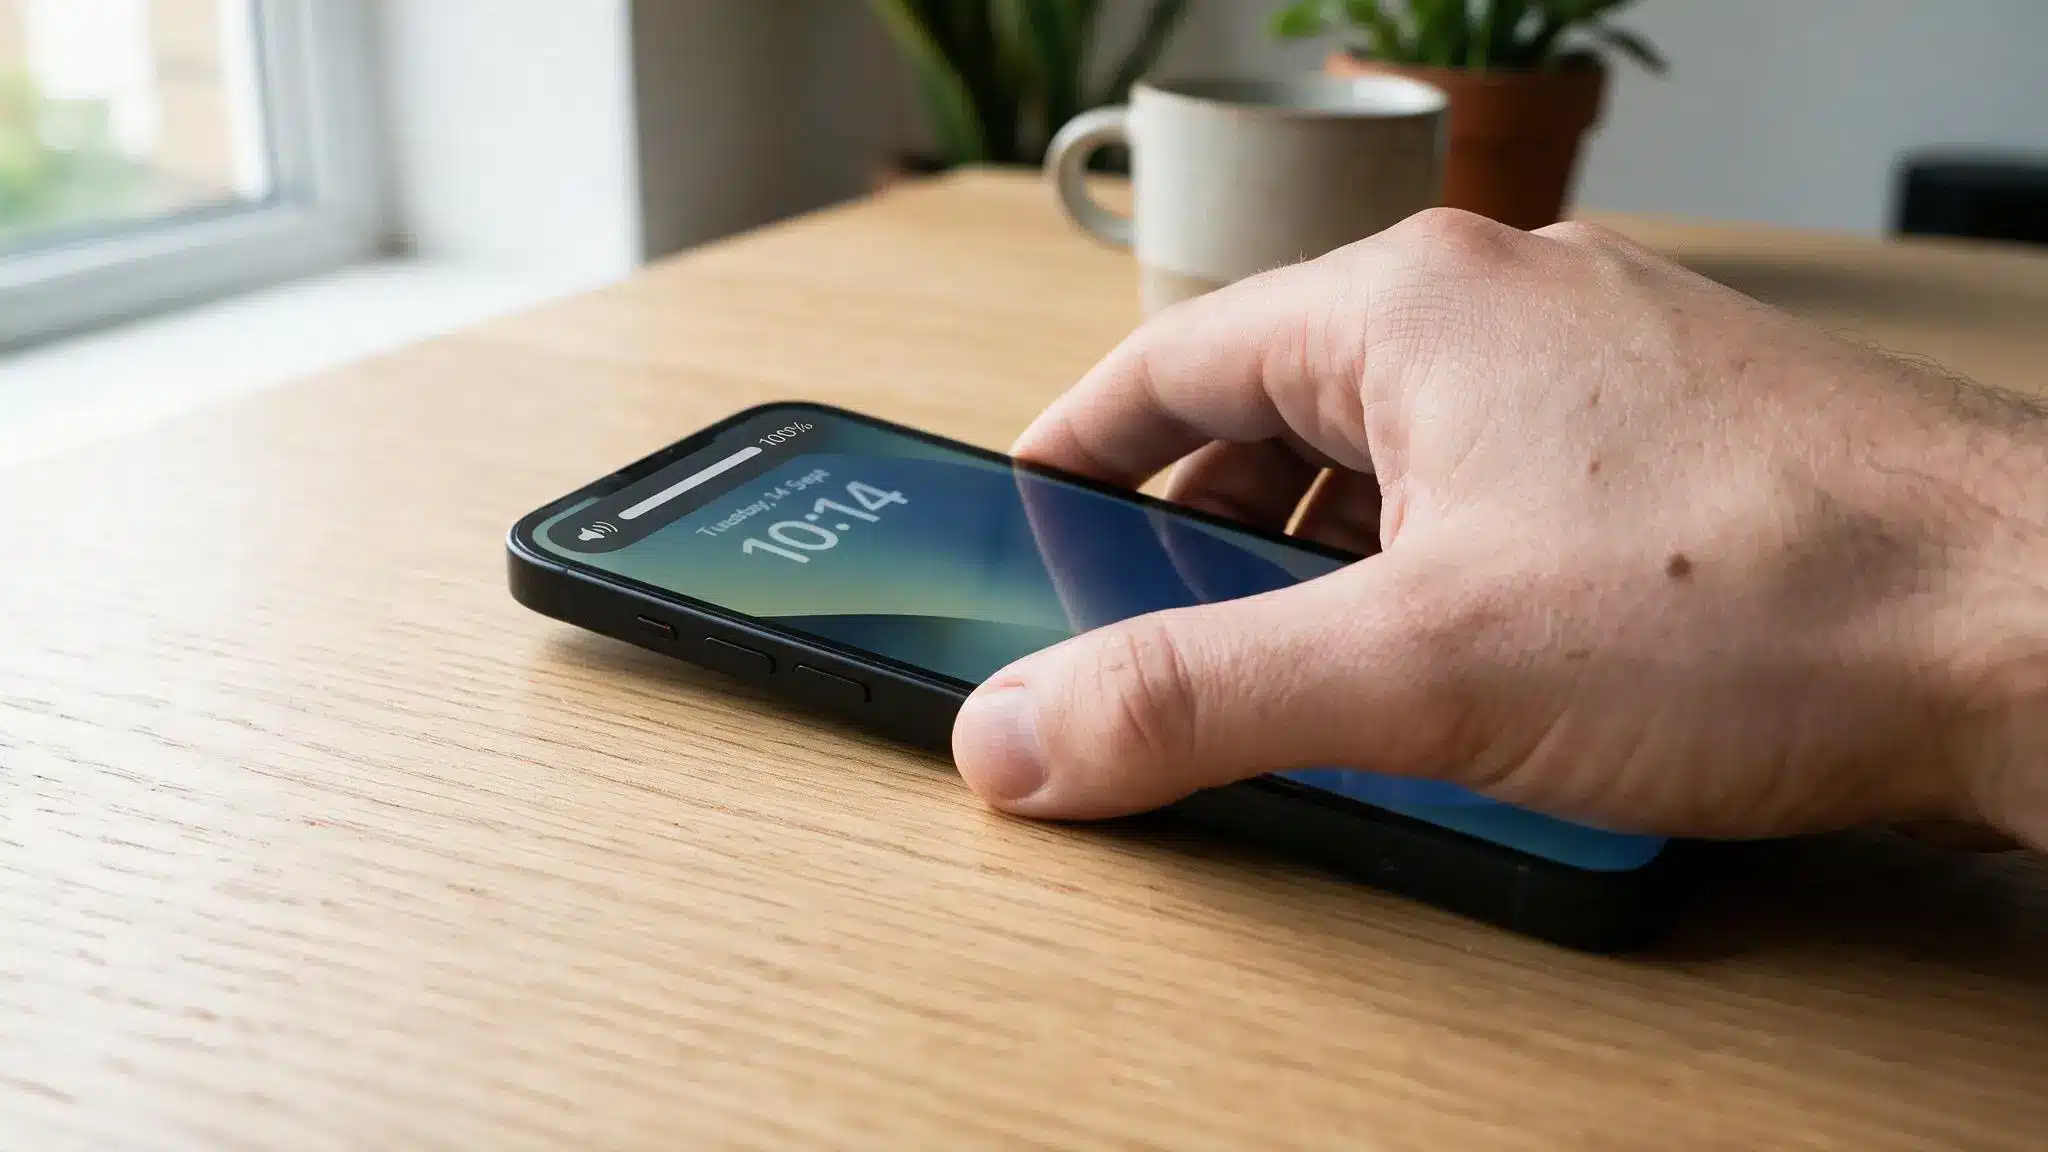
A stronger volume creates stronger vibration in the speaker membrane, which is what pushes trapped water droplets loose.
If the volume is too low, the sound won’t generate enough force to make a real difference, so this step matters more than people expect.
Check that silent mode is off before you start, since it will block the sound entirely. If Do Not Disturb is on, turn that off too, since some phones lower media volume automatically while it’s active.
Step 2: Hold Your Phone With the Speaker Grille Facing Down
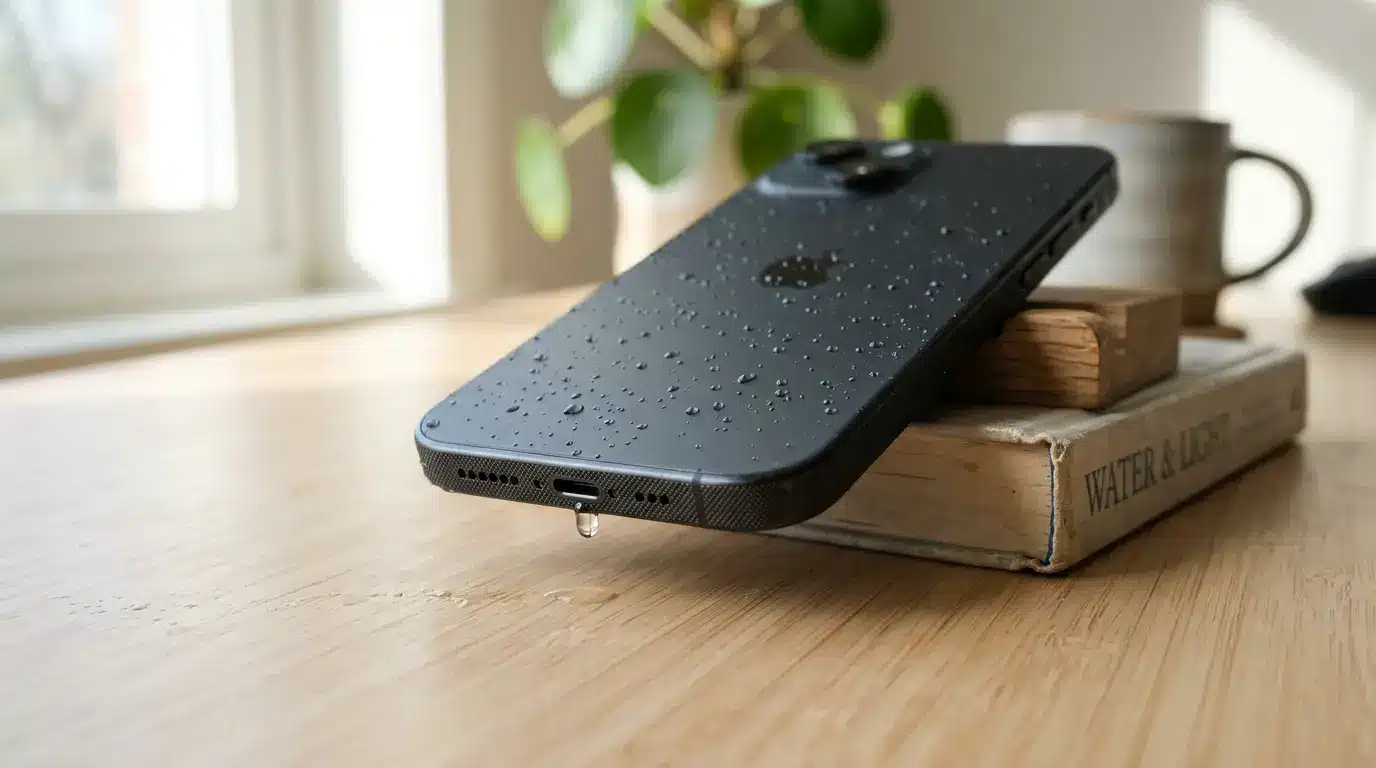
This uses gravity to help pull trapped water out of the speaker mesh instead of letting it sit against the grille.
Prop the phone at a steady downward angle against a book, a wall, or your hand, rather than laying it flat where water has nowhere to drain.
Getting this angle right is what makes the next step actually effective, since the vibration needs gravity working with it, not against it, to shake droplets free.
Step 3: Play a Low-Frequency Water Ejection Sound
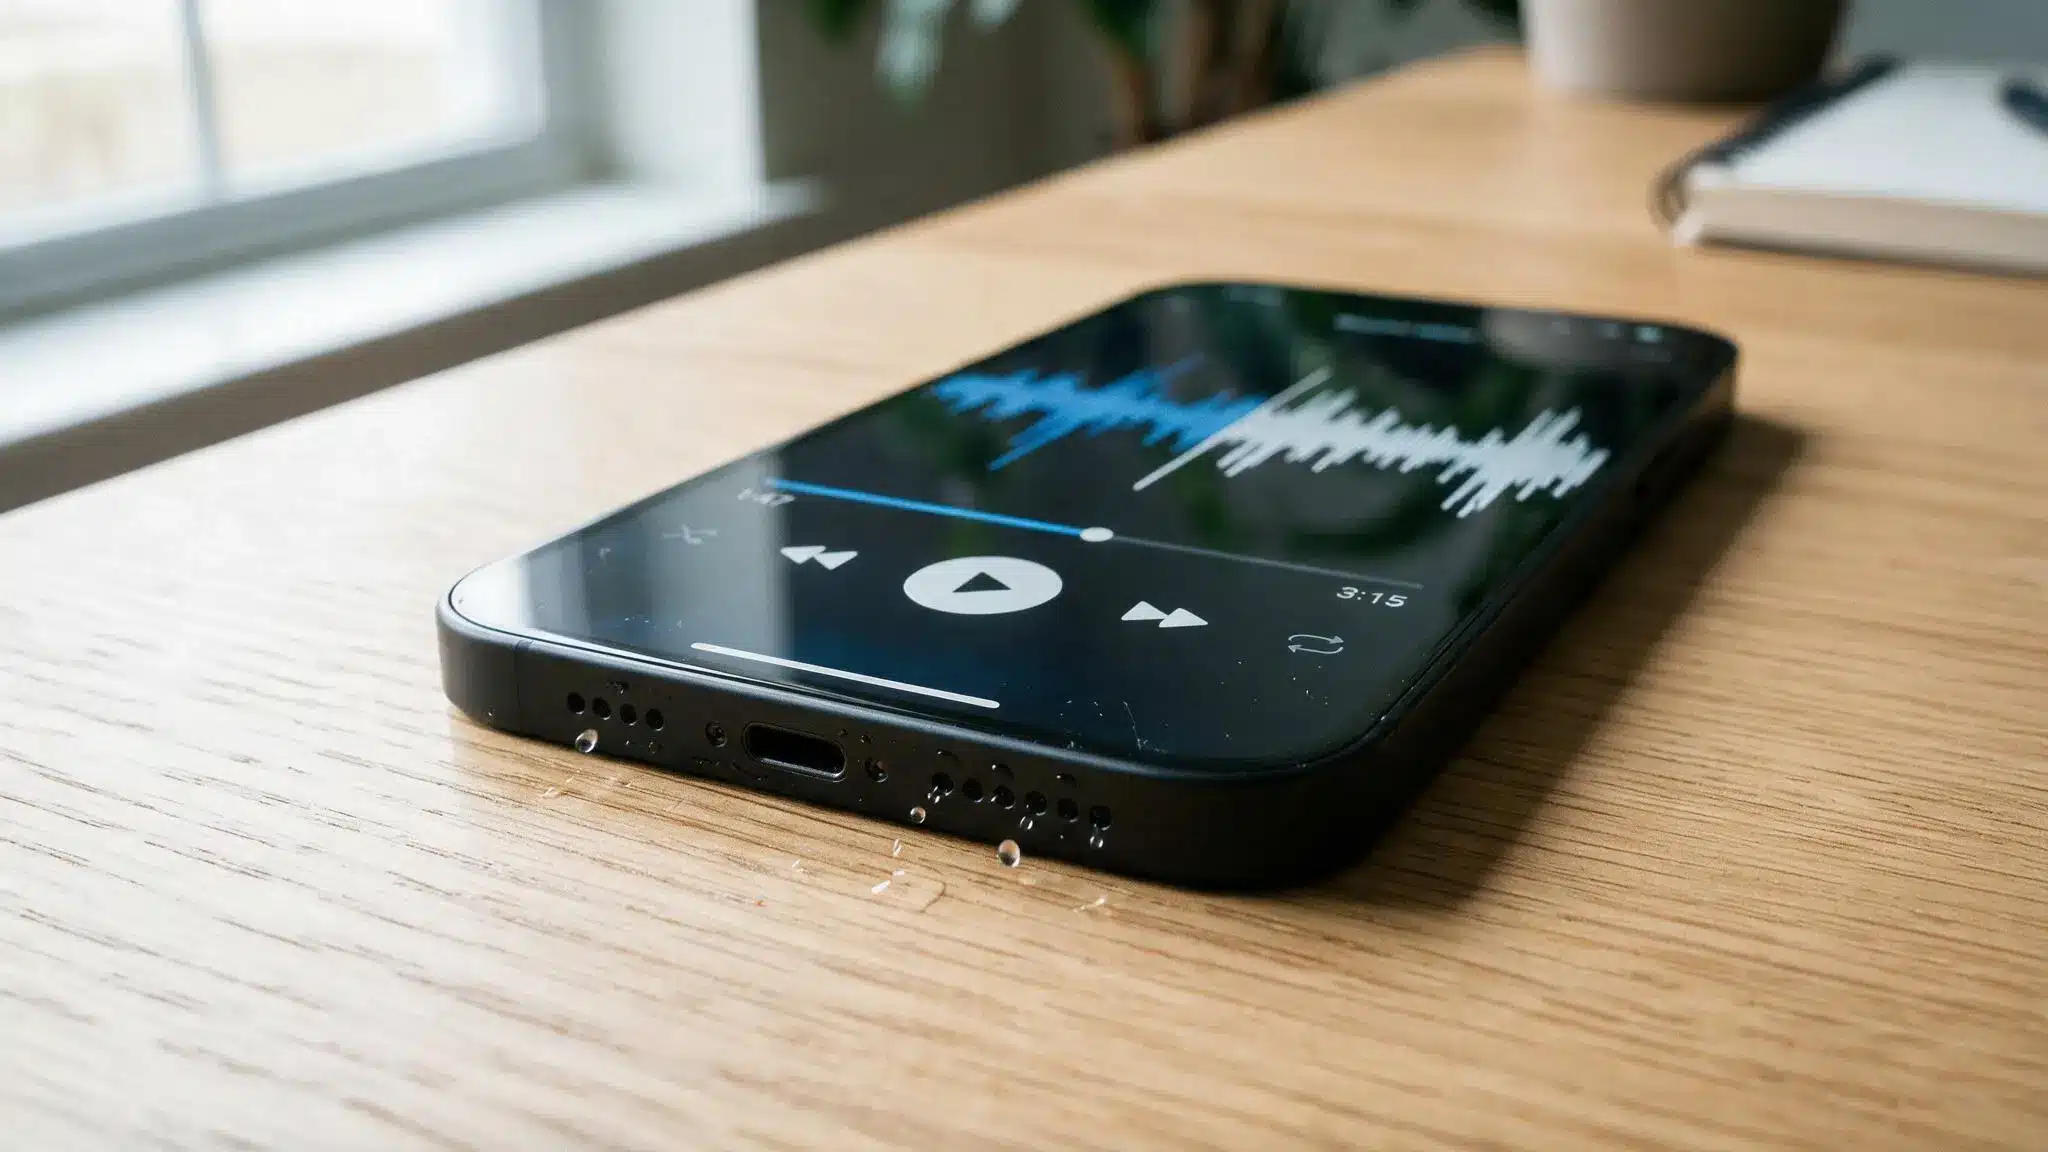
You don’t need a paid app for this. A free tool like Fix My Speaker runs the sound directly through your phone’s browser, or you can search video platforms for a “water eject sound” and get the same result.
Either option works the same way: a low-frequency tone that vibrates the speaker membrane.
Pick whichever is faster to access in the moment, since speed matters more here than which specific tool you use.
Step 4: Let the Sound Play for 30 to 60 Seconds
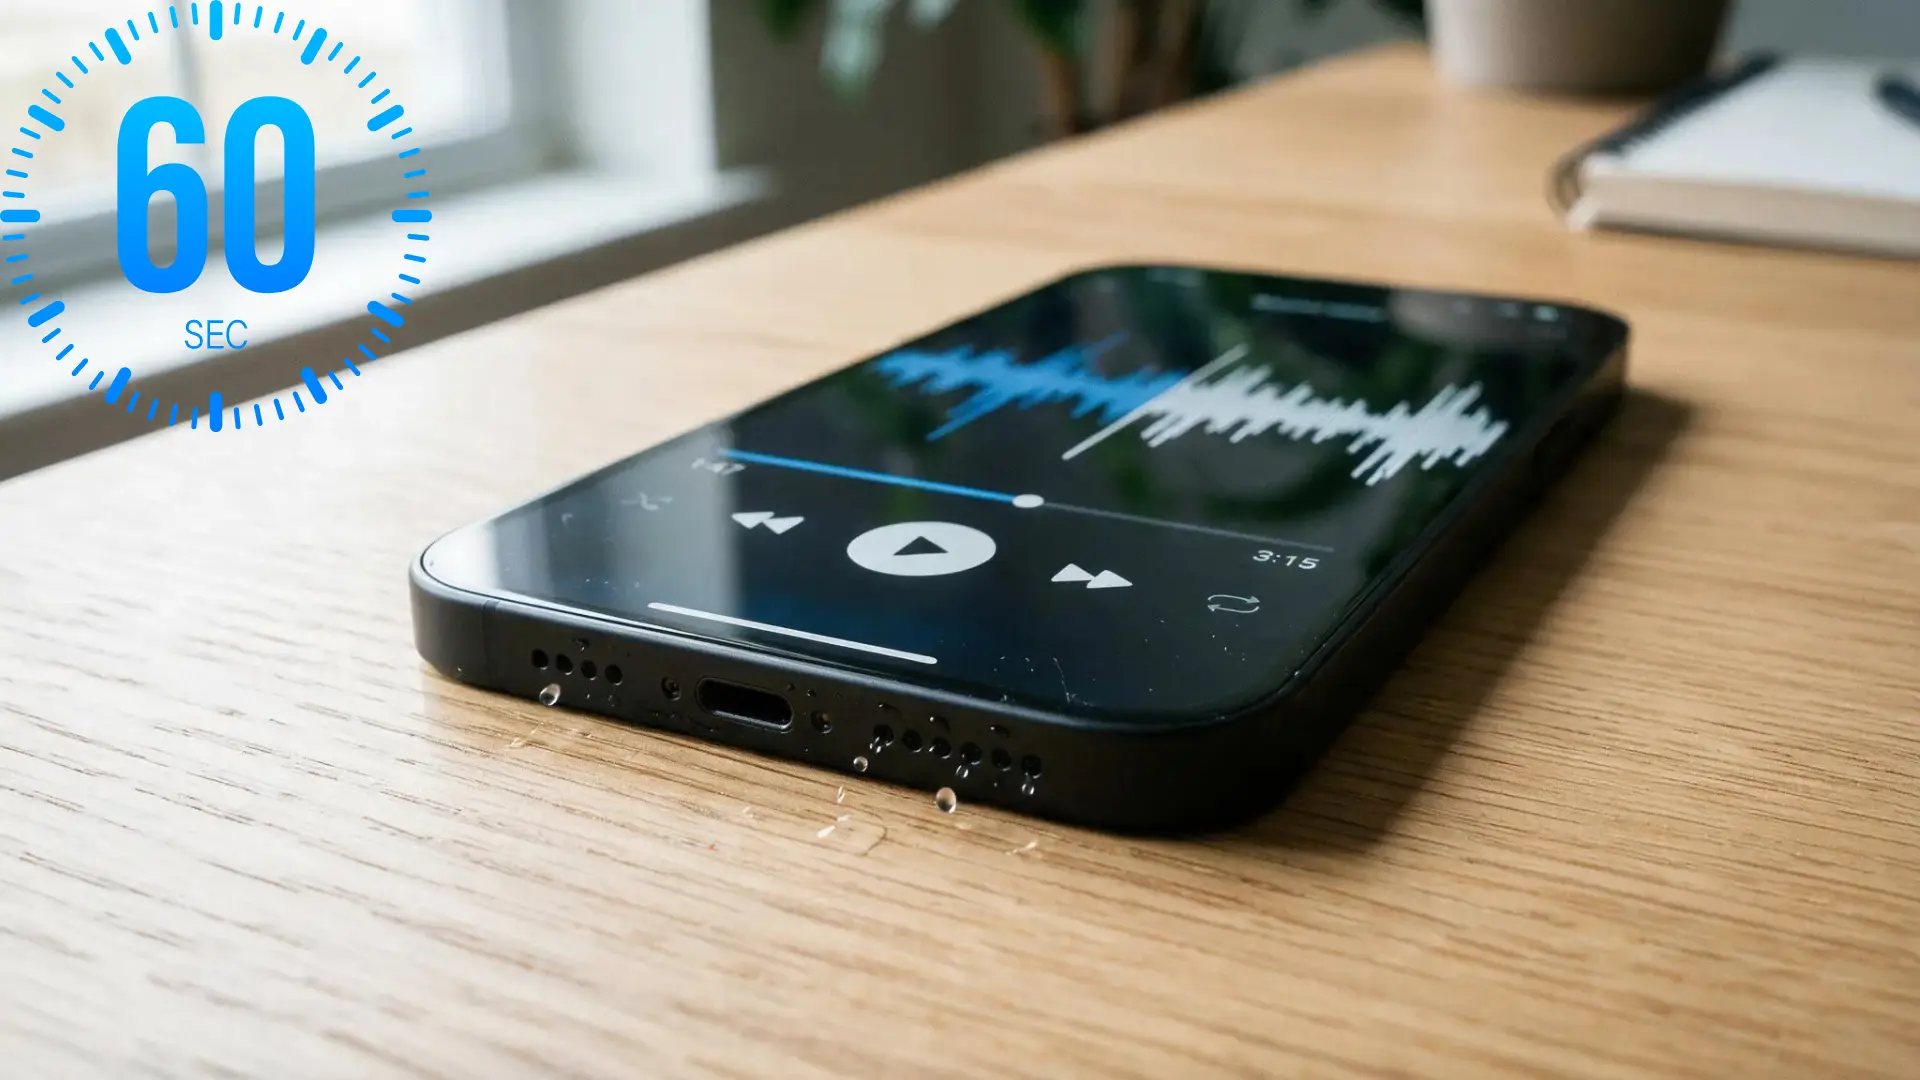
The vibration breaks the surface tension holding water against the speaker grille, letting droplets shake loose gradually rather than all at once.
Stopping early is the most common reason this method doesn’t work, so let the full clip run even if the phone sounds clear after just ten seconds.
If the audio still sounds muffled once the clip ends, reposition the phone slightly and run it again.
Step 5: Wipe Away Any Visible Water Droplets With a Dry Cloth
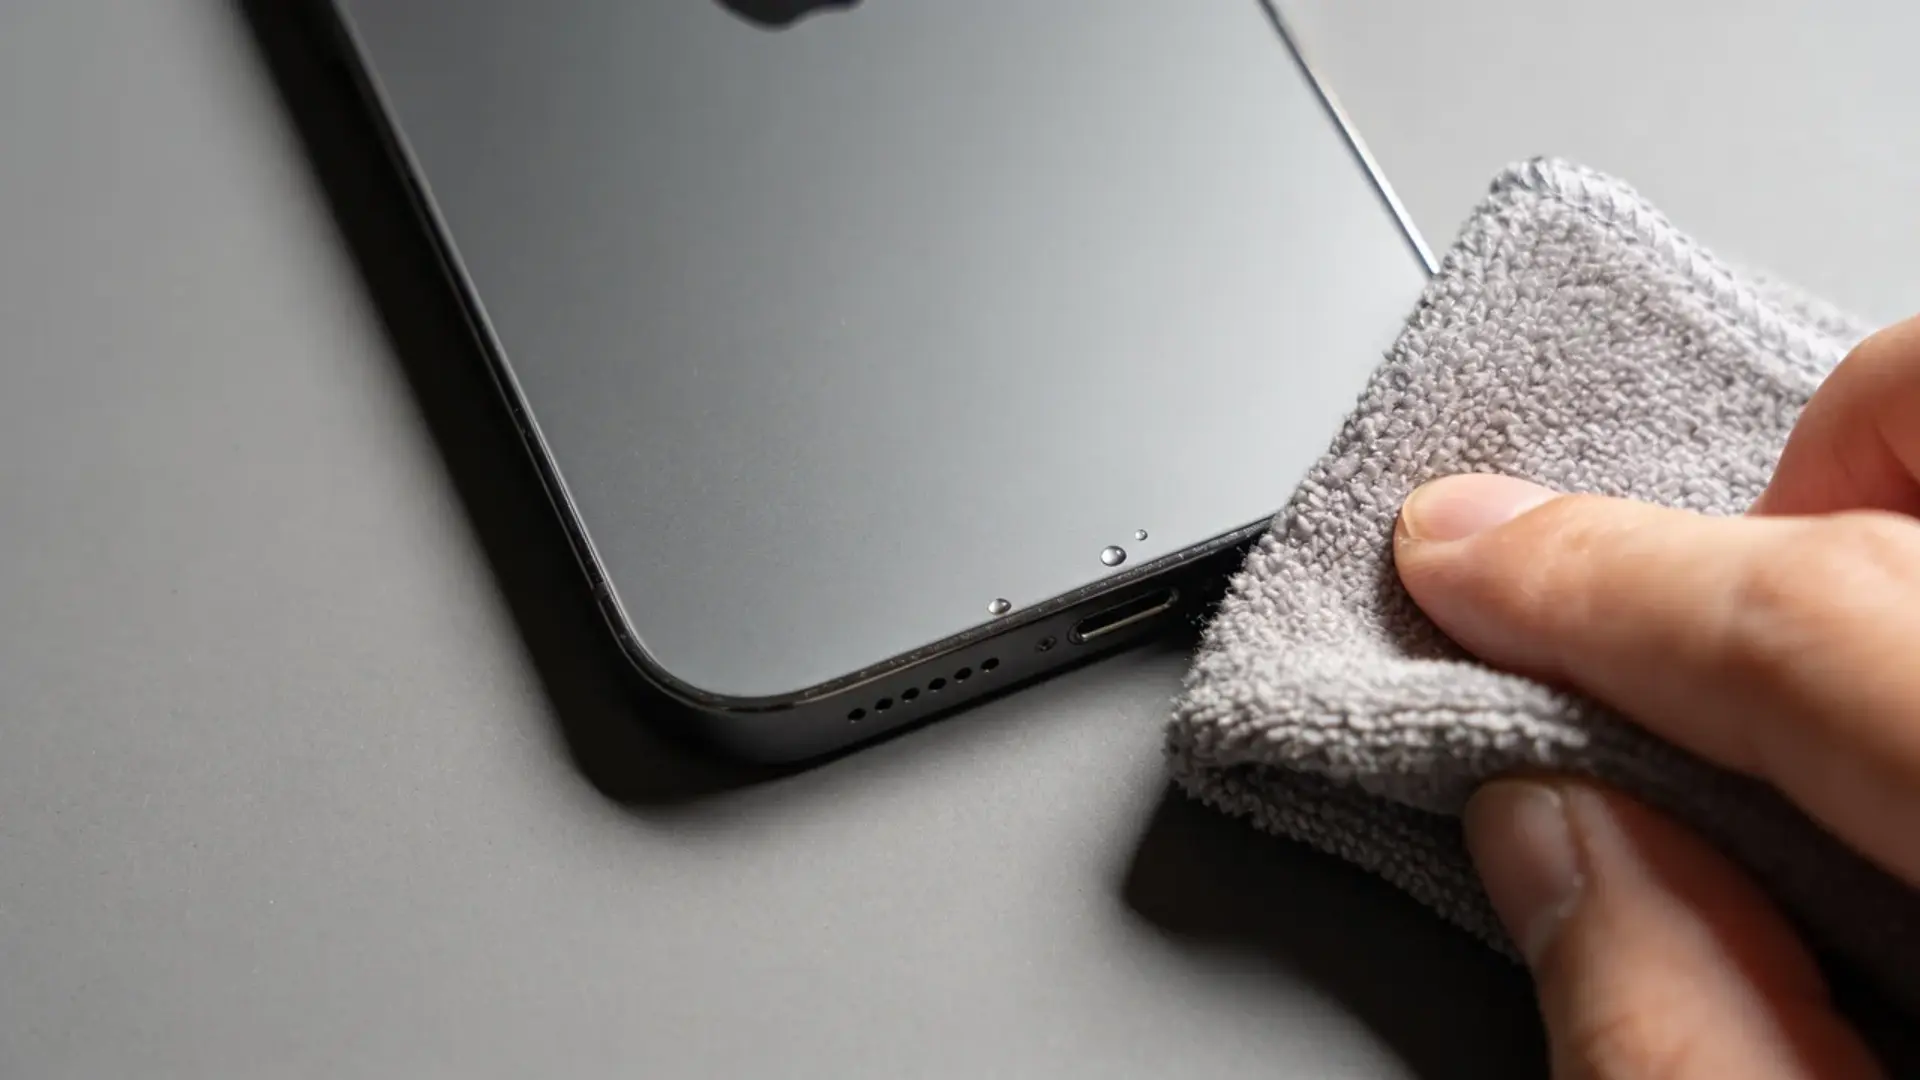
Once the sound has run its course, water often beads up right at the grille instead of fully draining away.
Wiping it off between rounds stops you from just shaking the same droplets back into the mesh on the next attempt.
Use a soft, dry cloth rather than anything abrasive, and avoid pushing the cloth into the grille itself, since that can force moisture deeper instead of removing it.
Step 6: Repeat the Process if Needed
If the audio still sounds muffled or distorted after the first round, reposition the phone and play the water eject sound again.
Stubborn water sometimes needs two or three rounds before it fully clears. Patience here matters more than speed, since forcing things with heat or objects can cause more damage.
Wipe away any droplets that bead up at the grille between rounds, so you are not just shaking the same water back and forth.
The Extra Step I Recommend for a Water-Damaged Phone
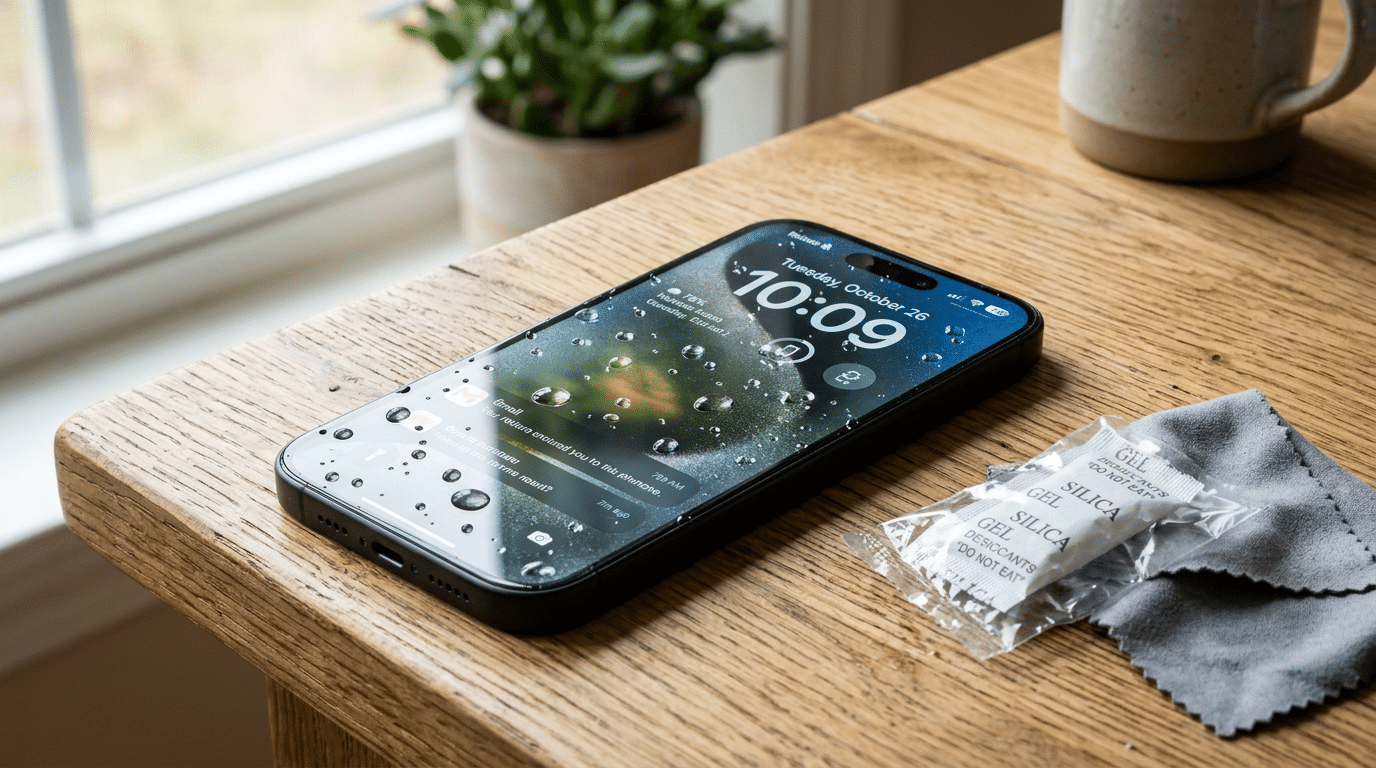
Most drying advice stops at open-air drying, which is fine but slow and leaves too much up to chance. The one extra step I always add is sealing the phone in an airtight container with silica gel packets instead of just setting it near a fan.
Open airflow only pulls moisture from the surface.
A sealed container with silica gel keeps drawing moisture out continuously for the full 24 hours, since the gel actively absorbs humidity from the enclosed air rather than competing with the room’s own moisture level.
I use a small container or a zip-lock bag, drop in two or three silica gel packets, and leave the phone untouched for the full day.
It’s a small change, but it’s the difference between a phone that’s dry outside and one that’s actually dry inside the ports and seams.
Fastest Drying Methods for a Water-Damaged Phone, Compared
Not every drying trick is worth your time. Here is how the common methods stack up on speed and risk.
Method | Best For | Speed | Risk |
Rice | Not recommended | Slow, often ineffective | Can clog ports with debris |
Silica gel packets | Full-body moisture removal | 24 to 48 hours | Low risk |
Water eject sound | Speaker and port water | 30 to 60 seconds per try | Low risk |
Air drying near a fan | General drying support | Several hours | Low risk |
Hair dryer or heat | Not recommended | Fast, but damaging | High risk of internal damage |
Common Mistakes to Avoid While Drying Phone
Even with good intentions, a few habits can make water damage worse.
- Turning the phone on to check if it works. This is one of the most common ways people cause permanent damage after a spill.
- Using a hair dryer or heat. Heat can warp internal components and push moisture further inside instead of out.
- Sticking cotton swabs or paper towels into ports. This can push water deeper or leave fibers behind.
- Charging the phone too soon. Charging before your phone is fully dry raises the risk of a short circuit.
- Relying on rice. Rice dust and starch can get lodged in your charging port, which sometimes causes more damage than the water itself.
The Bottom Line
Water and phones were never meant to mix, but a wet phone doesn’t have to mean a dead one.
The difference between a full recovery and a trip to the repair shop comes down to what you do in the first few minutes and how much patience you bring afterward.
Skip the rice, skip the heat, and skip the urge to check if it still works right away. Power it down, drain what you can, run the water eject sound, then let silica gel finish the job.
Next, check your phone for the warning signs. If none show up after a full 24 hours, you’re likely clear to charge it. If something still feels off, don’t force it; get it looked at before a small problem turns into a bigger repair.
Already dried out a wet phone yourself? Share your experience in the comments; it might help someone else.
Frequently Asked Questions
How Long does it Take to Dry a Wet Phone?
Most phones need at least 24 hours to fully dry. If your phone was fully submerged, giving it 48 hours is safer before you try charging it again.
Does the Rice Method Actually Work?
No. Rice isn’t very absorbent compared to silica gel, and it can leave dust or grains stuck in your ports. Most phone makers, including Apple, recommend against it.
Can a Water Eject Sound Really Remove Water from a Phone Speaker?
Yes. The low-frequency vibration shakes water droplets loose from the speaker grille. It’s the same method built into features like Apple Watch’s Water Lock.
Is it Safe to Charge My Phone Right After it Gets Wet?
No. Charging while there’s still moisture inside raises the risk of a short circuit. Wait until your phone has had a full 24 hours to dry.
How do I Know if My Phone is Too Damaged to Save?
If it won’t power on, charges on and off, has audio that stays distorted, or a screen that flickers after drying, it likely needs professional repair.