
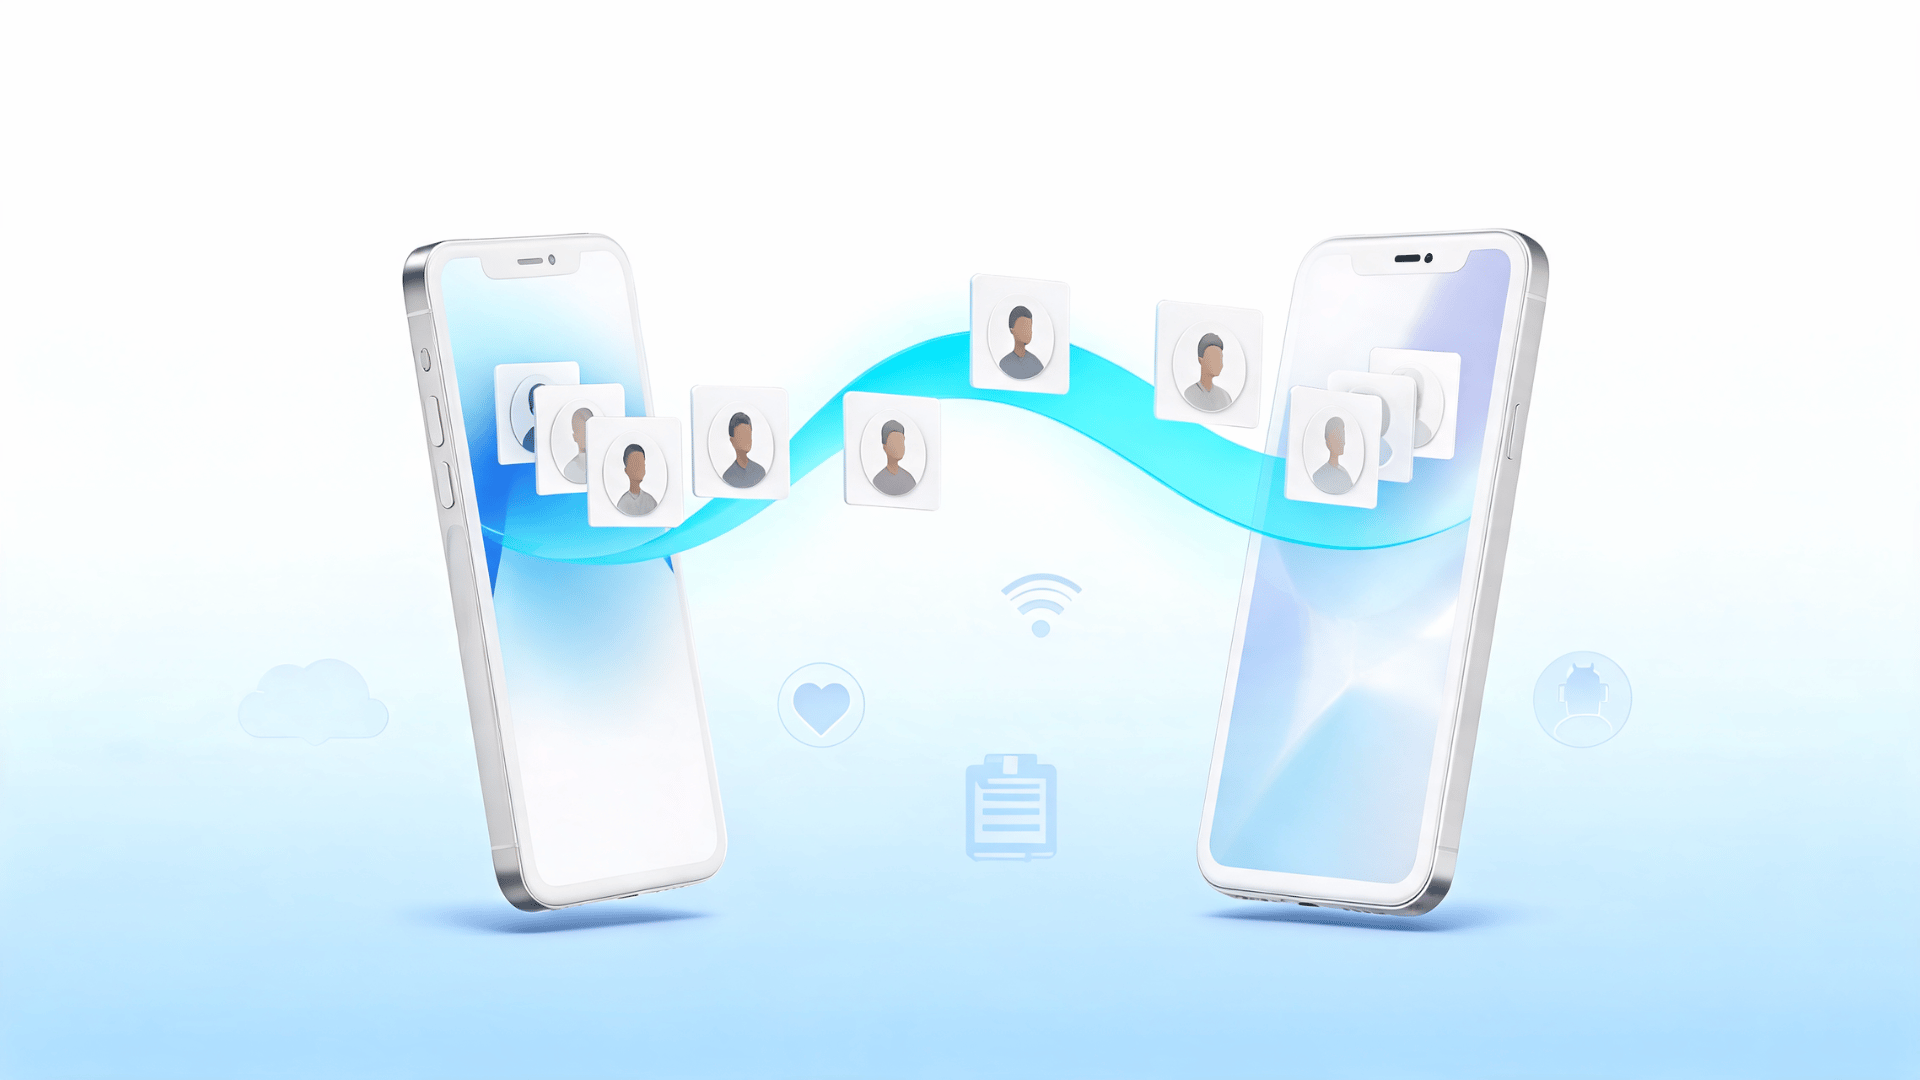



Moving from Android to iPhone can feel stressful when years of phone numbers, email addresses, work details, and personal notes are involved.
I have written and reviewed enough technical setup instructions to know that contact transfers often fail for one simple reason. People start moving data before checking where their contacts are stored.
Learning how to transfer contacts from Android to iPhone becomes much simpler once you identify the correct account or storage location.
You can use Move to iOS during setup, sync contacts through Google, import a VCF file, copy entries from a SIM card, or use a reviewed transfer tool.
I will explain each method through clear steps. You can select the option that matches your phone setup and check that every important contact arrived before resetting your Android device.
Check Where Your Android Contacts are Saved
Before starting, open the Contacts app on Android and check where your address book is stored. Contacts may be connected to a Google account, phone storage, SIM card, work account, or manufacturer account.
Open several important entries and look for an account or storage label. Depending on your phone, it may show Google, device, phone, SIM, work, or another account name.
Some users may need two methods because their Google contacts and device-only contacts are kept separately. Create a backup before changing or deleting anything.
Android and iPhone store contacts under separate account systems, Google on one side and iCloud on the other, which is exactly why the same address book can look different depending on where it started.
Ways to Transfer Contacts from Android to iPhone
You do not need to try every option listed below. Select the method that matches where your Android contacts are stored and whether your iPhone is new or already configured.
Method 1: Use Move to iOS
Move to iOS works best before the iPhone is set up.
| Move to iOS is a free transfer option that does not require a computer, but it only works while setting up a new or erased iPhone. It can copy contacts and other supported Android data during one process. |
Follow these steps to initiate the transfer:
- Turn on Android Wi-Fi and plug in the phones.
- Check that the iPhone has storage.
- Start iPhone setup and tap From Android.
- Install and open Move to iOS.
- Accept the terms and enter the six- or ten-digit code.
- Allow permissions, select Contacts, tap Continue, and wait for the iPhone loading bar to finish.
This video by Apple Support demonstrates the real transfer process from an actual Android phone to an iPhone.
Method 2: Sync Contacts Through Google
Google sync keeps current and future contacts available on both phones.
- In Android Contacts, confirm the save location is your Gmail address.
- Open Settings > Google > All Services> Google Contact Sync.
- Enable syncing and tap refresh.
- On iPhone, open Settings and search Accounts.
- Tap List of Internet Accounts, Add Account, then Google.
- Sign in, enable Contacts, tap Save, and check the Contacts app afterward.
If your contacts do not appear immediately, check whether contact sync is enabled and allow a few minutes for synchronization. See the official Google Contacts Help document for troubleshooting.
The video below by TechPP walks you through syncing your Android contacts with Google, so they automatically appear on your iPhone after you sign in with the same Google account.
| Google sync is a free method that requires no computer and works even after the iPhone has already been set up. |
Method 3: Transfer Contacts With a VCF File
If your contacts are stored on your Android phone instead of a Google account, exporting them as a VCF file is one of the easiest ways to move them.
- Open the Contacts app.
- Tap the three-dot menu near your photo.
- Choose Select All.
- Tap Share and wait while Android exports the contacts.
- Select Gmail or another sharing method.
- Send the file to an account you can open on the iPhone.
- Open the VCF attachment on iPhone and add its contacts
The following tutorial by HowToAuthority covers the entire process of creating a VCF file from your Android contacts and transferring it to your iPhone, making it a straightforward option for manual contact migration.
| A VCF file is a free method that does not require a computer in most cases and works after the iPhone setup is complete. It is useful for contacts stored directly on Android and also creates a separate backup. |
Method 4: Import Contacts from a SIM Card
SIM importing works when the contacts are stored on the SIM card. This method may not include photos, notes, email addresses, or details.
- Insert the SIM card into the iPhone.
- Open the Settings app.
- Scroll down and tap Contacts.
- Select Import SIM Contacts.
- Wait while the iPhone imports the entries.
- Return to the Contacts app.
- Check that the imported names and numbers appear.
If you’re unsure about any of the steps, check the video below by ProgrammingKnowledge2 for a step-by-step demonstration.
Note for U.S. readers! iPhone 14 and later models purchased in the United States do not have a physical SIM tray. This method mainly applies to older iPhones or models purchased in other regions.
| SIM importing is a free, computer-free option that works after setup if your contacts are stored on the SIM card. However, it usually transfers only basic details like names and phone numbers. |
Method 5: Use a Third-Party Transfer App
A dedicated transfer app helps when the built-in methods keep failing or stall midway. MobileTrans is a desktop application developed by Wondershare that lets you transfer data, including contacts, between Android and iPhone without relying on cloud syncing.
It also supports moving other data types, such as photos, videos, messages, and call logs, depending on the devices and transfer method you choose.
- Download and install MobileTrans on your computer.
- Open the app and select Phone Transfer > Phone to Phone.
- Connect both phones using compatible data cables.
- Tap Trust on the iPhone if prompted.
- Select Contacts and click Start.
- Wait for the transfer to finish before disconnecting.
- Verify your contacts in the iPhone Contacts app.
Watch the step-by-step video below by JoshsWayOfLife to learn how to move your contacts with MobileTrans without using cloud syncing.
Tip! Download software only from the official website and review its privacy policy before granting permissions.
| MobileTrans is free to download, but you’ll generally need a paid license to transfer your contacts. |
How to Transfer Contacts Without Resetting the iPhone
You do not need to erase an active iPhone just to move an address book.
Google syncing is usually the first option when Android contacts are already connected to a Google account. Add the same account to the iPhone and turn on Contacts.
For entries stored directly on Android, export a VCF file and open it on the iPhone. SIM importing can move basic records when they are stored on a compatible card.
I prefer these methods because they leave your current apps, photos, messages, and settings unchanged. They work well for an iPhone you already use every day.
Move to iOS should mainly be used while setting up a new or erased iPhone.
Cross-check every transferred contact: A matching contact count doesn’t guarantee all details transferred. Verify recent, work, and international contacts, multiple numbers, emails, notes, photos, and country codes. Test a call and message, and keep your Android phone until everything is confirmed.
Stuck While Moving Contacts? Try These Fixes
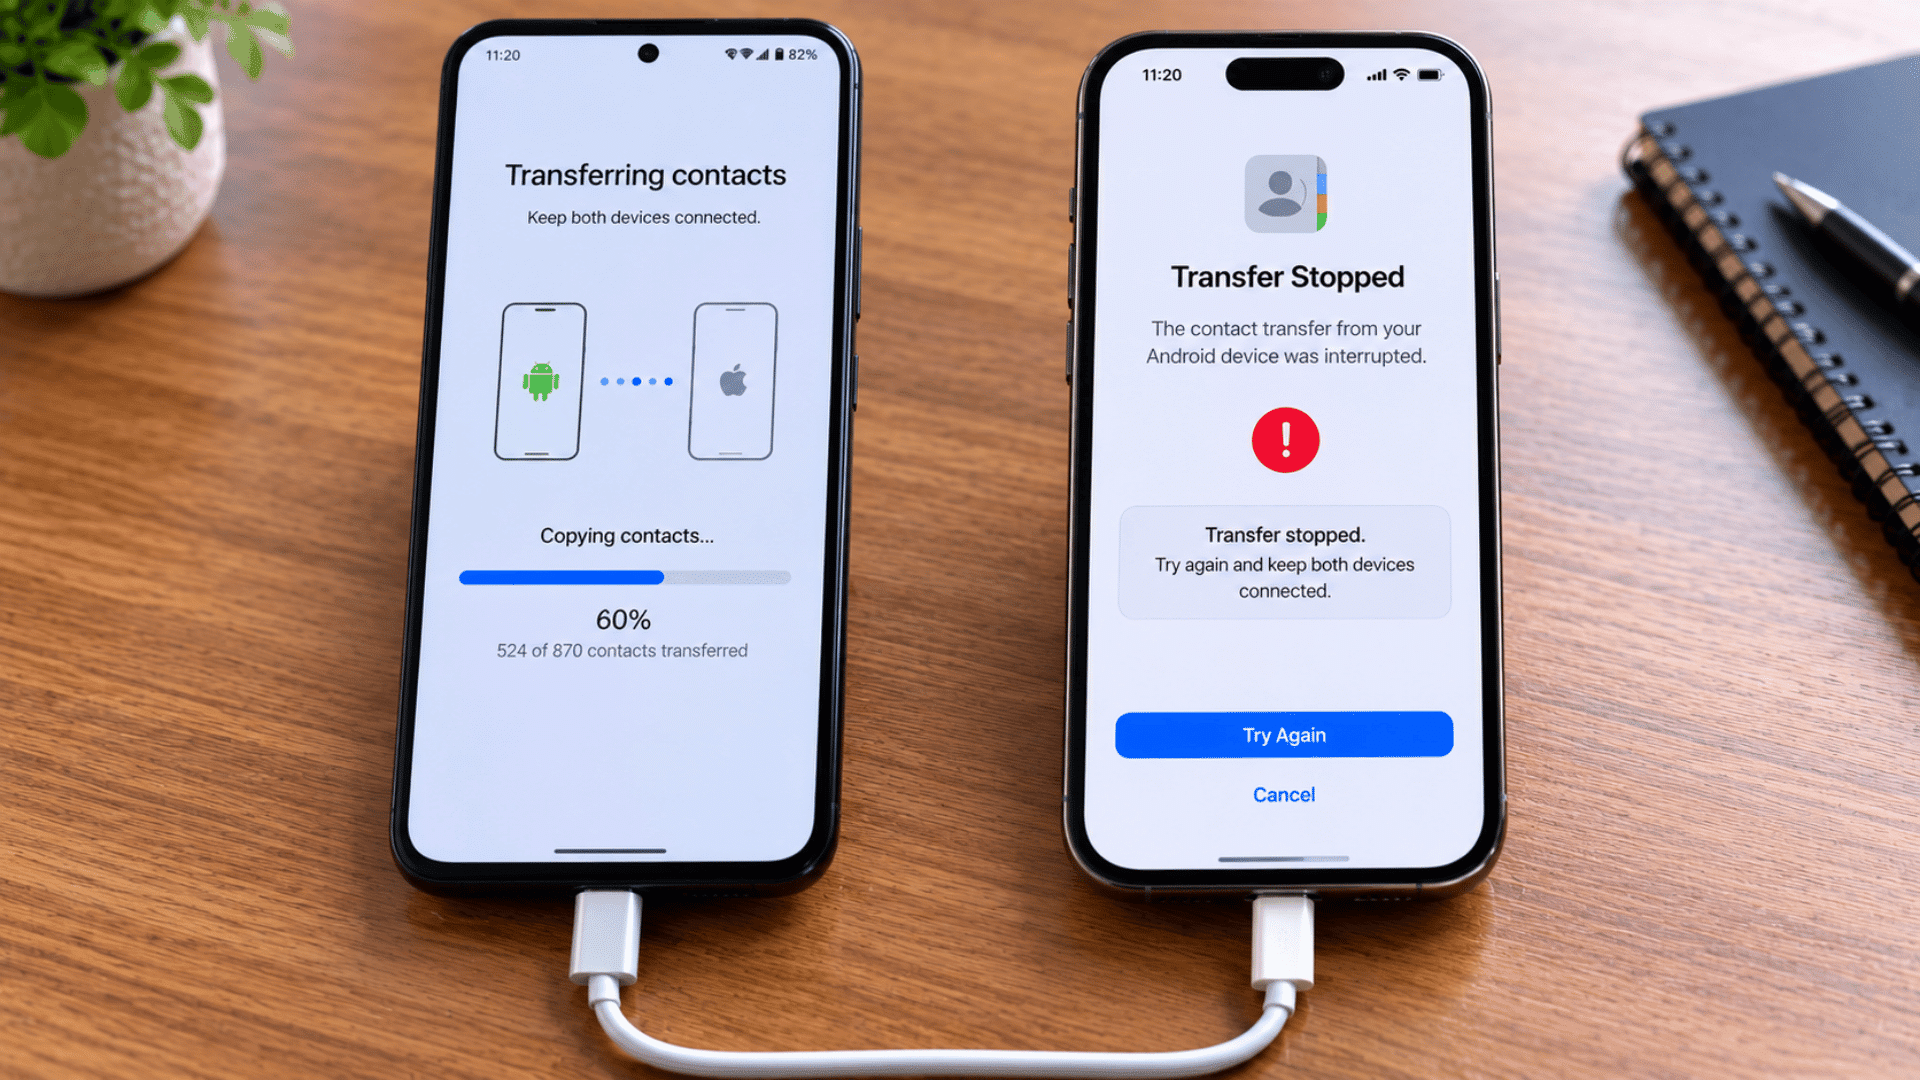
Most transfer problems come from incorrect account settings, interrupted connections, limited storage, or importing the same address book several times.
1. Some Google Contacts are Missing
Missing Google contacts usually mean that the wrong account was added or syncing is incomplete.
- Open iPhone Settings.
- Choose Apps and Contacts.
- Open Contacts Accounts.
- Select the Google account.
- Confirm Contacts is enabled.
- Check other Google accounts on Android.
- Look for device-only or work contacts.
- Export missing entries as a VCF file.
Wait briefly, then reopen the Contacts app and check again.
2. Move to iOS is Not Working
Move to iOS may stop because of weak Wi-Fi, low storage, calls, or another app being open.
- Connect both phones to power.
- Keep them close together.
- Check available iPhone storage.
- Close Android apps.
- Restart both devices.
- Begin the transfer again.
- Leave both phones untouched.
- Use Google sync or a VCF file if contacts are the only data you still need to move over.
3. Duplicate Contacts Appear
Duplicate contacts usually appear when the same address book is imported through several methods.
- Open the iPhone Contacts app.
- Check every connected account.
- Look for View Duplicates.
- Review the suggested matches.
- Merge only confirmed duplicates.
- Avoid deleting records immediately.
- Confirm whether each card belongs to Google or iCloud.
- Keep a backup before making changes.
- This prevents accidental removal from a synced account.
It’s worth waiting: Resist the urge to factory reset or trade in your Android phone right away. Once you’ve verified that all your contacts are safely on your iPhone, you can wipe the device with confidence.
Set a Default Account so New Contacts Don’t Get Lost
Transferred Google contacts may remain in Google while new contacts created on the iPhone save to iCloud. Over time, this can divide the address book between several services.
Choose one default account through these steps:
- Open Settings.
- Tap Apps
- Select Contacts.
- Tap Default Account.
- Choose Google, iCloud, or another account.
Google may suit people who continue using Gmail, Android devices, or other Google services. iCloud may suit those moving fully to Apple products.
When I switched from my Oppo phone to an iPhone 17 a few months ago, this was one setting I almost missed.
My transferred contacts were in Google, but new ones were saving to iCloud. Changing the default account right away kept my entire address book organized in one place.
Choose the Right Contact Transfer Method
Not every contact transfer method works the same way. The right choice depends on where your contacts are stored, whether your iPhone has already been set up, and if you have an internet connection available.
Use the table below to quickly find the method that best matches your situation.
| Transfer Case | Recommended Method | Reset Needed? | Internet Needed? |
|---|---|---|---|
| The iPhone is new or erased | Move to iOS | No | Yes |
| Contacts are saved in Google | Google sync | No | Yes |
| Contacts are stored on the Android phone | VCF file | No | Only to send the file |
| Contacts are saved on a SIM card | SIM import | No | No |
| Standard methods keep failing | Reviewed transfer tool | Usually no | Depends |
I start by checking whether the iPhone is new and where the contacts are saved.
- Move to iOS works best for a new or erased iPhone, while Google sync is more practical for an already set-up device.
- A VCF file is useful for Android-only contacts and creates a backup.
- SIM import is limited to basic details, and third-party tools should be used only if built-in methods fail.
Final Thoughts
The right way to transfer contacts from Android to iPhone depends on where your address book is stored and whether the iPhone is new or already configured.
I recommend Move to iOS during initial setup and Google syncing for an iPhone that is already in use. A VCF file is useful for contacts stored directly on Android and also provides a separate backup.
SIM importing may help with basic records, while third-party tools should be reviewed carefully before receiving access to personal contact details.
Ensure you check the storage location first to save the most time. Keep the Android phone unchanged until you have reviewed important names, numbers, email addresses, notes, and country codes.
Which method worked best for your Android phone? If you ran into a problem that isn’t covered here, leave a comment below, and we’ll help you troubleshoot it.
Frequently Asked Questions
Why did Only Some of My Contacts Transfer?
Your contacts may be split across accounts. Some could be in Google, some on the device, on the SIM card, or in a work account. Check each source and sync separately.
Can I Transfer Contacts Without a Computer?
Yes, you can use Move to iOS, Google sync, a VCF file, or SIM importing without a computer. Third-party desktop transfer software may require a Windows PC or Mac.
Will Google Contacts Stay on My Android Phone?
Yes, Google contacts stay on Android after you add the same account to your iPhone. Changes on one synced device will also appear on the other.
Does Move to iOS Transfer Contact Photos and Notes?
Names and numbers usually transfer well, but photos and notes may not always carry over. Check several complete contact records manually after setup.